Panasonic DMC-FX5PP User Manual
Page 101
Playback (advanced)
101
Preparation
• Connect the camera to a printer. (P99)
• Set the DPOF print with this camera in advance. (P78)
• Set the paper size and print quality. (Read the printer operating instructions.)
ª DPOF picture
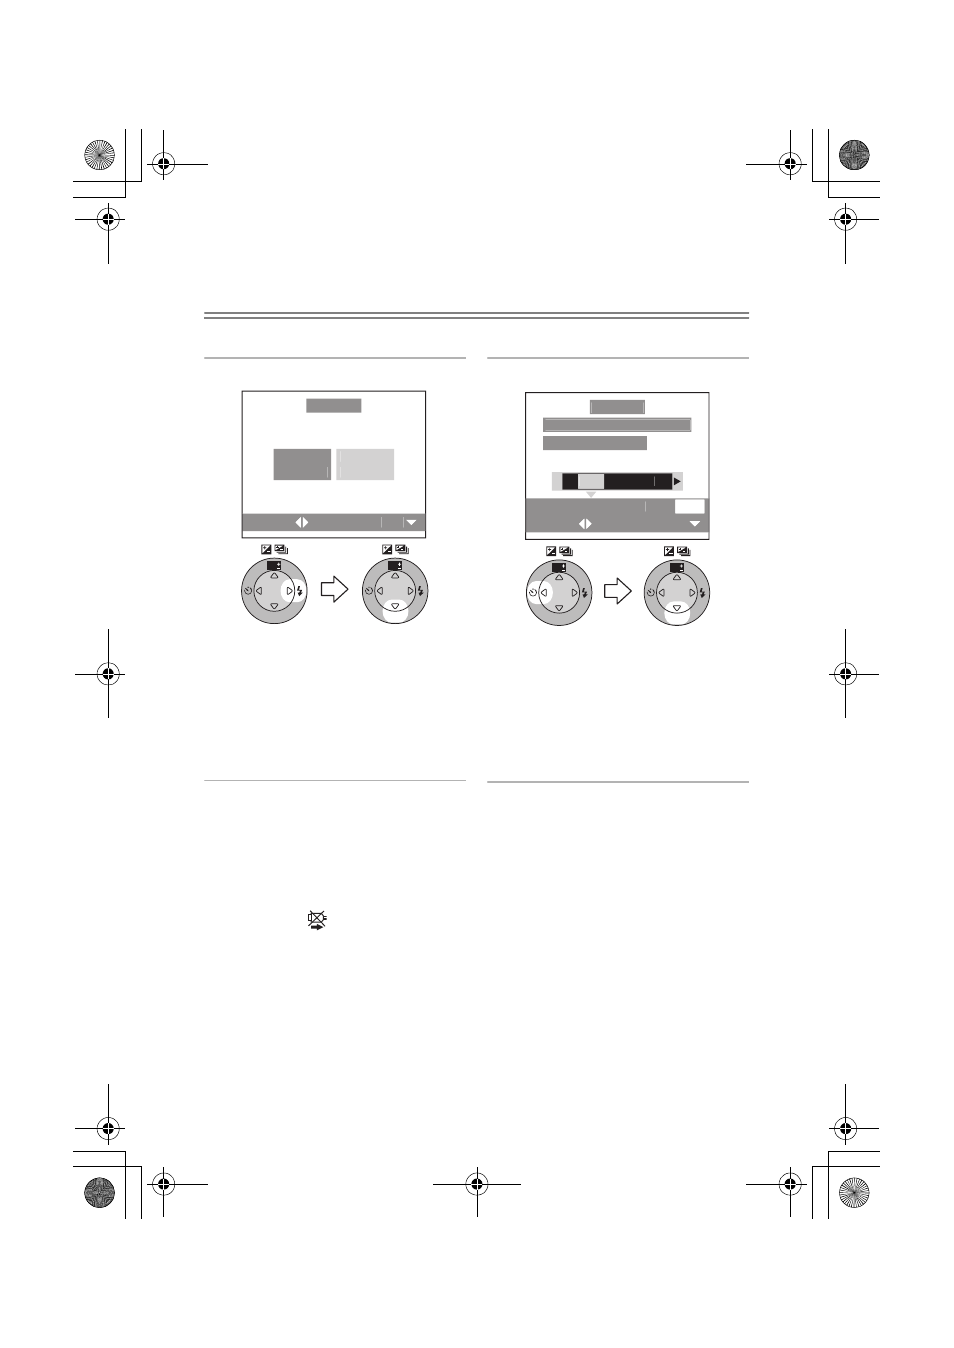
1
Select [DPOF PICTURE].
• Press the [MENU] button, and you
can change the DPOF print setting.
(P78)
• When printing under the new
settings, disconnect the USB
connection cable and connect it to
the printer again.
2
Select [YES] and print.
• Press the [DISPLAY] button to print
the date. (Only when connecting to
the printer supporting to printing
the date.)
• Press the [MENU] button to cancel
printing.
¬Suggestions/Tips ¬
• When the total number of prints becomes 1000 or more, the number of remaining
pictures may appear as [---] on the screen.
• When connecting to a printer not supporting DPOF, DPOF printing cannot be set.
(The DPOF print selecting screen does not appear.)
• Do not disconnect the USB connection cable when the cable disconnection
warning icon [
] is indicated.
• When the [
¥] indication lights in yellow during printing, check if there is no
malfunction on the printer.
• When the printer does not support the date printing by DPOF setting, the date may
not be printed as it is on date setting in DPOF setting.
• The setting on the printer may have priority over the setting on the camera in the
date print. Also check the date print setting on the printer.
SINGLE
PICTURE
DPOF
PICTURE
SET
SELECT
PictBridge
SET
REVIEW
WB
SET
REVIEW
WB
DATE
DISPLAY
SELECT
SET
PLS CHECK THE PRINTER
START PRINTING?
YES
NO
PictBridge
SET
REVIEW
WB
SET
REVIEW
WB
FX5_FX1-PP.book 101 ページ 2003年12月15日 月曜日 午後1時27分