Operation, Using the unit, When the projected image is offset horizontally – PLUS Vision U3-810SF User Manual
Page 16: When the projected image is offset ver- tically, Connect the power cable, Adjust the position and height of the unit, E – 14, View from the top, Side view
E – 14
U s i n g t h e u n i t
O p e r a t i o n
Before Using
Open the sliding lens cap.
CO
LO
R
B / W
1
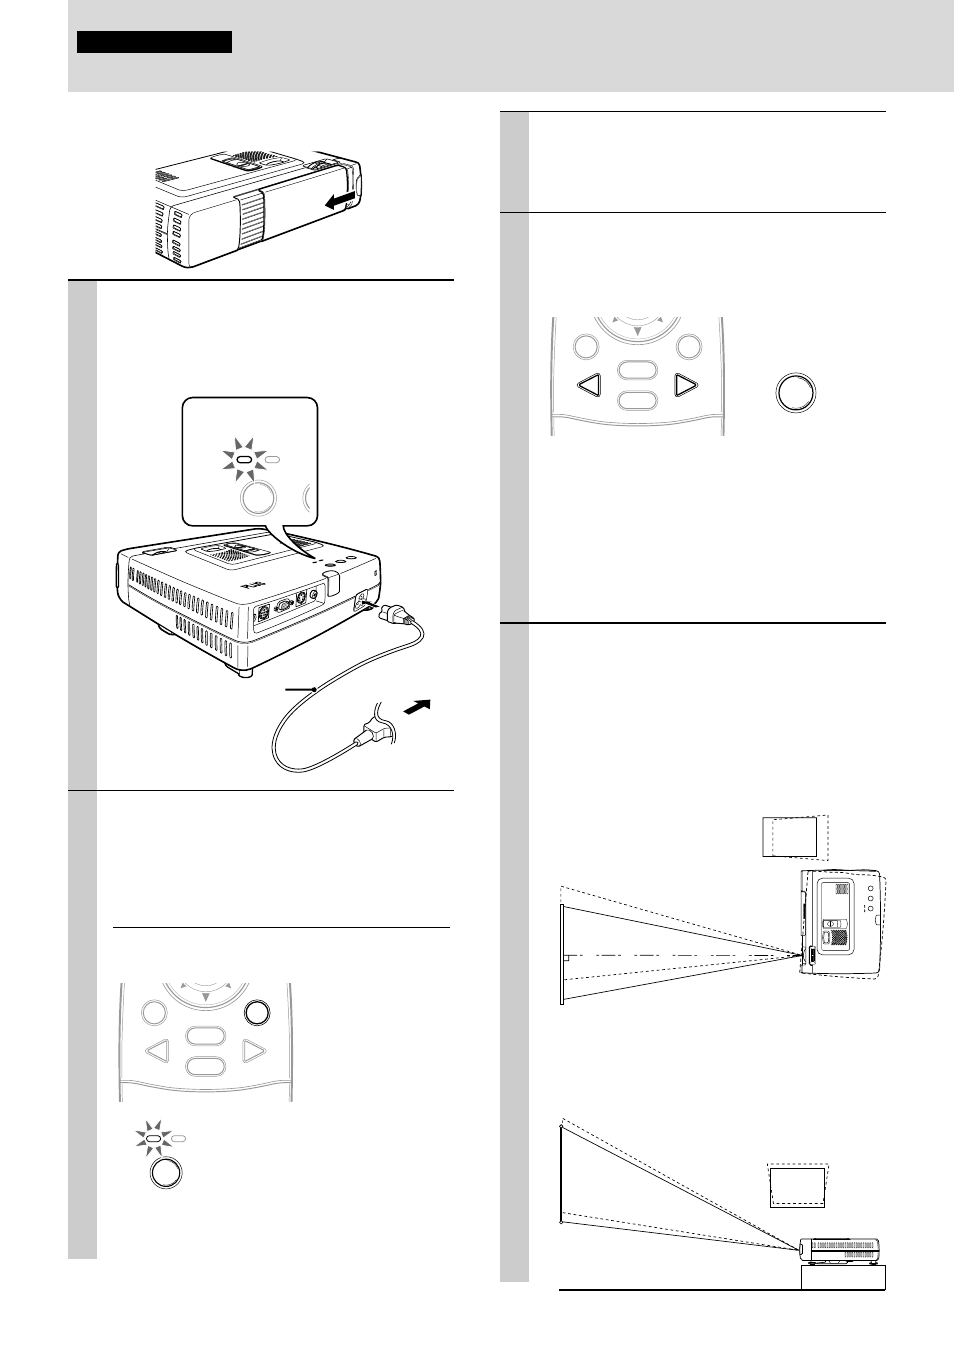
Connect the power cable.
The POWER indicator will light amber, the ex-
haust fan will operate at slow speed and the
standby status will be activated.
RGB / YCbCr
S VIDEO
VIDEO
MOUSE
AUDIO
AUTO
SOUR
CE
POW
ER
POW
ER
STAT
US
COLO
R
B / W
POWER
STATU
POWER
SO
2
Press POWER on the remote control, or
POWER on top of the unit, to turn on the
unit.
The POWER indicator on top of the unit turns to
green and starts flashing.
It takes one minute for the unit to be ready for use.
Wait until the indicator stops flashing and lights
steadily in green.
MOUSE
POWER
VIDEO
MENU
CANCEL
RGB
POWER
ST
POWER
Note
While the POWER indicator is flashing, the unit doesn’t turn
off even if you press POWER on the remote control, or
POWER on the unit.
Lights in amber
(Standby)
2
1
Power cable
(supplied)
Green light flashes
(About one minute)
↓
Then lights steadily
in green
3
Turn on the connected source (computer,
VCR, DVD player, etc.).
If you use a video component, start playback for
screen/image adjustment.
4
Select the input by pressing either the
VIDEO or RGB button of the remote con-
trol, or the SOURCE button of this device
(refer to page 16).
MOUSE
POWER
VIDEO
MENU
CANCEL
RGB
SOURCE
Notes
• If the blue or black screen (the background type differs
depending on the “BACKGROUND” setting. See page 28.)
is projected, check the following:
– Is the source properly connected to the unit?
– Is the source component or computer turned on?
– Are the video signals coming to the unit?
• The video resolution of the connected computer can be
changed. See page 13.
5
Adjust the position and height of the unit.
Move the unit to the position where the projected
image is horizontally centered to the screen.
• When the projected image is offset
horizontally
Adjust the position of the unit so that the unit is
square to the screen.
• When the projected image is offset ver-
tically
Adjust the height balance of the unit with the
adjusters. See next page.
Screen
View from the top
Screen
Side view
(Continued on next page.)
To wall
outlet