La Crosse Technology Radio Controlled Projection Alarm WT-5350 User Manual
Page 6
7. For more detail visit http://www.boulder.nist.gov/timefreq.htm. To listen to
the NIST time call (303) 499-7111. This number will connect you to an
automated time, announced at the top of the minute in "Coordinated
Universal Time", which is also known as Greenwich Mean Time (GMT).
This time does not follow Daylight Saving Time changes. After the top of
the minute a tone will sound for every second.
8. It is possible that your Projection Alarm may not be exactly on the second
due to the variance in the quartz. However, the clock will adjust the quartz
timing over the course of several days to be very accurate; under 0.10
seconds per day.
C. PROJECTION OF TIME
1. When plugged into an AC outlet, the projection alarm can continuously
project the time.
2. When operating on batteries alone, the Projection Alarm will only project
when a button is pressed.
3. The projection will auto-focus for display from three to six feet away. A
dark surrounding will be necessary to clearly see the projection.
4. The direction of the display can be rotated 360
0
in 90
0
increments by
pressing the directional button. There is no display on the LCD that
signifies the direction.
5. The projector case can be rotated 180
0
to further help orient the projected
display.
6. The intensity of the projection can be adjusted to three different settings
as well as turned "off" by pressing the Light Intensity button. When turned
off, the projection will only come on when a button is pressed. The intensity
cannot be set for the projected display when set to "off". When only
batteries are used, the intensity setting is set to "off" with no other options.
D. EL. BACK LIGHT
1. The Projection Alarm has an EL. Back light designed for night viewing. This
will light up for 2 seconds whenever a button is pressed.
2. The EL. Back light cannot be turned on constantly; this would drain the
batteries and burn out the light.
E. TIME ALARM.
1. SETTING THE ALARM
a. Press and hold "AL" for two seconds until the alarm time is flashing.
b. Press the "MODE/+" button to select the hour.
Note:
When setting the hour, "PM" will appear to the left of the alarm
time display. If it is set for "AM" nothing will appear.
c. Press the "AL" button to advance to the minute setting.
d. Press the "MODE/+" button to select the minutes.
e. Press the "AL" button to confirm the alarm setting and return to the
display mode.
2. ACTIVATING/DEACTIVATING THE ALARM
a. After entering the alarm-setting mode, the alarm is activated.
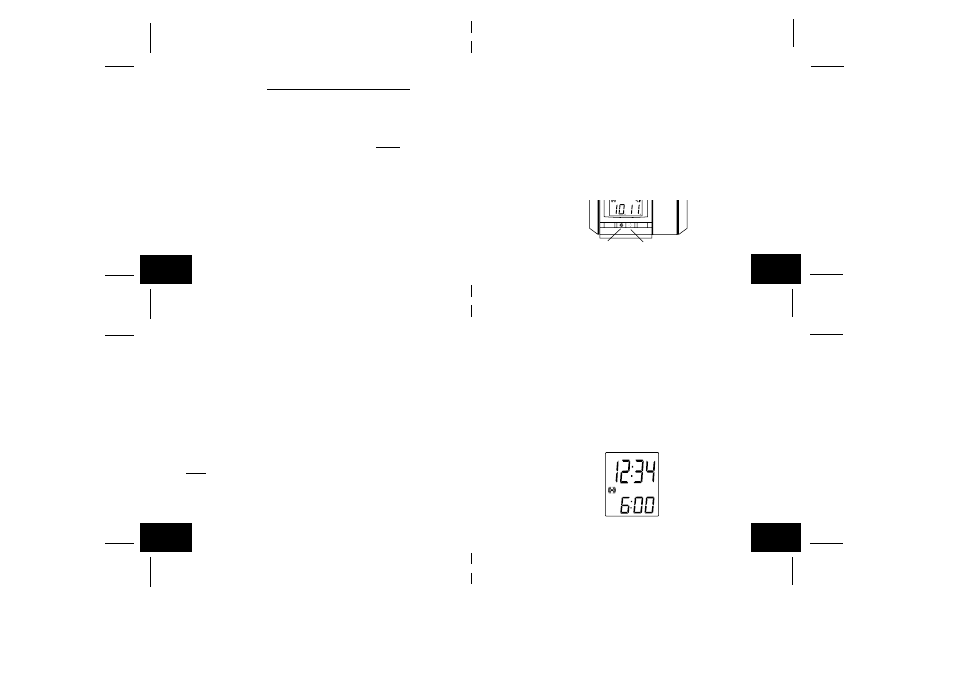
b. To toggle between activating and deactivating the alarm, press the
"AL" button briefly. "(((•)))" will be displayed to the left of the time
display when the alarm is activated.
c. When the snooze bar is pressed, the display will show the time the
alarm is set to below the time display.
DATE
AL/SEL
MODE/
PROJECTION
+
Light Intensity
Protection Direction
ALM
Alarm is Active
GB
P.18
GB
P.19
GB
P.20
GB
P.21