Linksys WET54GS5 User Manual
Page 16
10
Chapter 4: Connecting the Wireless-G Ethernet Bridge for Setup
Wireless-G Ethernet Bridge with 5-Port Switch
Chapter 4: Connecting the Wireless-G Ethernet Bridge
for Setup
1. Attach the Bridge’s antenna.
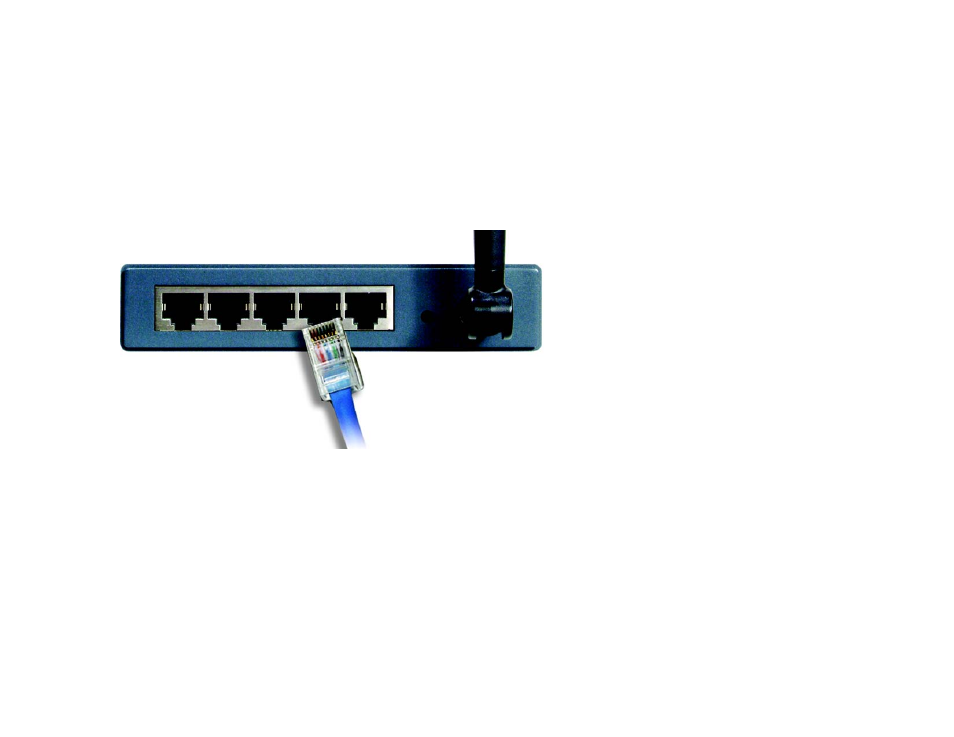
2. Plug the included Ethernet network cable into one of the five LAN ports on the back panel of the Bridge,
shown in Figure 4-1.
3. Plug the other end of the Ethernet network cable into the RJ-45 port of the hub, switch, or PC you wish to use
to configure the Bridge.
Figure 4-1: Connect to the Network
See also other documents in the category Linksys Hardware:
- WAP610N (41 pages)
- EtherFast BEFCMU10 (18 pages)
- RT31P2-NA (81 pages)
- ETHERFAST 10/100 (42 pages)
- BEFW11S4 (35 pages)
- BEFW11S4 (55 pages)
- Instant Powerline PLUSB10 (2 pages)
- BEFSR11 (39 pages)
- AG041 (EU) (80 pages)
- WAP200E (3 pages)
- Etherfast BEFSX41 (75 pages)
- Router RV042 (26 pages)
- USB200M (2 pages)
- AG300 (78 pages)
- WET54G V3 (54 pages)
- Compact Wireless-G Broadband Router WRT54GC (2 pages)
- Compact USB 2.0 (29 pages)
- RVS4000 (68 pages)
- RVS4000 (3 pages)
- WAG200G (39 pages)
- RT042 (68 pages)
- EtherFast BEFSR41W (38 pages)
- WPS11 (31 pages)
- PCMPC200 (2 pages)
- PAP2-VU (46 pages)
- DSSXFXSC (20 pages)
- 2 (4 pages)
- 4 GHz Wireless-N Notebook Adapter WPC300N (65 pages)
- PAP2-NA (33 pages)
- BEFVP41 (45 pages)
- PLUSB10 (26 pages)
- PLEBR10 (29 pages)
- WUSB100 (34 pages)
- WAG110 (33 pages)
- NSS6000 (24 pages)
- Dual-Band Wireless-N Gigabit Router WRT320N (54 pages)
- WAG120N (23 pages)
- USB1000 (26 pages)
- EG0801SK (2 pages)
- INSTANT BROADBAND BEFDSR41W (69 pages)
- RTP300 (96 pages)
- Etherfast (57 pages)
- WAP54A (21 pages)
- Instant WirelessTM Network Access Point WAP11 (2 pages)
- WTR54GS (86 pages)