Chapter 4: advanced configuration, Advanced configuration, How to access the web-based utility – Linksys WAG54G2 User Manual
Page 8
Chapter 4
Advanced Configuration
5
Wireless ADSL2+ Gateway
Chapter 4:
Advanced Configuration
After setting up the Gateway with the Setup Wizard
(located on the CD-ROM), the Gateway will be ready
for use. However, if you’d like to change its advanced
settings, use the Gateway’s web-based utility. This chapter
describes each web page of the utility and each page’s key
functions. You can access the utility via a web browser on
a computer connected to the Gateway.
The web-based utility has these main tabs: Setup,
Wireless, Security, Access Restrictions, Applications &
Gaming, Administration, and Status. Additional tabs will
be available after you click one of the main tabs.
NOTE:
When first installing the Gateway, you
should use the Setup Wizard on the Setup CD-
ROM. If you want to configure advanced settings,
use this chapter.
NOTE:
For New Zealand, follow these instructions
after accessing the web-based utility in the
Setup > Basic Setup screen:
Select
1.
RFC 2364 PPPoA from the
Encapsulation drop-down menu.
For the Virtual Circuit ID, enter
2.
0 for the VPI
and 100 for the VCI.
Select
3.
VC for Multiplexing.
Select
4.
Multimode from the DSL Modulation
drop-down menu.
Enter your User Name and Password details
5.
from your ISP.
Click
6.
Save Settings.
How to Access the Web-Based Utility
To access the web-based utility, launch the web browser
on your computer, and enter the Gateway’s default IP
address, 192.168.1.1, in the Address field. Then, press
Enter.
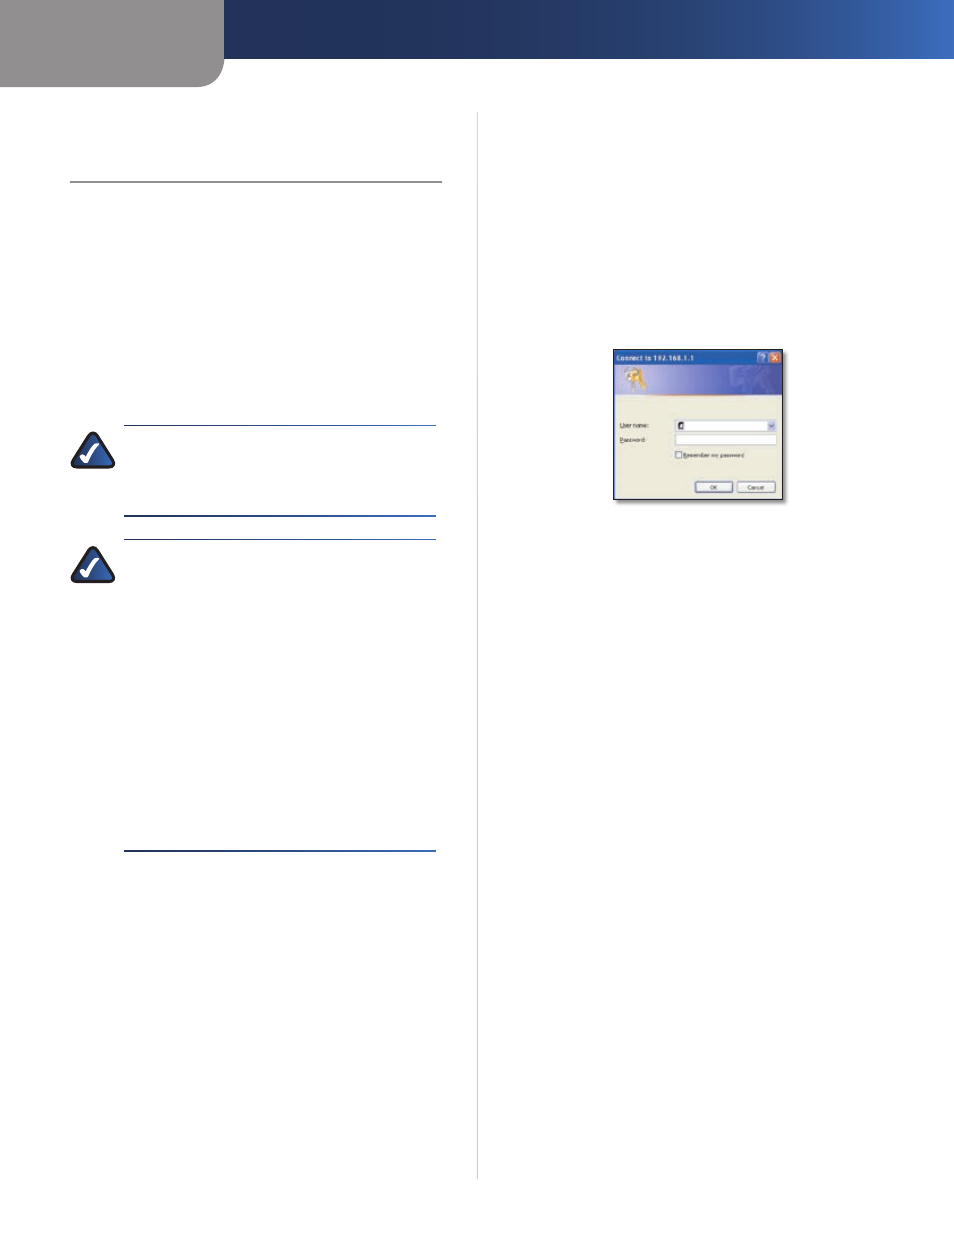
A login screen appears. Use the default user name and
password, admin, unless you have changed them during
the Setup Wizard. (You can set a new user name and
password from the Administration tab’s Management
screen.) Click OK to continue.
Gateway Login
If you are unable to log in, press the Reset button on the
back panel for at least 5 seconds, then wait for the device
to reset and try again.