Using the play menu, Cont’d) – Konica Minolta KD-410Z User Manual
Page 86
86
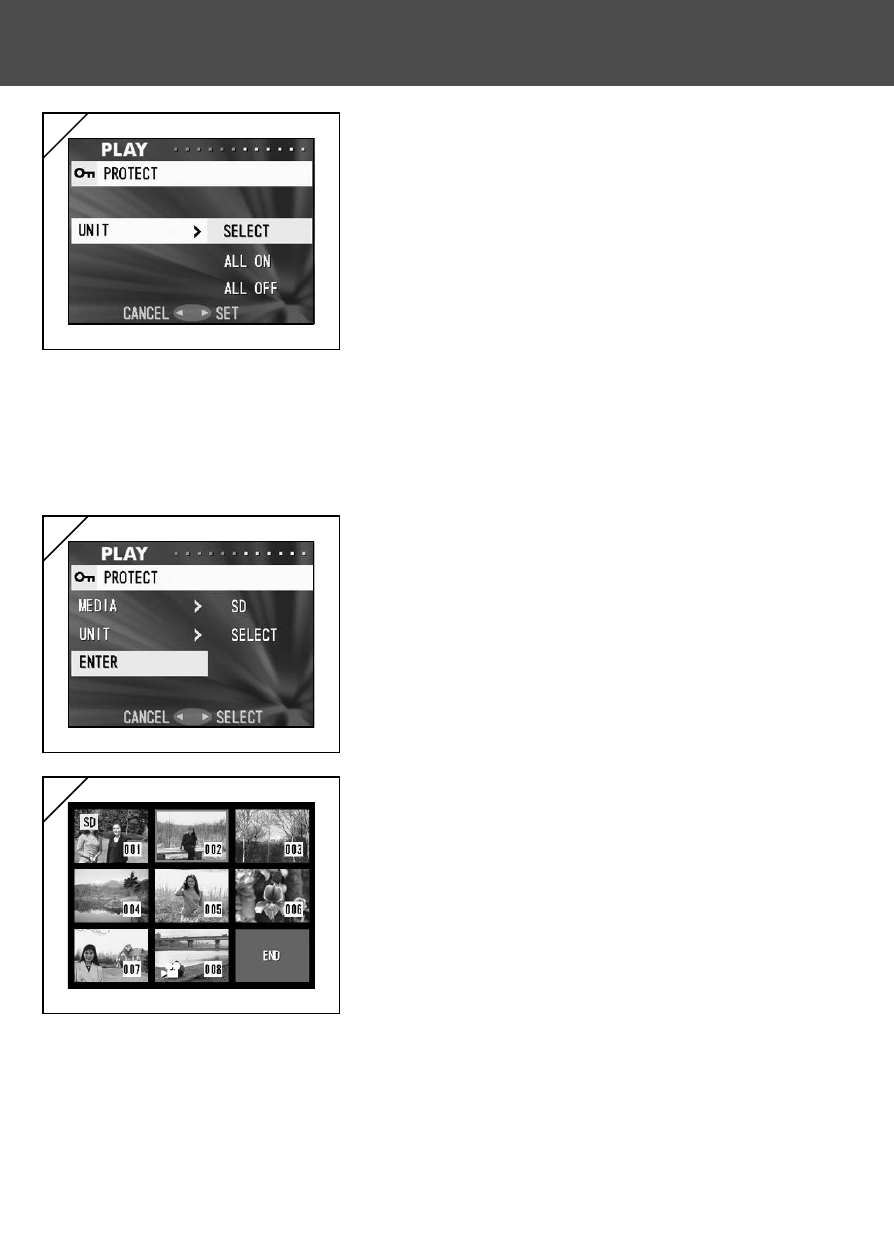
4. Returning to screen 2, select “UNIT”. Then
the screen shown left (screen 4) appears.
After pressing
̈, if you want to protect (or
cancel protect) one or multiple frames, use
̄ or ̆ to choose “SELECT”. To protect all
frames, choose “ALL ON”.
Further, to cancel protection of all frames,
choose “ALL OFF”. After making your
selection, press
̈ or the MENU/SET button.
The settings are complete and you will
return to screen 2.
• If you press
̇, the settings will be invalidated
and you will return to screen 2.
5. After you have made all the settings, select
“ENTER” and press either
̈ or the MENU/
SET button.
• If you chose “SELECT” for the “UNIT” setting,
go to step 6; if you chose “ALL ON” or “ALL
OFF”, go to Step 8.
6. The 8-frame index appears. Using
̇, ̈, ̆,
or
̄, move the red frame to an image you
wish to protect (or cancel protect) and press
the MENU/SET button.
• Pressing
̇ when the first frame is selected or
pressing
̈ on the last frame will switch the
display to the next eight images.
Using the PLAY Menu
(Cont’d)
4
5
6