Setting the bd-live internet access level, Viewing available bd-live storage space, Erasing bd-live storage – KTI Networks NS-32LB451A11 User Manual
Page 59: Setting the screen saver activation time, Ee “setting the bd-live internet access level
53
Insignia 32" LCD TV/Blu-ray Combo, 1080p
www.insigniaproducts.com
4 Press or
to highlight Optical Disc
AutoPlay, then press ENTER.
5 Press or
to highlight On or Off, then press
ENTER. When On is selected and you insert a
Blu-ray Disc, files play back automatically. When
Off is selected and you insert a Blu-ray Disc, the
disc you can select are displayed on the Settings
menu.
6 Press to go to the previous menu.
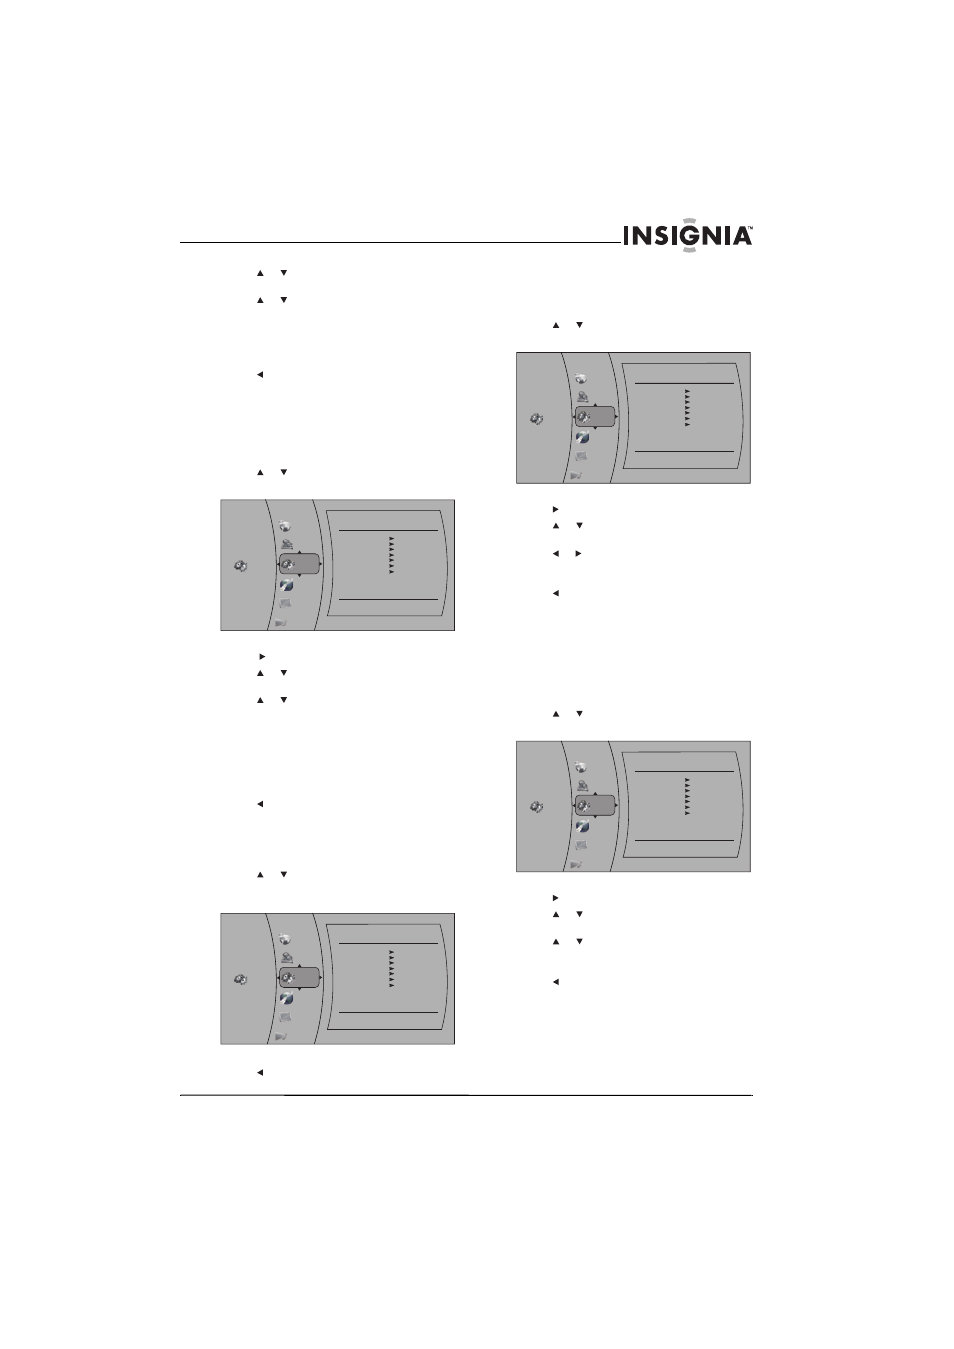
Setting the BD-Live Internet access level
You can set the BD-Live Internet access level to
control access to BD-Live.
To set the BD-Live Internet access level:
1 Press ENTER. The Settings menu opens.
2 Press or
to highlight System. The System
menu opens.
3 Press
or
ENTER to access the system options.
4 Press or
to highlight BD-Live Internet
Access, then press ENTER.
5 Press or
to highlight the access level you
want, then press ENTER. You can select:
• Limit Access—Allows Internet access with
valid “BD-Live” network access approval.
• Always Allow Access—Always allows BD-Live
Internet access.
• Prohibit Access—Never allows BD-Live
Internet access.
6 Press to go to the previous menu.
Viewing available BD-Live storage space
To view available BD-Live storage space:
1 Press ENTER. The Settings menu opens.
2 Press or
to highlight System. The System
menu opens. The available storage space is
displayed next to BD-Live Storage.
3 Press to go to the previous menu.
Erasing BD-Live storage
To erase BD-Live storage:
1 Press ENTER. The Settings menu opens.
2 Press or
to highlight System. The System
menu opens.
3 Press
or ENTER to access the system options.
4 Press or
to highlight Erase Blu-ray
Storage, then press ENTER.
5 Press
or
to
highlight
OK, then press ENTER.
All bookmarks and BD-Live content saved in
memory are deleted.
6 Press to go to the previous menu.
Setting the screen saver activation time
Your player has a screen saver feature that turns the
screen black when your player is inactive. You can
set the amount of time you want your player to wait
before activating the screen saver.
To set the screen saver activation time:
1 Press ENTER. The Settings menu opens.
2 Press or
to highlight System. The System
menu opens.
3 Press
or ENTER to access the system options.
4 Press or
to highlight Screen Saver
Duration, then press ENTER.
5 Press or
to highlight the amount of time
you want the player to wait before activating
the screen saver feature, then press ENTER.
6 Press to go to the previous menu.
Settings
Display
Audio
Network
Parental
Language
System
Optical Disc AutoPlay
On
System
Always Allow Acess
USB (7.1GB Free)
BD-Live Internet Access
BD-Live Storage (USB)
Erase Blu-ray Storage
5 Minutes
Screen Saver Duration
Update Via Network
Required Storage: 48MB
Restore factory defaults
Settings
Display
Audio
Network
Parental
Language
System
Optical Disc AutoPlay
On
System
Always Allow Acess
USB (7.1GB Free)
BD-Live Internet Access
BD-Live Storage (USB)
Erase Blu-ray Storage
5 Minutes
Screen Saver Duration
Update Via Network
Required Storage: 48MB
Restore factory defaults
Settings
Display
Audio
Network
Parental
Language
System
Optical Disc AutoPlay
On
System
Always Allow Acess
USB (7.1GB Free)
BD-Live Internet Access
BD-Live Storage (USB)
Erase Blu-ray Storage
5 Minutes
Screen Saver Duration
Update Via Network
Required Storage: 48MB
Restore factory defaults
Settings
Display
Audio
Network
Parental
Language
System
Optical Disc AutoPlay
On
System
Always Allow Acess
USB (7.1GB Free)
BD-Live Internet Access
BD-Live Storage (USB)
Erase Blu-ray Storage
5 Minutes
Screen Saver Duration
Update Via Network
Required Storage: 48MB
Restore factory defaults