Guidance for safe operation and use – Sterling Power Products Elite XS User Manual
Page 18
1 4
Iss 4
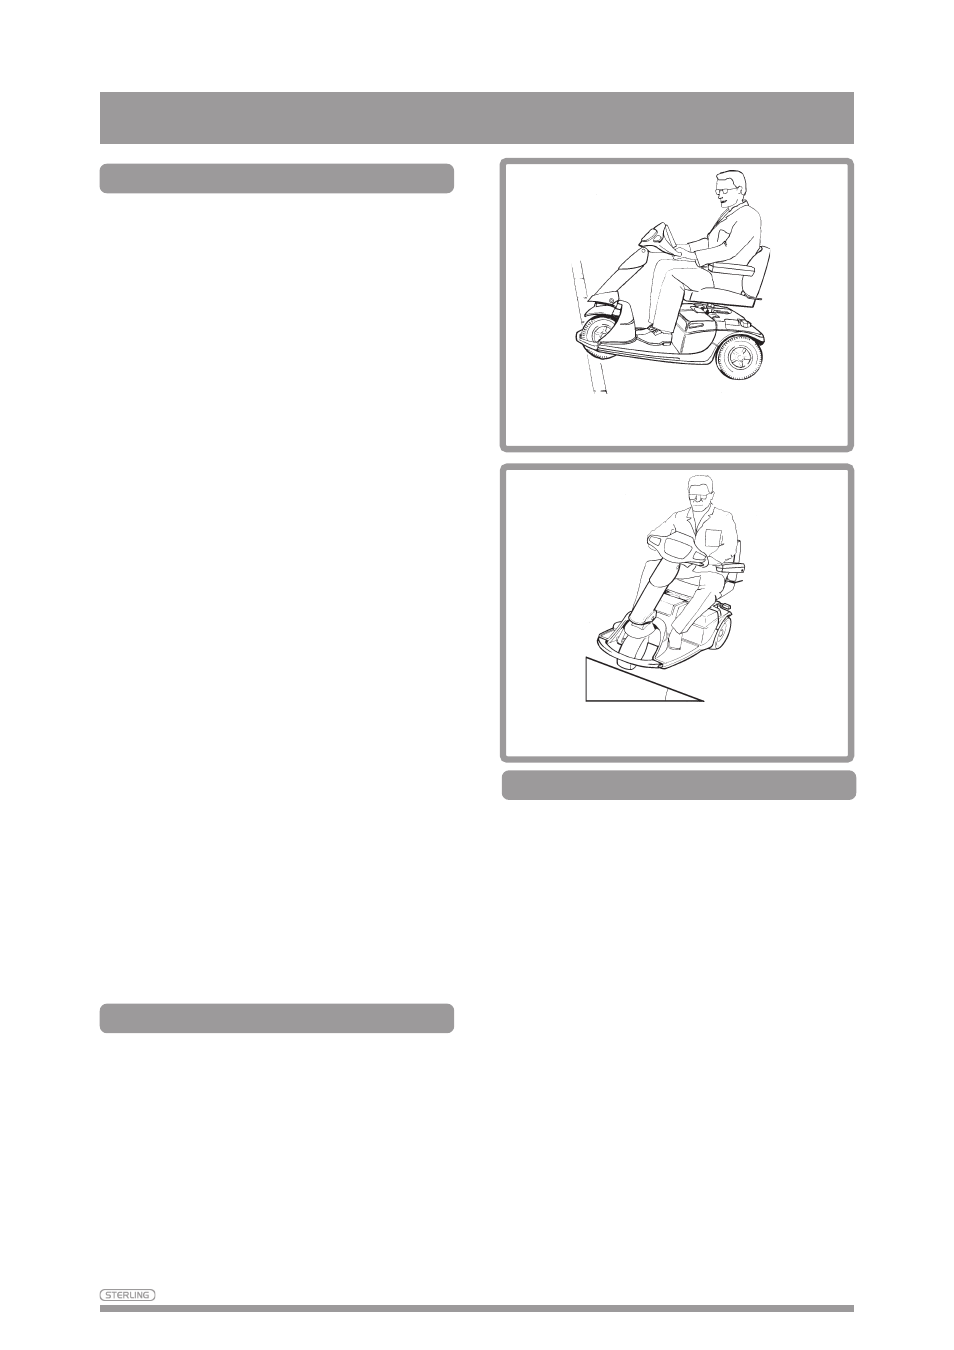
Mounting and dismounting kerbs
Your Scoota is capable of
mounting and dismounting kerbs
and obstacles up to 10cm (4").
Remember when climbing kerbs
to drive forwards and face the kerb
at 90°. Stopping about 30 - 60cm
(I - 2 feet) away, select a medium
to high speed setting and drive up
without stopping. Leaning
forwards will also help maximise
your stability. (Fig. 13)
Note: Heavier users will require
higher speed settings.
To dismount a kerb, face the kerb
at 90°, but select a low speed
setting. Move forward and slowly
allow your Scoota to drop gently,
front wheel(s) first from the kerb.
The rear stabilising wheels may
make contact with the kerb when
dismounting this is normal.
Note: Low speed settings are also
recommended when travelling
down hill, particularly in reverse.
Also, reduce your speed when
turning corners. The anti-tip
devices fitted with the scoota may
interfere with kerbs when
mounting and dismounting.
Travelling across slopes
Care should be taken traversing
across a slope. (Fig. 14)
Note: Do not traverse across the
face of a slope in excess of 10°
(1 in 6).
Disregard of this advice could
result in your Scoota tipping.
Guidance for safe operation and use
Fig. 13
Maximum kerb height 10cm (4")
Maximum slope 10°
(1 in 6)
(Scoota shown to illustrate kerb mounting)
(Scoota shown to illustrate travelling across slopes)
Use on the pavement
When using your Scoota on the
pavement always be aware of
pedestrians and situations which
might require extra care. For
example, young children and pets.
Remember, especially when driving
in public places, to drive with caution
and regard for others at all times.
When manoeuvring in confined
areas, including shops, ensure the
minimum speed is selected. If you
leave your Scoota outside a shop
ensure that it does not obstruct
pedestrians, and remember to keep
the key with you for security.
In the UK always set the speed to
half. This is achieved by setting
the Speed Knob to position 4.
Fig. 14