Snapper 1691351 User Manual
Page 2
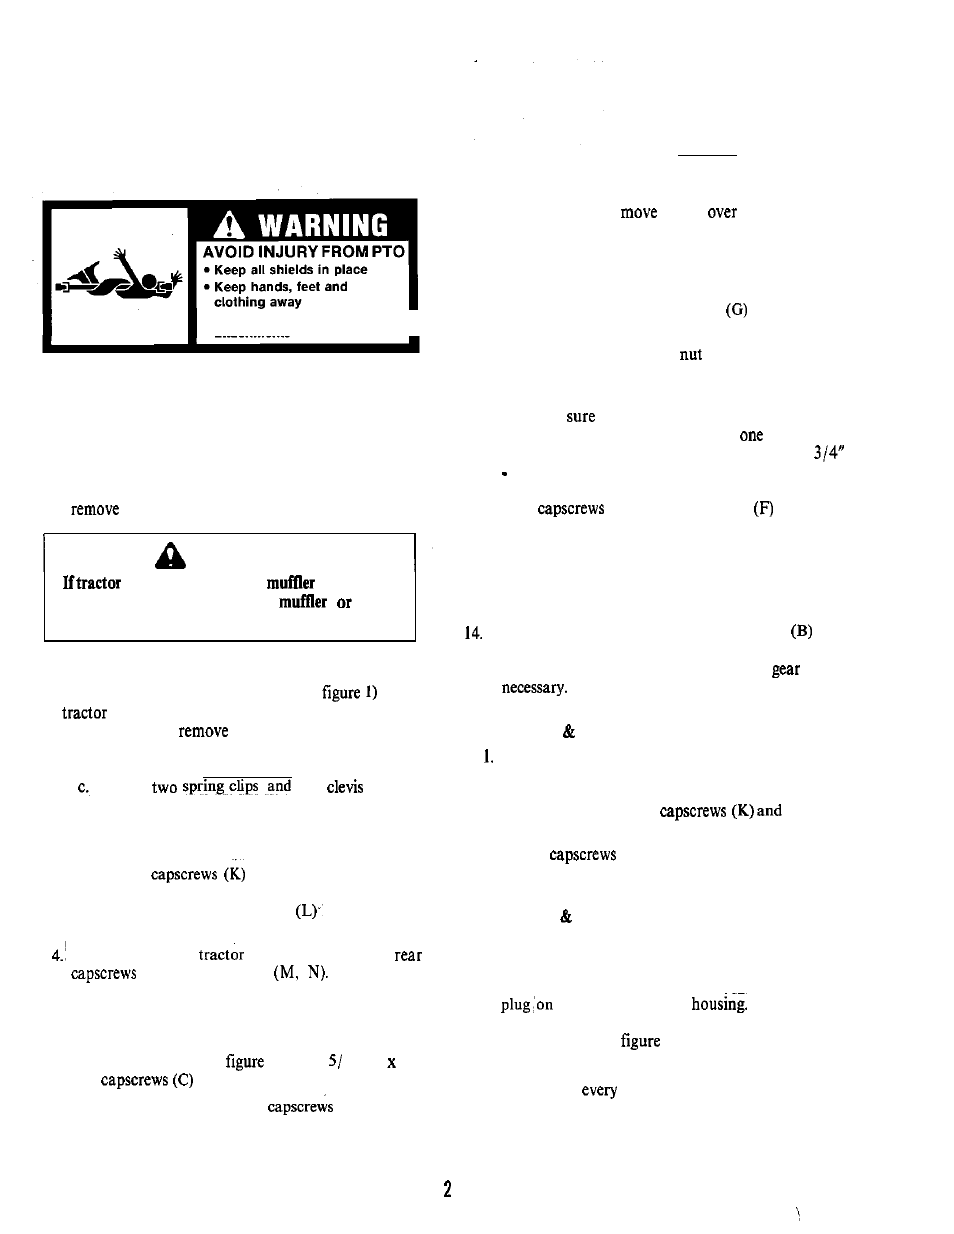
SAFETY DECAL
l
Operate only with 540 RPM
attachments
I
Located on PTO Shield
ASSEMBLY
1 . Park tractor on a flat, level surface. Shut off engine,
key. and allow all moving parts to stop.
W A R N I N G
has been in operation,
may be hot.
Use caution working around
allow
muffler to cool before proceeding with installation.
NOTE
The initial assembly of PTO carrier (F,
to
frame is easier with hood deck removed
from tractor. To
deck:
a. Tilt deck forward.
b. Uncouple headlight wiring harness.
Remove
two
pins.
d. Remove hood deck from tractor.
2. Remove PTO shield by removing spring clips and
bracket. Store spring clips with bracket.
3 . Install front
thru carrier(F) and install
washers (L), lockwasher (M), and nuts (N). Leave
hardware loose. Large washers
arc for front
slotted frame holes only.
Install carrier onto
frame and install two
(K) and hardware
Tighten snug
only until PTO is installed.
5 . Apply oil or lubricant to splines of tractor PTO shaft.
6 . Remove existing bolts and nuts from PTO housing at
four locations shown in
2. Install
16-18 2-
1/4
from front.
7. Install spacers (G) on end of
(C).
8. Install woodruff key (D) onto PTO shaft.
9. Install adaptor assembly (A) to housing input shaft.
Assembly should
easily
shaft and key.
Rotate PTO adaptor so that setscrew is at top of
shaft.
10. Just start PTO adaptor assembly (A) onto tractor
PTO shaft. Swivel back and forth in order to align
four capscrews (C) and spacers
with holes in
carrier (F).
11. Install washer (H) and hex
(I) and tighten fully.
With wrench on nut (I), install jam nut (J) and
tighten snug against hex nut.
12. To make
PTO adaptor (A) is properly aligned,
lift up on PTO housing (B) with
hand while
sliding adaptor back and forth. There should be
1” play. When adaptor slides easily between both
shafts, hold PTO housing in position and tighten
four
(K) securing carrier
to tractor
frame.
13. Remove setscrew from PTO adaptor (PTO housing
side) and push adaptor all the way towards tractor.
When Woodruff key (D) is visible (centered) in
setscrew hole, x-install setscrew and tighten.
Remove shipping plug from PTO housing
and
check that gear oil is level with plug. Installvent plug
(E) when oil level is correct. Use POW
oil as
REMOVAL INSTALLATION
After initial assembly of PTO adaptor (A), housing
(B) and carrier (F), components should be left
assembled. Installation and removal can be
accomplished with four
mounting
hardware (L, M, N).
2. Install
(K) only snug initially and repeat
alignment procedure (step 12).
STORAGE LUBRICATION
1. Store PTO assembly upright on frame to prevent
gear oil loss.
2. Check gear oil level every season by removing oil till
front side of PTO
Oil should be
level with plug opening. Do not till oil to vent plug
opening. Refer to
1.
3. Lubricate grease fittings on each side of PTO
housing (B)
25 hours of operation. Apply only
2-3 shots of standard automotive grease.