Putting audiobeam into operation – Sennheiser Work Light User Manual
Page 6
Putting AudioBeam into operation
1
5
Warning!
If you turn off the built-in distance sensor, persons who come closer
than 4 m to AudioBeam may be in danger from ultrasound.
Always ensure that nobody can come closer than 4 m to AudioBeam
across the entire rotating range!
! To do this, mount AudioBeam at a height of more than 7 m.
! If necessary, take the appropriate structural measures (barriers) to
keep people away.
̈
Disconnect AudioBeam from the mains.
̈
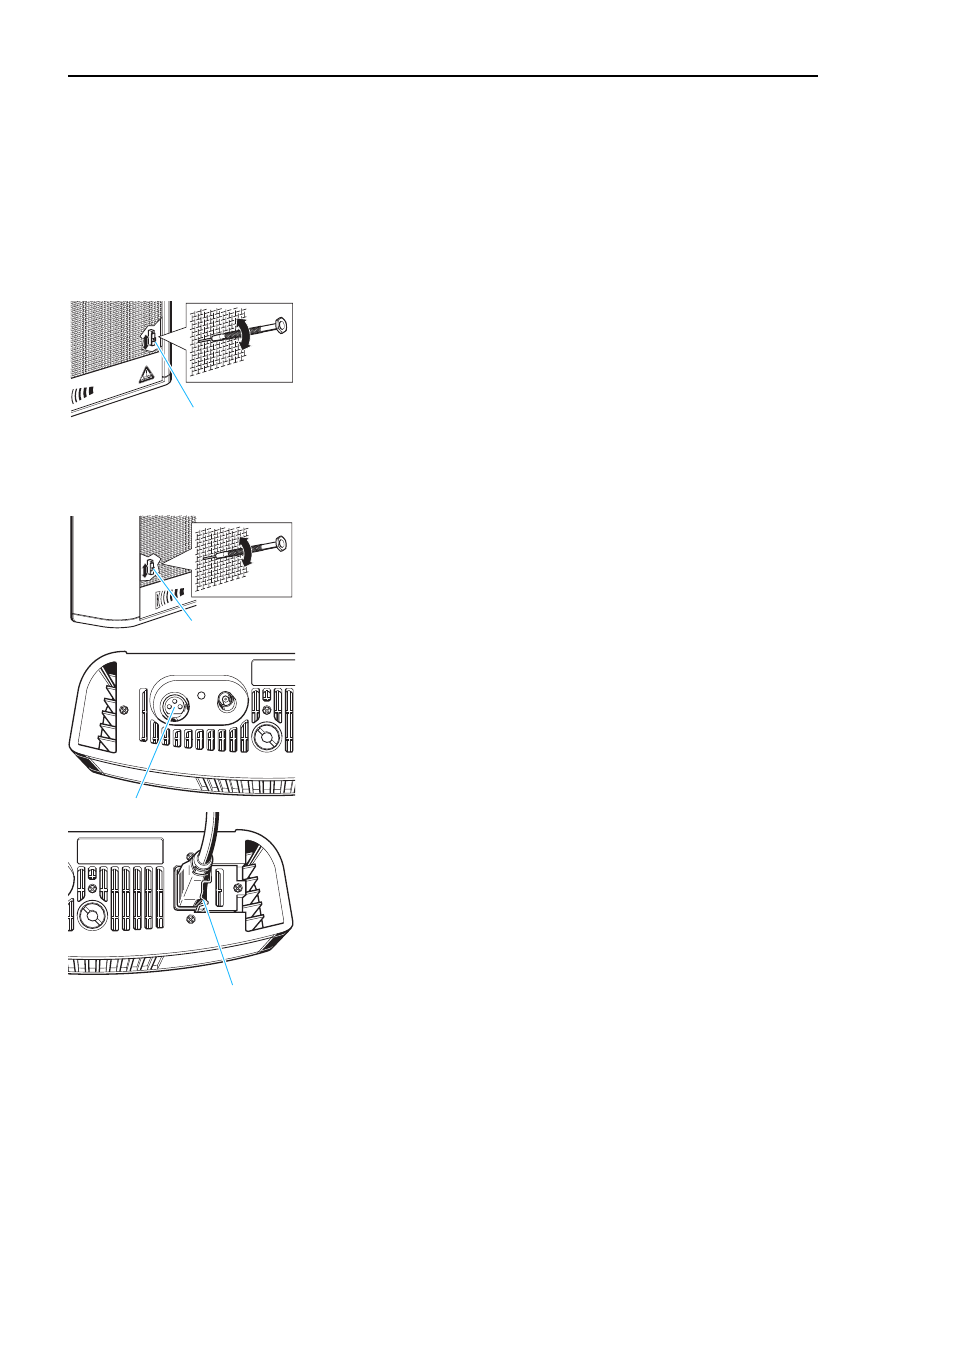
Set the On/Off switch for the distance sensor
»
to the lower
position (
OFF
).
̈
Reconnect AudioBeam to the mains.
Putting AudioBeam into operation
̈
Ensure that AudioBeam is
not
connected to the mains!
̈
Use the sensitivity selector switch
·
to adapt AudioBeam’s input
sensitivity to the audio source:
! Sources with a high output power (e.g. mixing console, CD or DVD
player): upper position (+6 dBm)
! Sources with a low output power (e.g. portable mini disk player):
lower position (–14 dBm)
̈
Use an XLR-3 cable to connect the audio source (e.g. CD or DVD player,
mixing console, receiver of a wireless microphone) to the audio input
INPUT
¿
.
AudioBeam automatically emits ultrasound as soon as an audio signal
(see “Specifications” on page 17) is present at the audio input
INPUT
¿
.
̈
Use the mains cable to connect AudioBeam to the mains. Secure the
mains cable with the steel clamp
µ
.
The LED
³
lights up green, indicating that AudioBeam is ready for
operation (standby).
Note:
If you do not use the unit, pull the mains connector out of the wall
socket. This helps to increase the service life of AudioBeam and save
energy.
»
µ
·
INPUT
OUTPUT
OVERLOAD
¿