Dubbing from a dv/digital8 format tape to a dvd – Sony RDR-GX257 User Manual
Page 60
60
Dubbing From a DV/Digital8
Format Tape to a DVD
You can record a DV/Digital8 format tape onto a
disc. The recorder controls the digital video
camera. You can fast forward, rewind, and stop
the tape to select a scene using the recorder’s
remote control.
◆How chapters are created
The dubbed contents become one title, and the title
is divided into chapters. The recorder divides the
title into chapters according to the setting in
[Video] Setup (5 or 10-minute intervals, or does
not divide at all) (page 67).
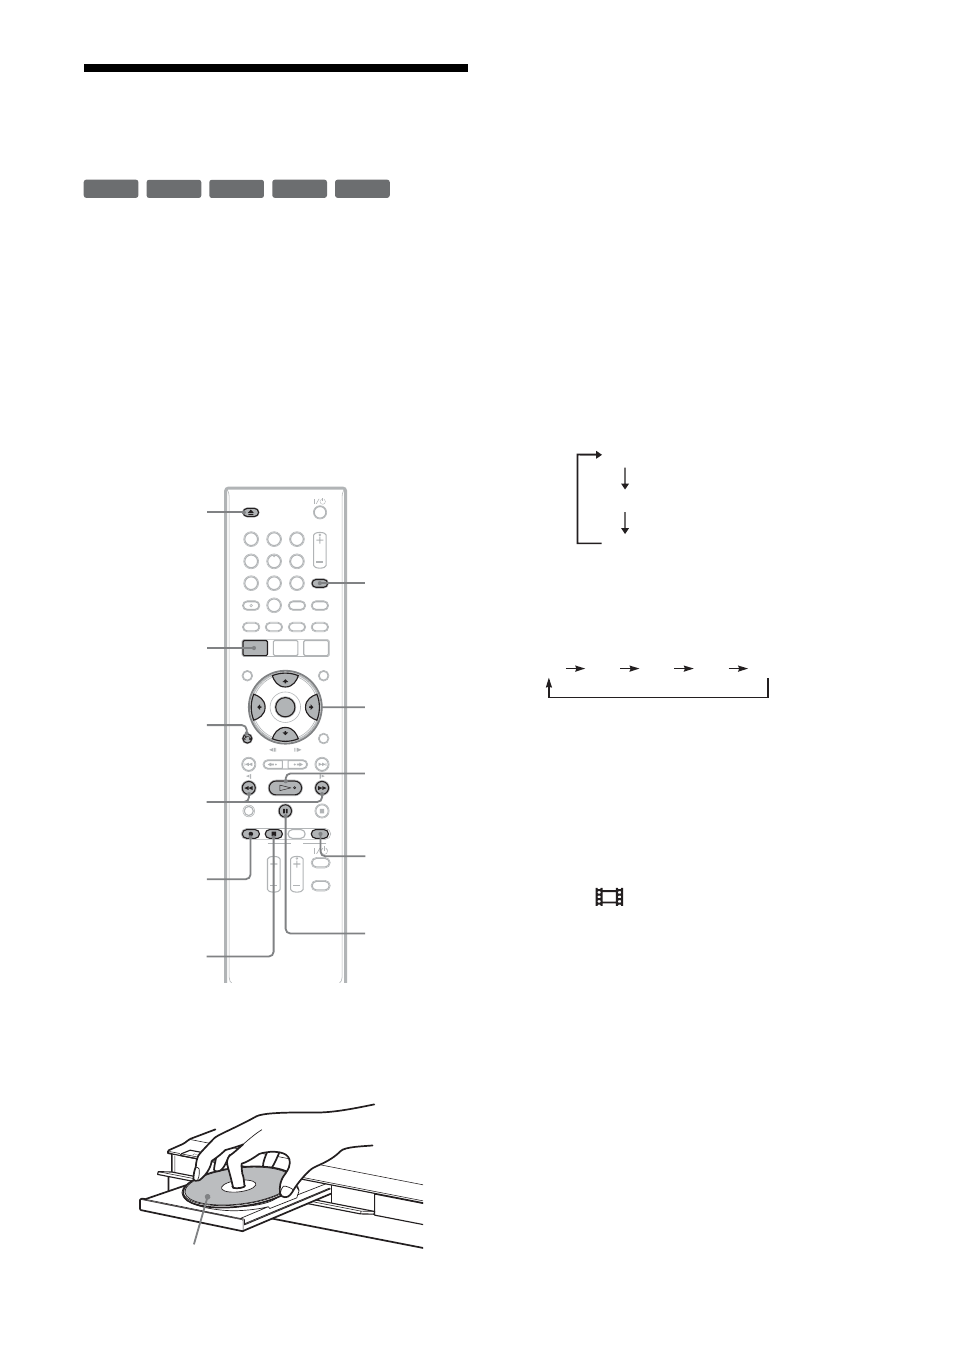
1
Press Z OPEN/CLOSE, and place a
recordable disc on the disc tray.
Make sure that the disc has enough free space
to record the contents of your tape.
2
Press Z OPEN/CLOSE to close the disc
tray.
Wait until “REAd” disappears from the front
panel display.
For details on how to insert and format a new
disc, see “Inserting and Formatting a Disc”
(page 26).
3
Insert the source DV/Digital8 format tape
into your digital video camera.
For the recorder to record or edit, your digital
video camera must be turned on and set to
video playback mode.
4
Press INPUT on the remote repeatedly to
select “dV.”
The selected input changes as follows:
5
Press REC MODE on the remote repeatedly
to select the recording mode.
The recording mode changes as follows:
For details about the recording modes, see
page 35.
6
Press SYSTEM MENU to turn on the System
Menu.
7
Select [Setup] and press ENTER.
The Setup Display appears.
8
Select
[Video] Setup and press ,.
-RW
VR
-RW
Video
+
RW
+
R
-
R
1
2
3
4
5
6
7
8
9
0
REC MODE
Z OPEN/
CLOSE
ENTER
X PAUSE
x REC STOP
z REC
O RETURN
H PLAY
m/M
SYSTEM MENU
INPUT
Labeled side facing up
L1
L2
dV
HQ
SP
LP
EP
ULP