Configuring software for pc connection – Sharp VL-WD250U User Manual
Page 75
62
Advanced Features
Configuring Software for
PC Connection
This camcorder can transfer still playback
images in VCR mode or still images in CAM-
ERA mode to a personal computer by using the
optional Video Capture Software VR-PK50E.
System Requirements
• IBM PC/AT or compatible with Intelb Pentiumb
133 MHz or faster processor
• Microsoft Windowsb 95B, Windowsb 95C,
Windowsb 98, Windowsb 98 Second Edition,
Windowsb 2000 Professional*, or Windowsb
Me operating system
• 32 MB or more of RAM
• 9 MB minimum of available hard-disk space
• SVGA (800 K 600 pixels) color display
monitor with 16-bit color or higher
• CD-ROM drive (for installation)
• RS-232C serial port
• Mouse or other pointing device
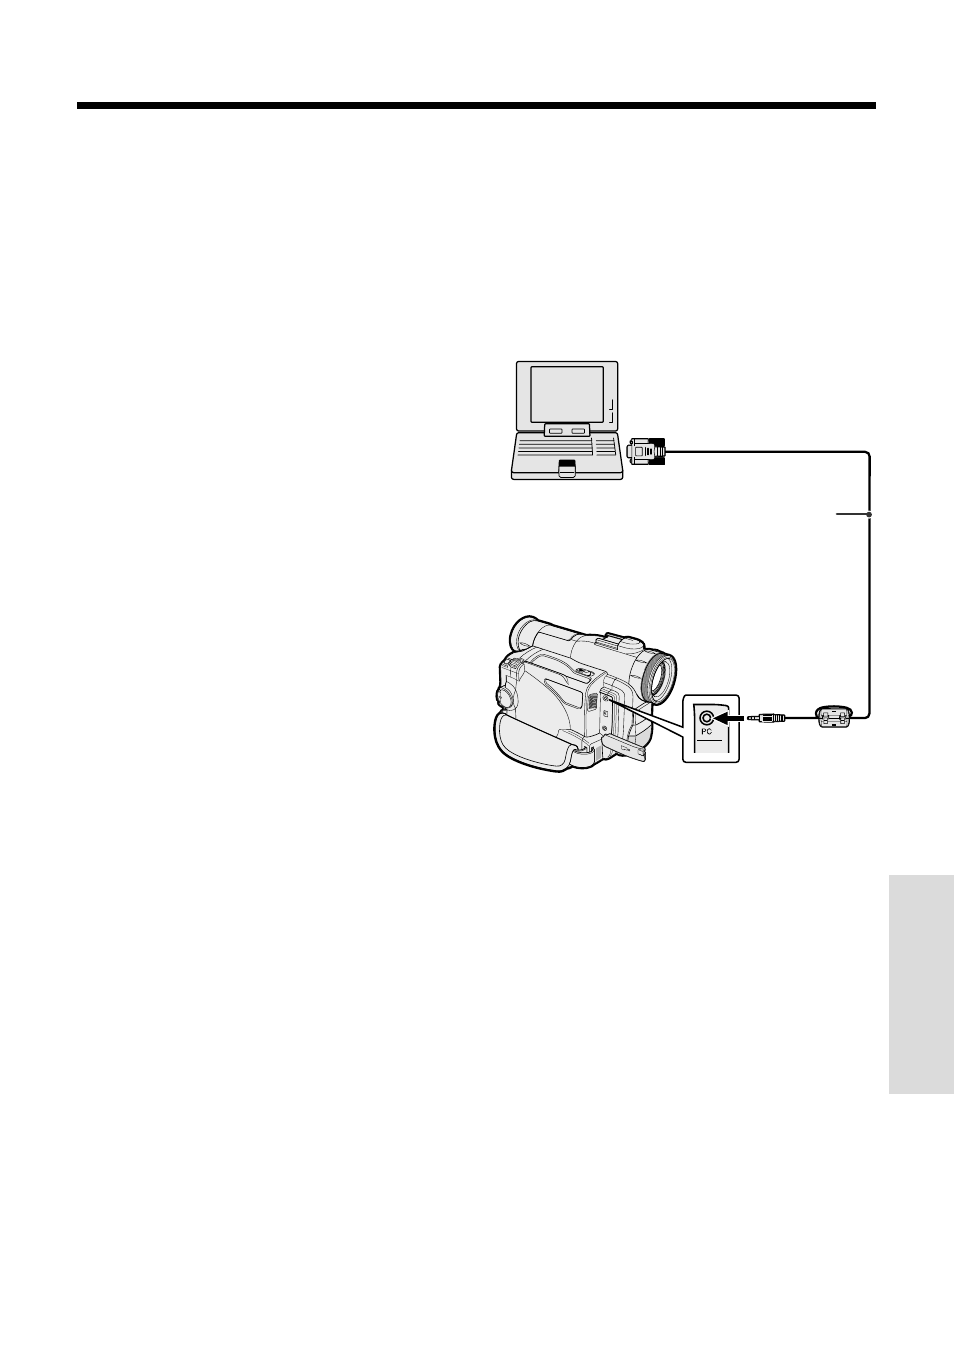
Connecting the camcorder to a
Personal Computer
1
Turn off the PC.
2
Connect the camcorder as shown below.
• Before connecting the camcorder to the
PC, make sure that the PC power is off
to insure that images are transferred
properly.
3
Turn on the PC.
To RS-232C port
(D-sub 9-pin port)
PC connecting cable*
To PC connection jack
Notes:
• It is recommended to use the AC adapter/battery
charger as a power source for extended periods
of use.
• Images with the following functions cannot be
transferred to a personal computer.
— VCR mode: Playback Zoom, Picture Effect
Playback
— CAMERA mode: Digital Zoom, Digital Picture
Effects, Scene Menu
• To edit still images transferred with the optional
Video Capture Software, use a commercially
available image editing software.
*Included with the optional Video
Capture Software VR-PK50E.
* In the Windowsb 2000 Professional environ-
ment, only the system administrator has
installation access rights.
Installing the Software
1
Turn on the PC and start up Windows.
2
Insert the CD-ROM of the optional Video
Capture Software VR-PK50E into the
CD-ROM drive.
3
Double click on the “My Computer” icon.
4
Double click on the “CD-ROM” drive
icon.
5
Double click on the “Setup.exe” file.
6
Follow the instructions as they appear on
the PC monitor until the installation is
complete.
7
Restart the PC.