Using the on-screen display – StarTech.com VGA2NTSCPRO User Manual
Page 6
4
5
Sharpness
There are eight sharpness levels available to choose from. To adjust the sharpness:
1. Press the Menu button to call up the OSD menu.
2. Use the +/- buttons to scroll to the Sharpness icon. Press the Select button to view
the sharpness settings.
3. Use the +/- buttons to scroll through the sharpness settings until you reach your ideal
sharpness level.
4. Push the Select button to save the sharpness level and press the Menu button to exit
the sharpness function. You can also allow the converter to sit idle for a few
seconds. This will save the sharpness setting and exit the OSD automatically.
Zoom
The VGA2NTSCPRO performs a 2X zoom in both horizontal and vertical directions.
Using the zoom mode also involves selecting which quadrant of the screen you want to
zoom in on.
1. Press the Menu button to call up the OSD menu.
2. Use the +/- buttons to scroll to the Zoom icon. Press the Select button to view the
zoom settings mode.
3. Press Select to enter Zoom mode.
4. Use the +/- buttons to scroll between the four different quadrants of the screen. You
can also press the Select button again to exit Zoom mode and return to normal mode.
5. Once you are happy with your zoom settings, allow the converter to sit idle for a few
seconds. This will save the zoom settings and exit the OSD automatically.
Panning
The VGA2NTSCPRO allows you to pan across your image both vertically and
horizontally.
1. Press the Menu button to call up the OSD menu.
2. Use the +/- buttons to scroll to the Panning icon. Press the Select button to view
the panning settings.
3. A pair of small arrows will indicate whether you are in Vertical or Horizontal pan
mode. Use the Select button to toggle between Vertical and Horizontal mode.
4. Depending on your mode, the + button will pan either up or right. The - button will
pan either down or left.
5. Once you are happy with your panning settings, allow the converter to sit idle for a
few seconds. This will save the panning settings and exit the OSD automatically.
6. Make sure that the Video/RGB button is set appropriately: IN for Composite or S-
Video
systems, OUT for SCART systems.
7. Plug the DC 9V power adapter into the DC9V port and an available power source.
8. Turn on your computer, monitor, and television.
9. Make sure that your television is on the proper “Video Input” channel. Consult the
television manufacturer’s documentation if necessary.
10. Turn on the converter. You should now see an identical image on your monitor and
television screen.
Using the On-Screen Display
The On-Screen Display (OSD) allows you to easily navigate and select the different
settings and modes available on your converter. The OSD appears as a blue and white
menu bar across the top of your screen. To bring up and use the OSD menus, you can
use the four push-buttons on the top of the converter. The buttons are (from right):
Menu
: Pressing this button will open/close the OSD main menu. The OSD menu will
also automatically close after several seconds of non-activity.
Select:
Pressing this button will select an OSD menu option or setting.
+/-:
These two buttons scroll through the available menu options or settings.
NOTE:
You can also use the remote to access the OSD. See “Using the Remote” on page
7 for more details.
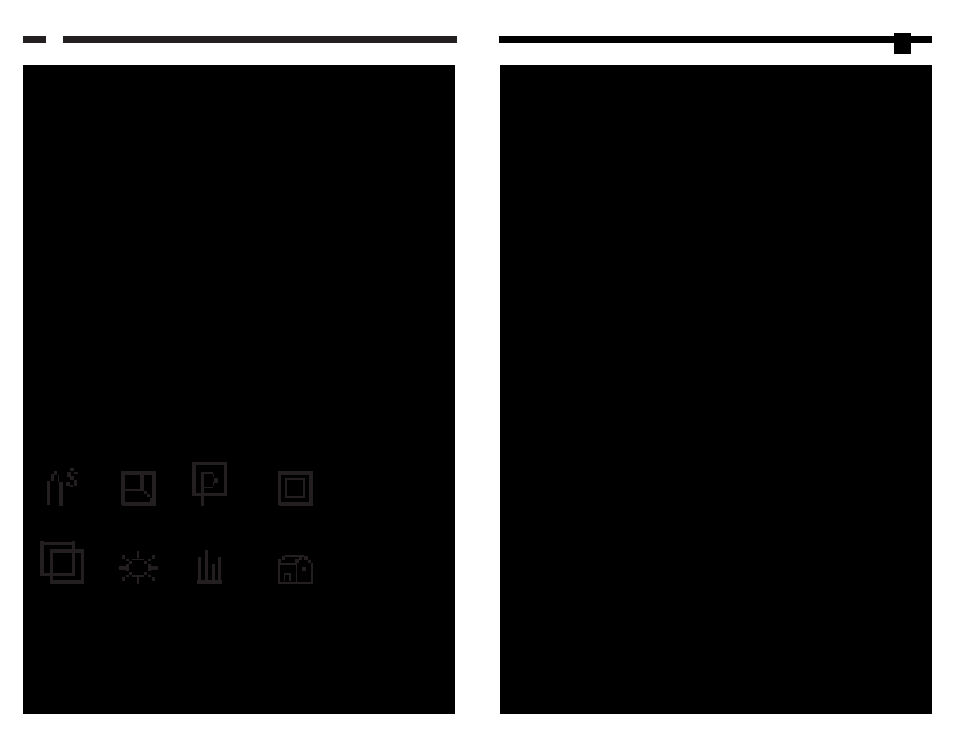
There are eight functions available on the OSD menu:
To select the function you would like to adjust, use the +/- buttons to scroll between the
menu options. (The active option is marked with a yellow-orange highlight). Press the
Select
button to view a function’s settings.
Sharpness
Zoom
Panning
H/V Scaling
Positioning
Color Bar
Bright
Reset