Centering adjustment (gb), Centering adjustment – Sony VPH-D50HTM User Manual
Page 24
24
(GB)
LIGHT
NORMAL
VIDEO
SELECT
B
A
VIDEO/S VIDEO
INPUT SELECT
BRIGHT
-
CONTR
PICTURE CONTROL
-
+
+
ON
STATUS
OFF
PIO
MUTING
BLKG
SIZE
R
RGB
SHIFT
CENT
B
MEMORY
RESET
MENU
ENTER
ON
POWER
OFF
STANDBY
IR
--
SELECT
VIDEO MEMORY
SWITCHER INDEX
PIC
ON
AUDIO
OFF
PATTERN
FOCUS
ZOOM
SHIFT
NORMAL
MUTING
STATUS
LCD LENS CONTROL
ON
COMMAND
OFF
SIZE
DOT PHASE
APA
SHIFT
RGB
R
B
CENT
ON
STANDBY
MEMORY
MENU
VIDEO
INPUT SELECT
A
D
B
C
BLKG
SYS SET
RESET
FUNCTION
1
4
2
3
5
8
6
7
9
10/0(ALL)
SW NO/
OFF/GROUP
SWITCHER/VIDEO MEMORY/INDEX
ENTER
POSITION
BRIGHT
CONTR
PICTURE CONTROL
HUE
COLOR
SHARP
VOL
VIDEO/S VIDEO
LIGHT
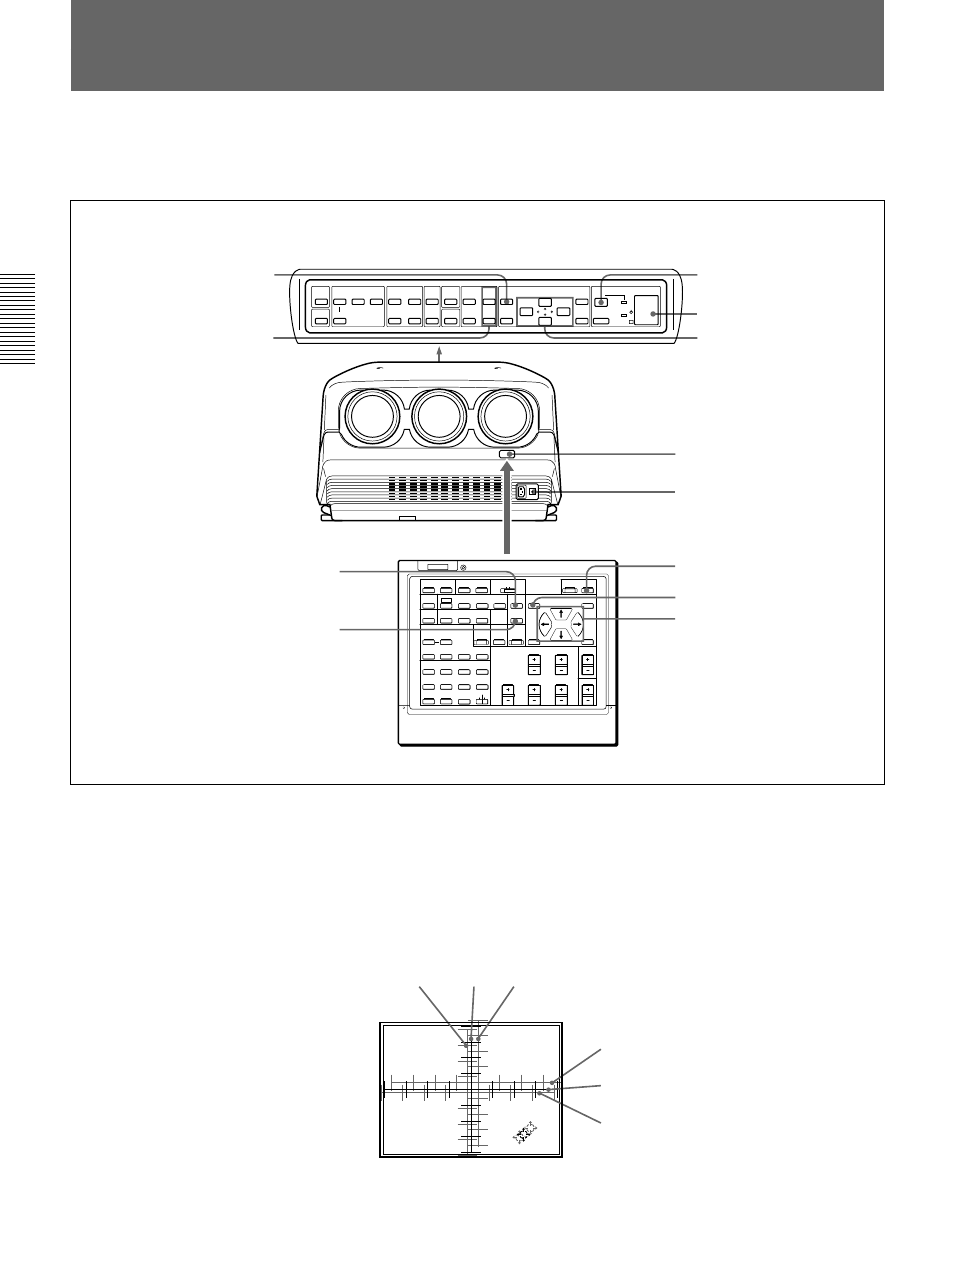
The three colors, red, green and blue must converge for correct projection.
If they do not converge, centering adjustment is necessary.
1
Turn the projector on by switching on the MAIN POWER switch and
pressing the ON key on the remote control.
2
Press the CENT R key.
The built-in CROSS HAIR test pattern appears and the red line will be
adjustable.
Centering Adjustment
Control panel
POWER ON key
Rear remote control detector
Arrow keys (
V
,
v
,
B
,
b
)
Front remote control detector
MEMORY key
ON key
Arrow keys (
V
,
v
,
B
,
b
)
MAIN POWER switch
CENT R key
CENT B key
CENT R/B key
MEMORY key
A D J :
A D J :
H c : 1 2 8
H f : 1 2 8
V c : 1 1 8
V f : 1 3 0
H c : 1 2 8
H f : 1 2 8
V c : 1 1 8
V f : 1 3 0
R C E N T A D J
R C E N T A D J
R C E N T A D J
H c : 1 2 8
H f : 1 2 8
V c : 1 1 8
V f : 1 3 0
A D J :
Blue
Green
Red
Red
Green
Blue
Remote control
Point it toward the front remote control detector.