Chapter 3, External storage – Sunfire TGM-100C User Manual
Page 32
30
Installation Manual
CHAPTER 3
Select
•
TGM-100C Clients. All available TGM-100C
Clients should be listed.
If the TGM-100 Server has not detected any TGM-
•
100C Clients, press ä Refresh to re-scan the
network.
Select each TGM-100C Client and press
•
O
Control to
connect it to the TGM-100 Server.
Press
•
M
Save.
To disconnect a TGM-100C Client, select the unit from
•
the list and press O Release.
External Storage
Whichever external storage device you choose, it must
be connected to a TGM-100 Server (not a client). You can
use both an eSATA or a TGM-HDC iSCSI external storage
device. Multi-volume support, when implemented, will be
available via the online upgrade facility. Plug the eSATA
drive into the eSATA socket on the back of the TGM-100
Server only.
Connecting eSATA Storage: TGM-HD1 (1Tb)
With all units powered Off, plug the TGM-HD1 into the
•
eSATA port on the back of the TGM-100 and power it
up.
Power up the TGM-100. The TGM-HD1 should
•
be detected by the TGM-100 during startup and
automatically be available for immediate use.
It may be necessary to reboot the TGM-100 the fi rst
•
time a TGMHD1 is connected.
Should the TGM-100 detect any inconsistency in the
•
TGM-HD1 setup during startup, it will correct this
automatically and then restart itself, using the new
confi guration.
Connecting Ethernet Storage: TGM-HDC
This section covers the basic information needed to get
the Sunfi re TGM-HDC connected and functioning with the
TGM-100.
Connect the TGM-HDC device as described previously.
•
Connect a PC to the network and start your browser.
•
Turn on the UPS and the 3 power switches on the back
•
of the TGM-HDC. The unit will output an audible signal
once startup has completed.
Your TGM-HDC external storage device must be powered
using an Uninterruptible Power Supply (UPS).
IP Address
Write down the IP Address of the TGM-HDC that
•
appears in the window on the front of the unit. For
example: 192.168.000.198.
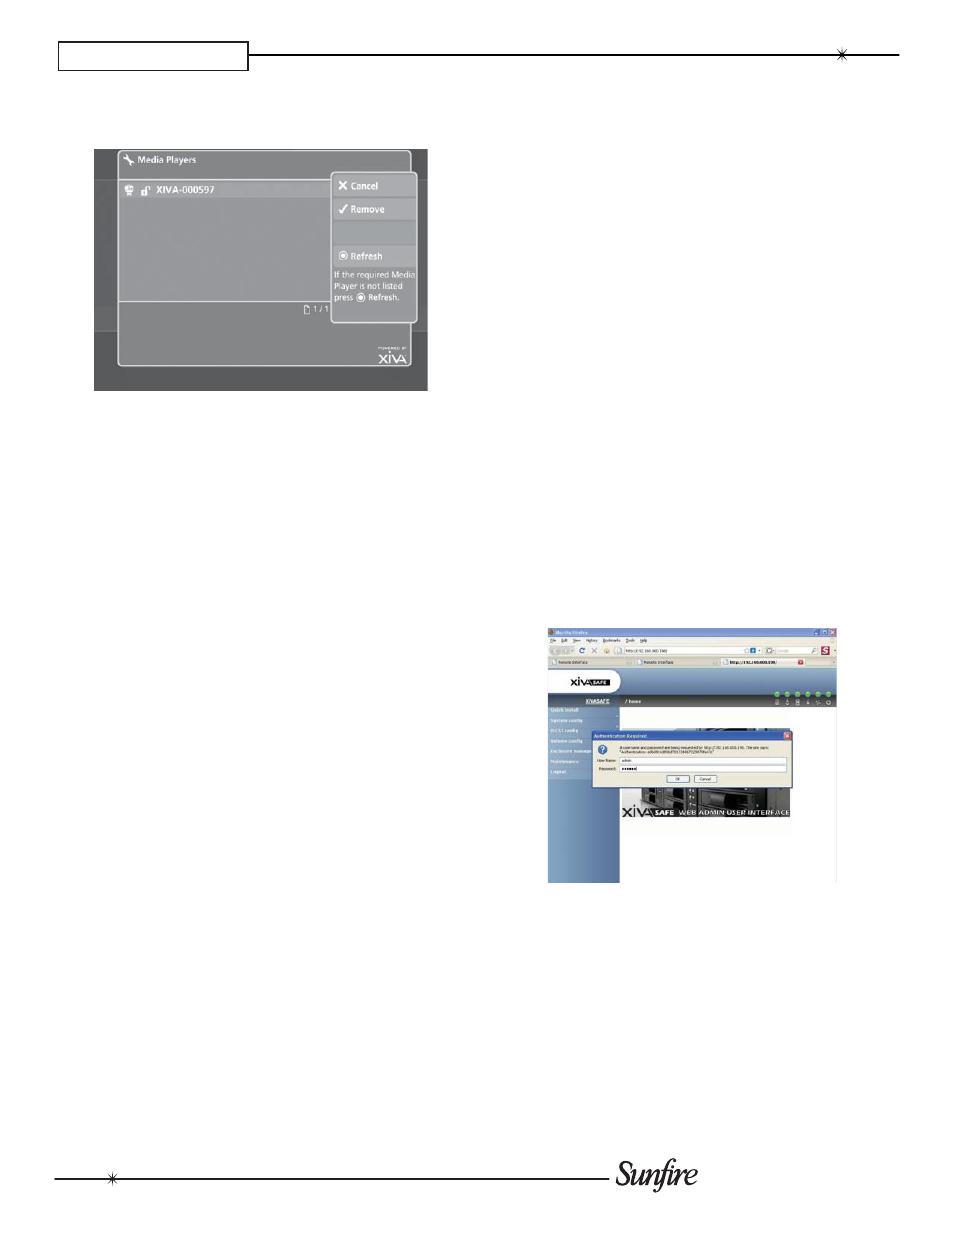
Open a web browser from the PC and enter the TGM-
•
HDC's IP Address. The Confi guration Screen will
appear.
Click on
•
System confi g for an overview of all the
parameters available to set up the TGM-100. The User
name/Password dialog box will appear.
Enter the user name:
•
admin
.
Enter the password:
•
en91n3
.
Click on
•
IP address. The default setting is DHCP.
Change this to Static.
Enter a new IP Address that is in the range of your
•
network. The example below uses 192.168.000.250.
Click
•
Confi rm to change the IP Address.