Sherwood SR 7206 User Manual
Page 5
www.sherwoodscuba.com
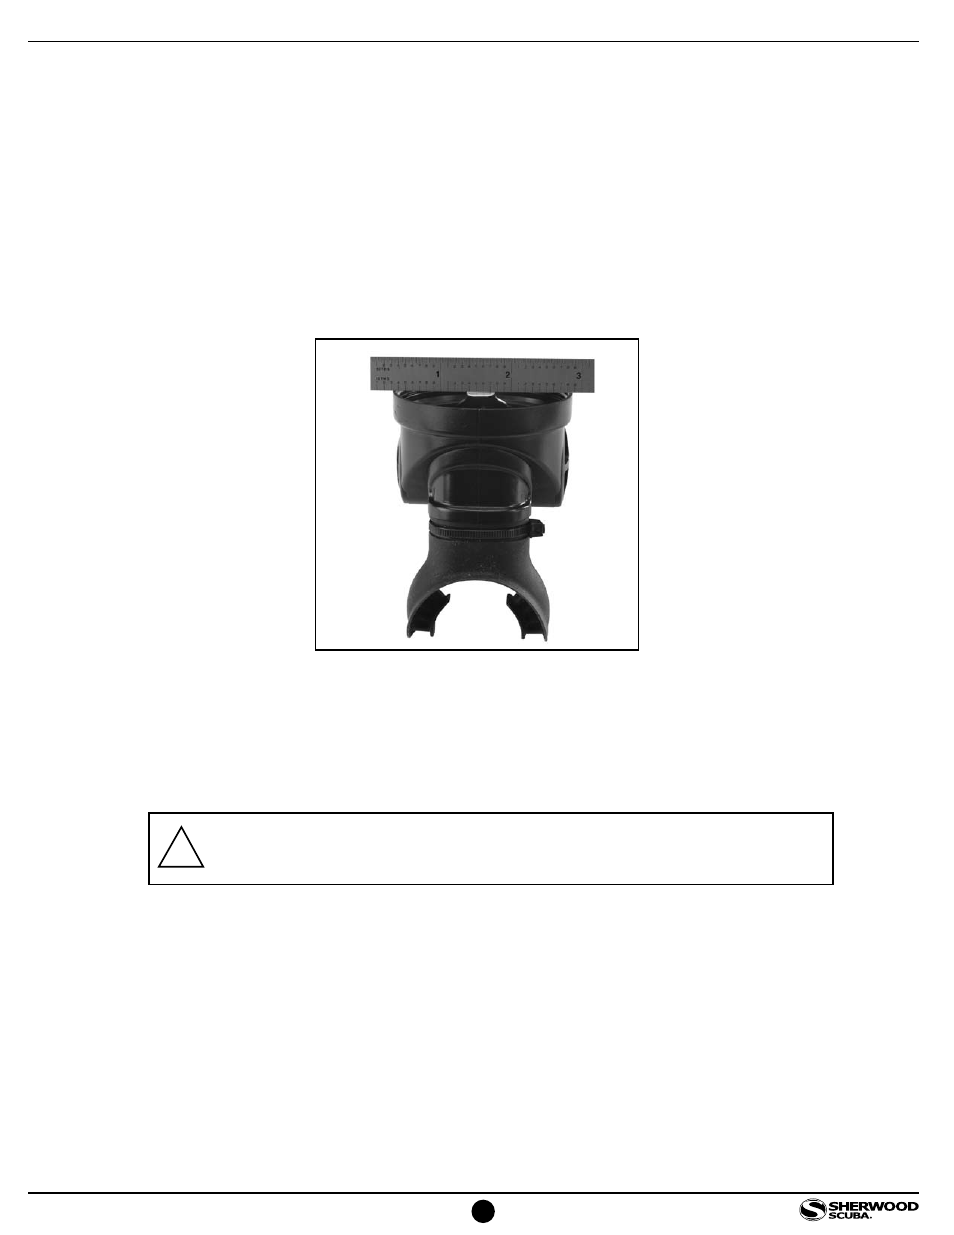
8. Before further disassembly check the alignment of the Demand Lever (7) with regard to the Housing (10).
The surface of the Demand Lever that contacts the Diaphragm should be parallel to the Housing within
1/16 inches. Place a straight edge across the Housing to check the alignment of the Demand Lever.
(Refer to Illustration 1). If the Demand Lever is above or below the edge of the Housing, it usually can be
adjusted later as long as the surfaces are parallel. If the Demand Lever is distorted, it should be replaced.
If the Lever Support (6) rotates within the Housing and causes the Demand Lever to deviate from a
parallel position with regard to the Housing, check the Housing indexing feature for damage after
the Lever Support is removed from the Housing. Damage of this type is generally caused by improper
tightening of the LP Hose fitting without supporting the Inlet Fitting.
9. Use a wrench to remove the Inlet Fitting (1) from the Housing. Remove and discard the o-ring (2) using
a nonmetallic or soft brass instrument to avoid damage to the sealing surfaces of the Inlet Fitting.
10. Gently remove the demand valve subassembly from the Housing as a complete subassembly. (Refer
to Illustration 2) This subassembly consists of the Lever Support (6), Lever (7), Washer (8), Locknut (9),
Spring (5), Poppet (4) and Seat (3). In most cases it is unnecessary to further disassemble the demand
valve subassembly if it is free of corrosion or mineral deposits and the lever will move the poppet
smoothly. If this is the case, then remove and discard the Seat (3). This may require the use of a straight
pin or needle to pierce and extract the Seat. Be careful not to damage the metallic surfaces around and
under the seat.
1) Checking alignment of Demand Lever
NOTE: Deep scratches on metallic sealing surfaces may interfere with
sealing and require replacement of the part.