I n s t a l l a t i o n, I n s ta l l at i o n – Studio RTA Component Speaker User Manual
Page 10
I N S TA L L AT I O N
M o u n t i n g C o n s i d e r a t i o n s for your Midwoofers
S T U D I O D R I V E R
component speakers are designed to mount into most factory
speaker locations with minimum effort. The speaker baskets are designed
to be a universal fit.
When designing your system, a good rule of thumb is to mount the tweeter
close to the midrange/midbass speaker. This usually produces the most
accurate soundstage and image.
C u t t i n g M o u n t i n g H o l e s
Before beginning, now is the time to consider professional installation of
your new components. A mistake now can be costly. If you're set on installing
these components yourself, read on.
Determine a suitable location for the selected components. Make sure the
area under the desired speaker location is free of obstacles such as
computers, wires, fuel tanks, etc. Use a hole saw to make the cut. The
correct hole saw size for the chosen speaker can be found on pages 2
through 5 of this manual.
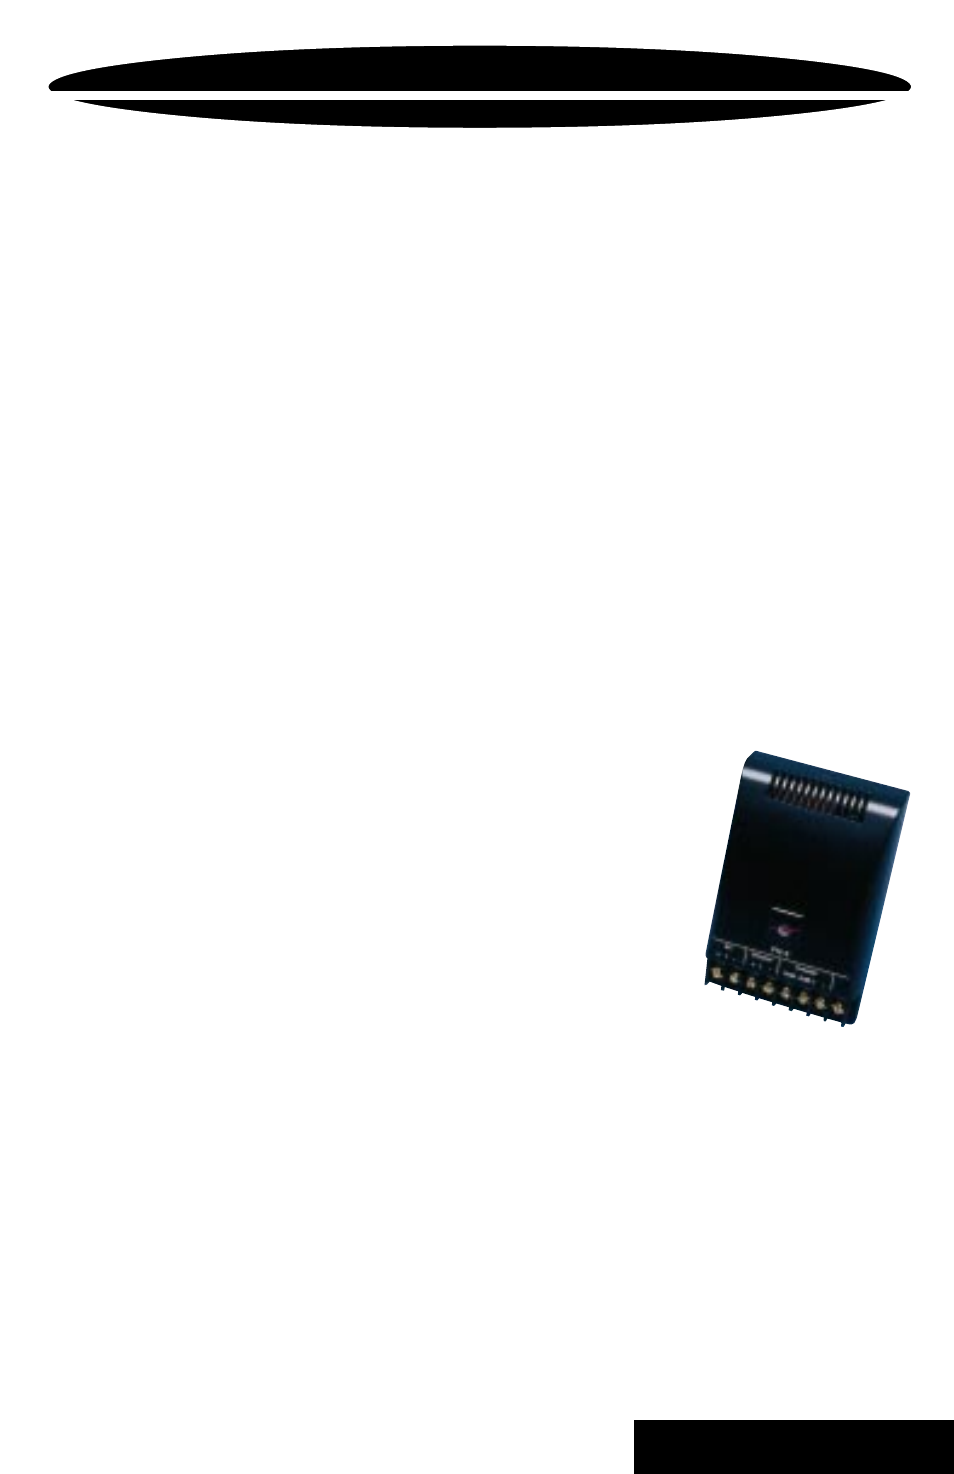
P a s s i v e C r o s s o v e r s
Choose a location for mounting the crossovers. The
F N - 3
and
F N - 6
crossovers can be permanently mounted.
Squeeze the sides of the
F N - 3
housing and remove the top cover. Locate
the two holes in the base of the crossover.
Temporarily place the base of the
F N - 3
or
F N - 6
crossover onto the desired
mounting surface and mark the location of the holes.
Drill mounting holes (again making sure there is clearance underneath) in
the desired locations. Mount the crossover using the appropriate screws or
nuts and bolts. Snap the cover back onto the crossover.
8