Registering a mark – Sony DPF-X85 User Manual
Page 28
28
GB
4
Press MENU.
The delete confirmation screen is
displayed.
5
Press
v/V to select [Yes], and then
press .
The image is deleted.
6
Press
when the confirmation
screen is displayed.
Notes
• Avoid doing the following while an image is being
deleted. Doing so may damage the photo frame,
memory card, or the data:
– Turning off the power
– Removing an memory card
– Inserting another card
• When the message [Cannot delete a protected file.]
appears on the screen, the image file was set to
“Read Only” on a computer. In this case, connect
the photo frame to a computer, and delete this file
using the computer.
• The total capacity of the internal memory is not
equal to the remaining capacity, even immediately
after initialization.
• If deletion has started, the deleted image cannot be
recovered even if you stop deletion. Delete images
only after confirming you actually want to delete
them.
Tip
You can change the thumbnail size using [
/
] in
the image list.
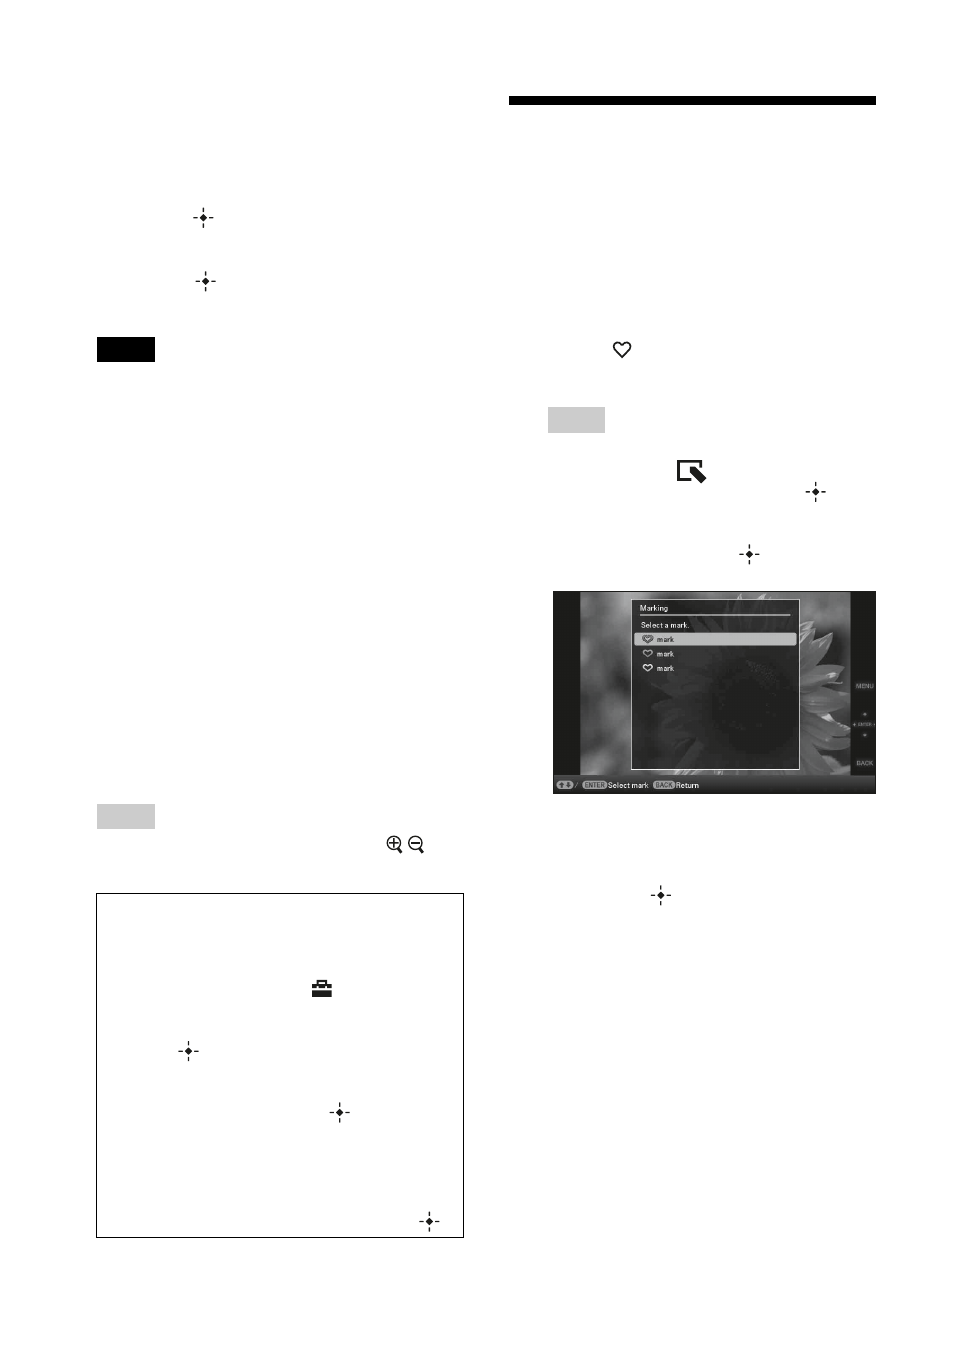
Registering a mark
You can produce a slideshow only with images
which have been selected beforehand and have
been marked. You can easily check for images
with marks using the index image display or
single view mode.
1
Press
(MARKING) when an
image is displayed on the screen.
Tip
If using the buttons on the photo frame, press
MENU, select the
(Editing) tab with
B/b,
select [Marking] with
v/V, and press
.
2
Press
v/V to select the mark you
want and then press
.
3
Press
v/V to select [Mark this
image], [Mark/Unmark multiple
images] or [Mark all images] and
then press
.
If you select [Mark this image], the image
currently displayed will be marked and
showed in the future. (This item cannot be
selected on the slideshow display.)
If you select [Mark/Unmark multiple
images], you can select the image to
which you want to attach a mark from the
image list. Go to step 4.
If you select [Mark all images], the image
list is displayed.
“
✔
”
is attached to the
check box of all the images. Go to step 5.
To format the internal memory
1
Press MENU.
2
Press
B/b to select the
(Settings) tab.
3
Press
v/V to select [Initialize], and then
press .
4
Press
v/V to select [Format internal
memory], and then press
.
The confirmation screen used for
initializing the internal memory is
displayed.
5
Press
v/V to select [Yes], then press
.