Installation / removal, Installation instructions – Splendide 5200 User Manual
Page 5
4
!
n3. Connecting Water Inlet
•
If the water pipes you will be connecting to are new or unused, run the
water until clear to remove any debris that could clog the water valve
screens or valves before connecting the machine. NOTE: Supply
shut-off valves should be easily accessible.
•
Included in the accessories supplied with your machine are 2 inlet hoses
with 4 rubber washers preinstalled. Check that the rubber washers are
installed in the ends of the inlet
hoses to make a water tight seal
at each connection point.
•
Connect the straight ends of the
water inlet hoses to the supply
taps that have ¾” BSP thread
(standard hose bib).
•
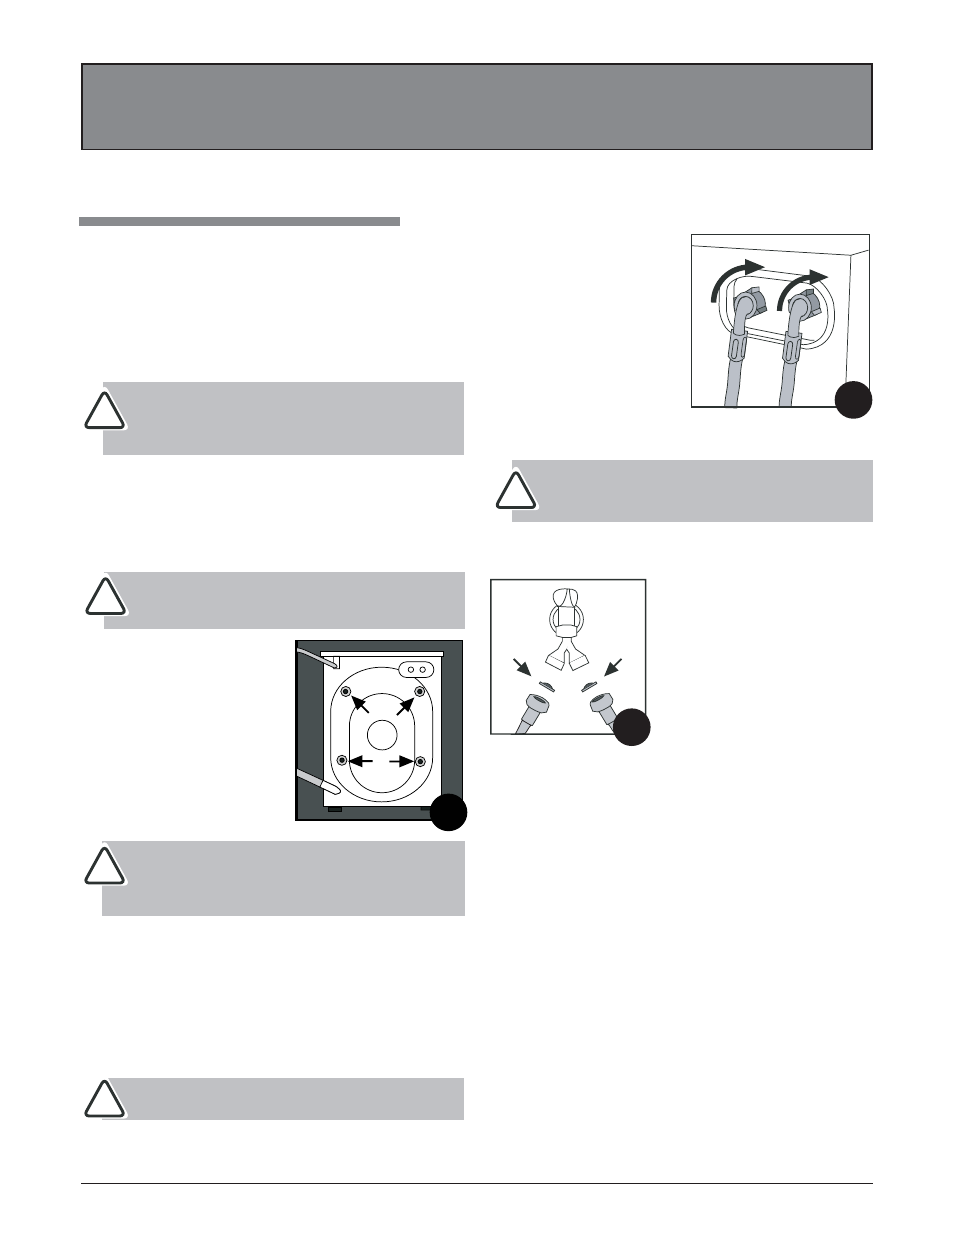
Connect the 90º angled ends (20
mm thread) of these hoses to the
inlet valves on the back of the
machine (Fig. 2). NOTE: Water
Inlet valves are color coded:
Red (Hot) & White (Cold).
IMPORTANT: Do not use excessive force. Damage to the
couplings can result. The couplings should be tightened by
hand; a tool should only be used if a leak occurs.
Optional Single Faucet Hook-Up
It is possible to run the machine on
cold water only, but a water supply
must be connected to each inlet
valve. To do this, we suggest you use
a “Y” connector (contact Splendide).
Connect the “Y” connector to a tap.
After checking that the 4 rubber
washers (provided) are installed in the
ends of the inlet hoses, connect the
straight ends of the hoses to the “Y”
connector (Fig. 3). Then connect the
90º angled ends of these hoses to the inlet valves on the back of the
machine (Fig. 2). NOTE: When the machine is connected to a single
faucet, the water temp. for the wash/rinse settings is regulated by the
temperature YOU set at the faucet. If hot or warm water is used for
washing, it is important to turn the faucet to COLD after the wash cycle.
Cold water is essential to your machines
’ condensation drying process.
n1. Unpacking Your Washer-Dryer
•
Carefully remove the packing materials with care not to damage the drain
hose and power cord that are shipped installed on the machine. Check
that the machine is intact. Report any damage immediately.
•
Position the washer-dryer near the desired installation position.
WARNING: Plastic bags, Styrofoam, nails and other packaging
parts are not children’s toys and can be potentially dangerous.
Destroy the carton and plastic bags after the washer-dryer has
been unpacked.
!
n2. Remove the Transit Screws/Spacers
•
For transportation, the inside of the machine is supported by screws,
rubber grommets and spacers on the back panel. Before using the
washer-dryer, these items MUST be removed.
IMPORTANT: Transit screws and spacers must be removed
before operating the machine to allow proper operation of the
machine and to prevent damage to the appliance.
•
After positioning the washer-dryer
near the installation location,
remove the four screws (Fig.1), with
the rubber grommets and plastic
spacers that are attached to them.
•
Use the plastic plugs (provided in
the accessories bag) to fill in the
holes.
IMPORTANT: Retain the transit screws, spacers and rubber
tubes. These items should be reinstalled to prevent damage if
or when you transport the machine in the future.
!
Installation Instructions
WARNING: Splendide denies all liability if these instructions are not followed correctly.
!
!
Fig. 2
Fig. 3
Continued on next page
n4. Water Drainage
•
It is possible for the water to be discharged into a sink, standpipe or
drainpipe, but an air break must be available at a min. 20" height to
prevent the machine from siphoning (Fig. 6).
Standpipe Drain System - Installations require a minimum 1 ¼” (3.2 cm)
diameter standpipe with a minimum carry away capacity of 7 gallons (26
liters) per minute.
Wall or Floor Standpipe Drain System - The top of the standpipe
must be between 25" (62 cm) - 34" (86 cm) from the bottom of the
washer (Fig. 4).
Fig. 1
Installation / Removal
IMPORTANT: Water pressure MUST range within the values
indicated on the “Technical Data” chart (p. 1).