Setting up and using the pl 1602 – Samson PL1602 User Manual
Page 13
11
Setting up your PL 1602 is a simple procedure which takes only a few minutes:
1. Remove all packing materials (save them in case of need for future service)
and decide where the unit is to be physically placed—it can be mounted in any
standard 19" rack, requiring two rack spaces, or used on a tabletop.
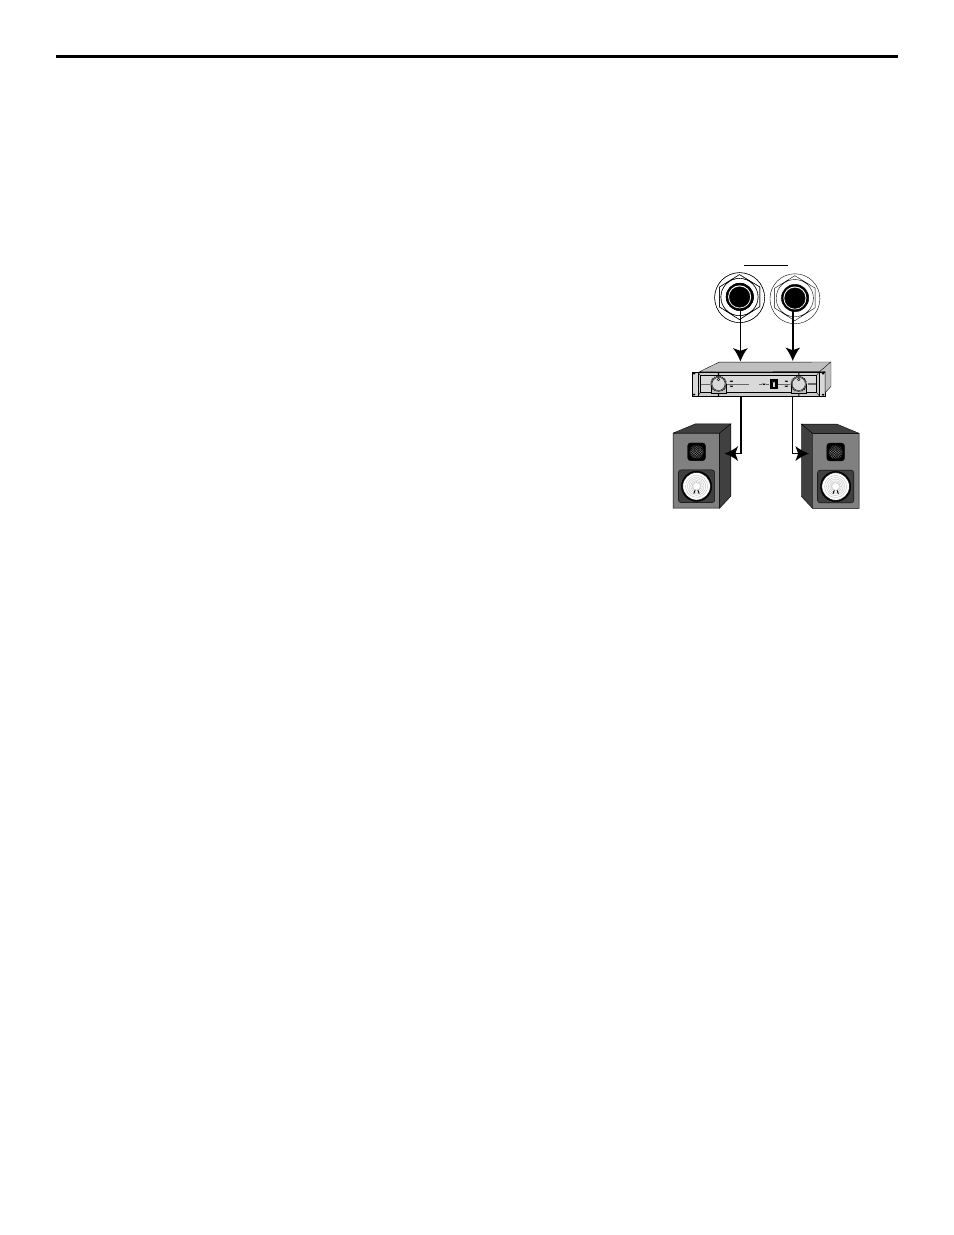
2. Before even plugging the unit into an AC socket, begin by connecting the
PL 1602 Main outputs into a power amp and the amp into loudspeakers. It is
never a good idea to power up any amplifier that is not connected to loudspeak-
ers.
3. Next, make the signal input connections to the mic or line inputs of the vari-
ous channels. WARNING: When using channel 1 or 3, do not connect its
microphone input and line input simultaneously; these channels are designed
to accept only one source or the other.
4. Turn all channel Level controls fully counterclockwise (to their “
∞
” setting)
and bring the Left/Right faders completely down (to their “
∞
” setting). If you are
using the channel 1 or 3 mic inputs, set their Trim controls fully counterclockwise
to their “+4” setting). Then connect the EEC main power cord and plug the
PL 1602 into any grounded AC socket.
5. Turn on the rear panel Power switch—the “Power” LED in the main section
will light up.
Setting Up and Using The PL 1602
MAIN OUT
BALANCED 600 +4db
TIP + RING - SLEEVE GND
SERVO - 240
SAMSON
L
R