Select band, Input channel, Enter new channel information – JVC HR-J458E User Manual
Page 36: Close confirmation screen, Access main menu, Access confirmation screen, Select position, Subsidiary settings (cont.), Storing channels manually, Attention
36
EN
SUBSIDIARY SETTINGS (cont.)
ATTENTION
After you have stored channels manually, be sure to
perform Guide Program Number Set (
੬
pg. 41) in order to
get proper results from S
HOW
V
IEW
timer recording.
1
2
3
4
5
6
7
8
9
0
2
4
1
3
?
NUMBER
Storing Channels Manually
Store channels that were not stored during Auto Set Up (
੬
pg. 4)
or Auto Channel Set (
੬
pg. 34).
SELECT BAND
4
Press
%fi to change the
band between CH (regular)
and CC (cable), then
press .
INPUT CHANNEL
5
Press the NUMBER keys to input the channel number you
want to store.
● Input "0" before any single number entries.
● To input the registered station name (ID –
੬
pg. 39),
press until "----" (ID setting) begins blinking, then
press
%fi.
● For fine tuning adjustment, press until "+/–" begins
blinking, then press
%fi. While tuning, “+” or “–”
appears.
● When storing a channel that sends scrambled
broadcasts, press until "OFF" (Decoder setting)
blinks, then press
%fi to set "DECODER" to "ON"
("OFF" is the default setting).
● When "AV2 SELECT" is set to "AV2", the "DECODER"
setting cannot be changed (
੬
pg. 31).
ENTER NEW CHANNEL
INFORMATION
6
Press OK and the Confirmation screen appears.
● Repeat steps 3 through 6 as necessary.
CLOSE CONFIRMATION
SCREEN
7
Press MENU.
● To change positions, see "Change Station Channel
Position" (
੬
pg. 37).
● If you wish to set station names other than the ones
registered in your recorder,
੬
"Set Stations (B)" on
page 38.
%
PR
CH
ID
PR
CH
ID
01
25 ARD
07
C33 3SAT
02 CDB SKY1
08
C26 E-SP
03
10
ZDF
09
55 WEST
04 C65
RAI1
10
C24 SAT1
05 C31
BBC1
11
C23 OSF
06 C32
BBC2
12
– –␣ – –
[
5∞]
=
: EDIT
= [X] : DELETE
[MENU] : EXIT
PR CH
ID
FINE DECODER
12 CH01 – –␣ – – +/–
OFF
[
5∞] : SELECT
[
] : CURSOR +=
: OK
[MENU] : EXIT
∞
∞
%
The blueback screen and the
programme currently being
broadcast by the selected channel
appear alternately for 8 seconds
each.
The blueback screen and the
programme currently being
broadcast by the selected channel
appear alternately for 8 seconds
each.
ACCESS MAIN MENU
1
Press MENU.
ACCESS CONFIRMATION
SCREEN
2
Press
%fi to place the pointer next to “MANUAL CH
SET”, then press OK or . The Confirmation screen
appears.
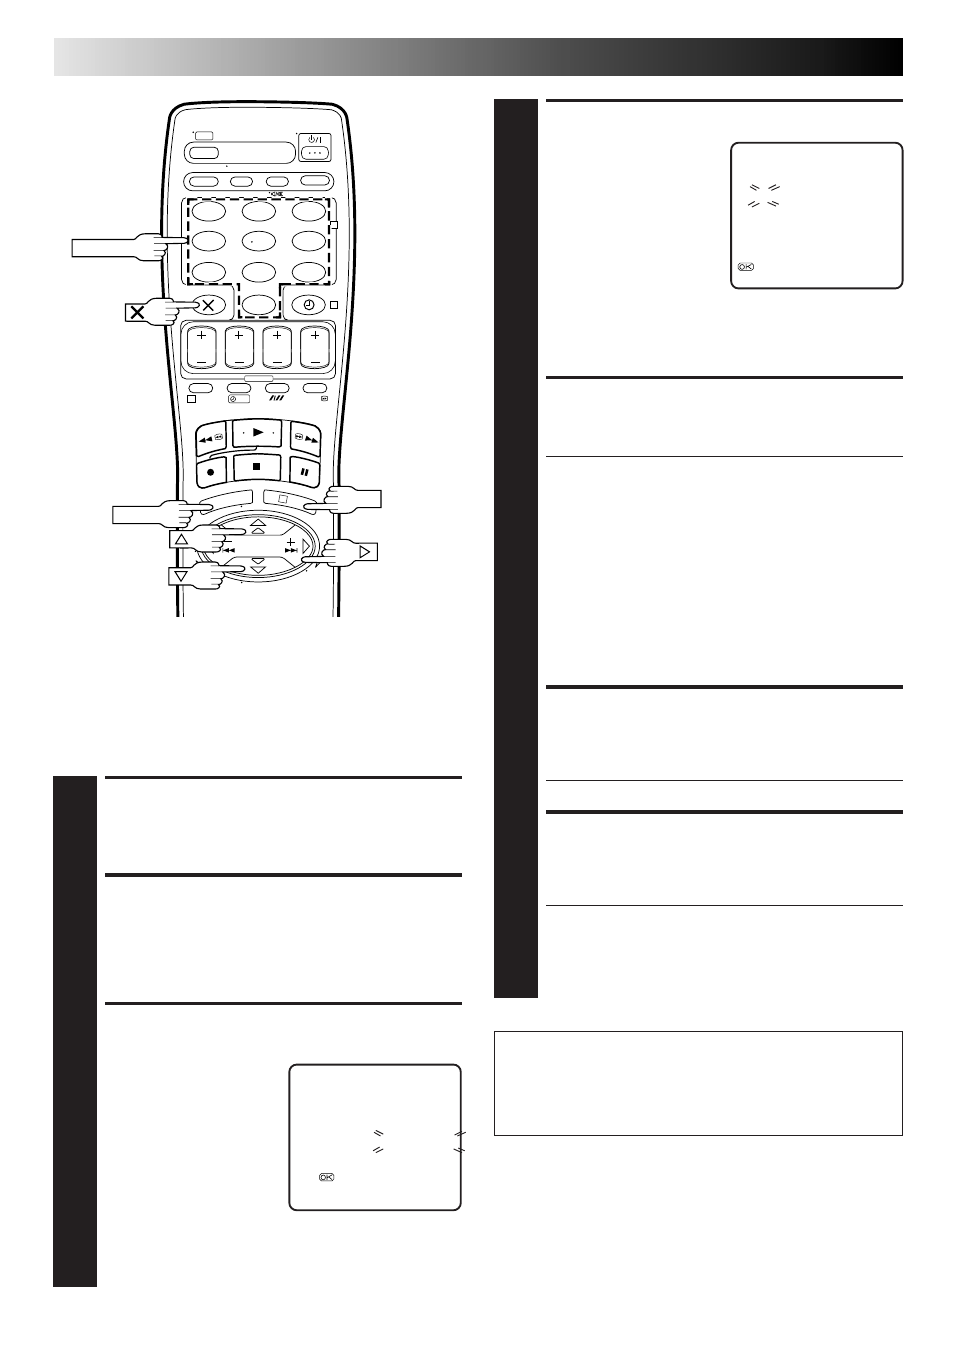
SELECT POSITION
3
Press
%fi until an open
position in which you
want to store a channel
begins blinking, then press
OK. The Manual Channel
Set screen appears.
%
(Ex.) To store in position 12.
%
%
OK
MENU