Mounting hood cover (provided), Adjusting position, Outputting images – JVC ViewFinder VF-HP840U User Manual
Page 10: Adjusting picture quality, Installation (continued) adjusting position, Outputting images adjusting picture quality
10
Setup
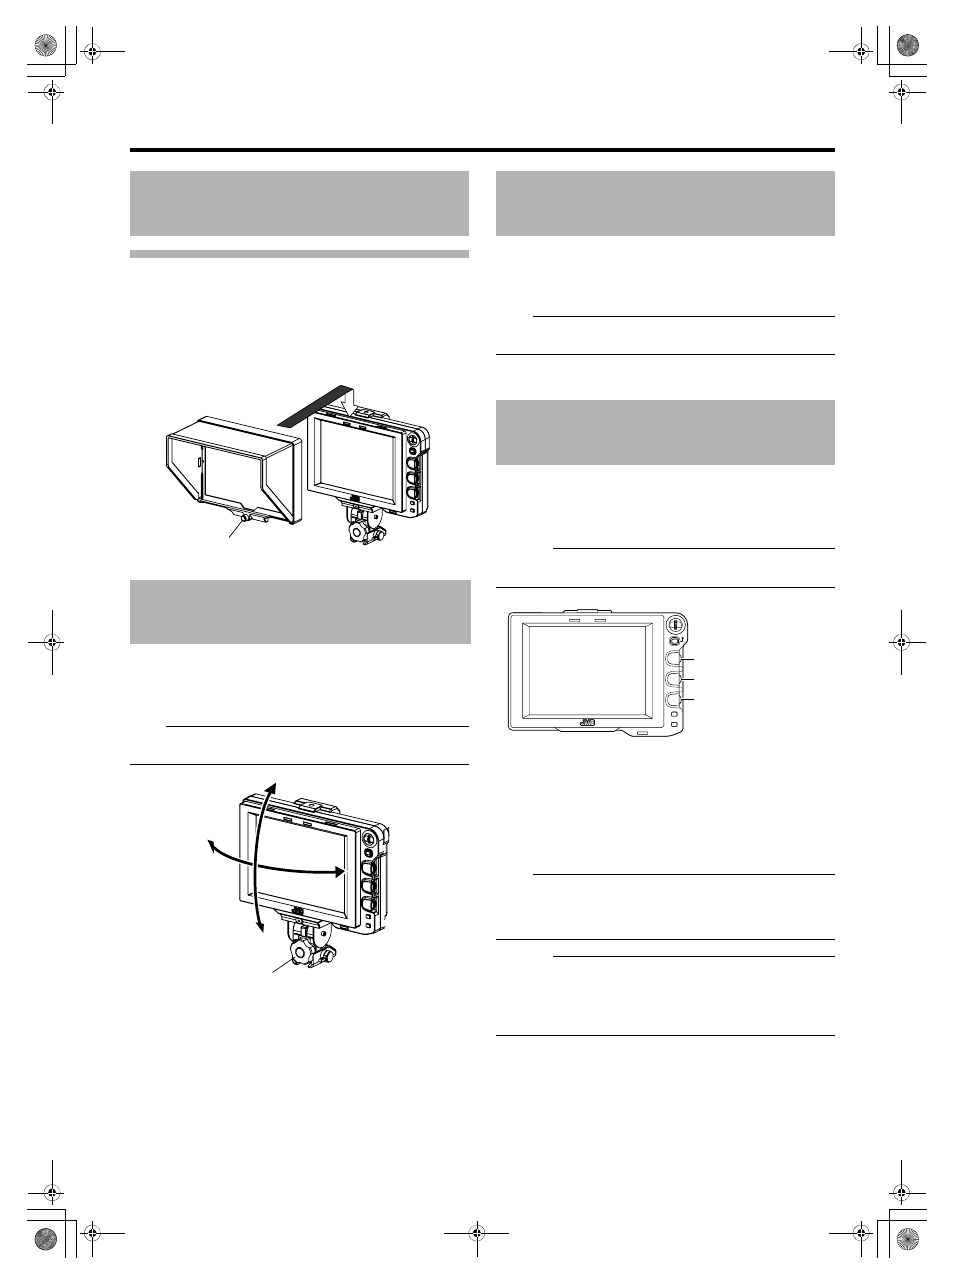
Mounting hood cover (provided)
1
Align the hood cover with the groove on top of the
viewfinder screen and insert from the top.
2
Secure with the screw found under the center of the
viewfinder screen.
1
To adjust the angle of the viewfinder, loosen the Pan/
Tilt Lock Handle and secure it at an appropriate angle
for visible viewing.
Note:
● The LCD screen may be difficult to see depending on the
view angle. Use the angle right in front of the screen.
1
When setting the POWER switch on remote control
or camera to
AONB, image will be output on the
viewfinder.
Note:
● Depending on the system environment, it may take up to 40
seconds before the image is output.
1
Turn the [BRIGHT] control to adjust the
brightness of the screen.
To brighten, turn to the right.
Caution:
● If the [BRIGHT] control is turned completely to the left,
images may not be output.
2
Turn the [CONTRAST] control to adjust the
contrast of the screen.
To increase the contrast, turn to the right.
3
Turn the [PEAKING] control to adjust the peaking.
To sharpen the contour, turn to the right.
Note:
● You can adjust the freqency band where the contour is
emphasized with the [PEAKING] control under the
[PEAKING FREQ.] item of the [SHOOTING ASSIST] menu
screen. (
Caution:
● After the power switch of the camera or the remote control
unit is turned off, wait for 10 seconds and above to turn on
the switch again.
● Turning ON/OFF the power switch quickly may cause
malfunction.
Installation (continued)
Adjusting position
Screw
Panning
Tilt
Panning and Tilt Lock Handle
Outputting images
Adjusting picture quality
MENU
STATUS
BRIGHT
CONTRAST
PEAKING
1:1
FOCUS
ASSIST
5
6
4
5
6
4
[BRIGHT] control
[CONTRAST] control
[PEAKING] control
VF-HP840U_EN.book Page 10 Thursday, January 17, 2008 2:48 PM