Jenn-Air 720-0165 User Manual
Stainless steel lp gas grill
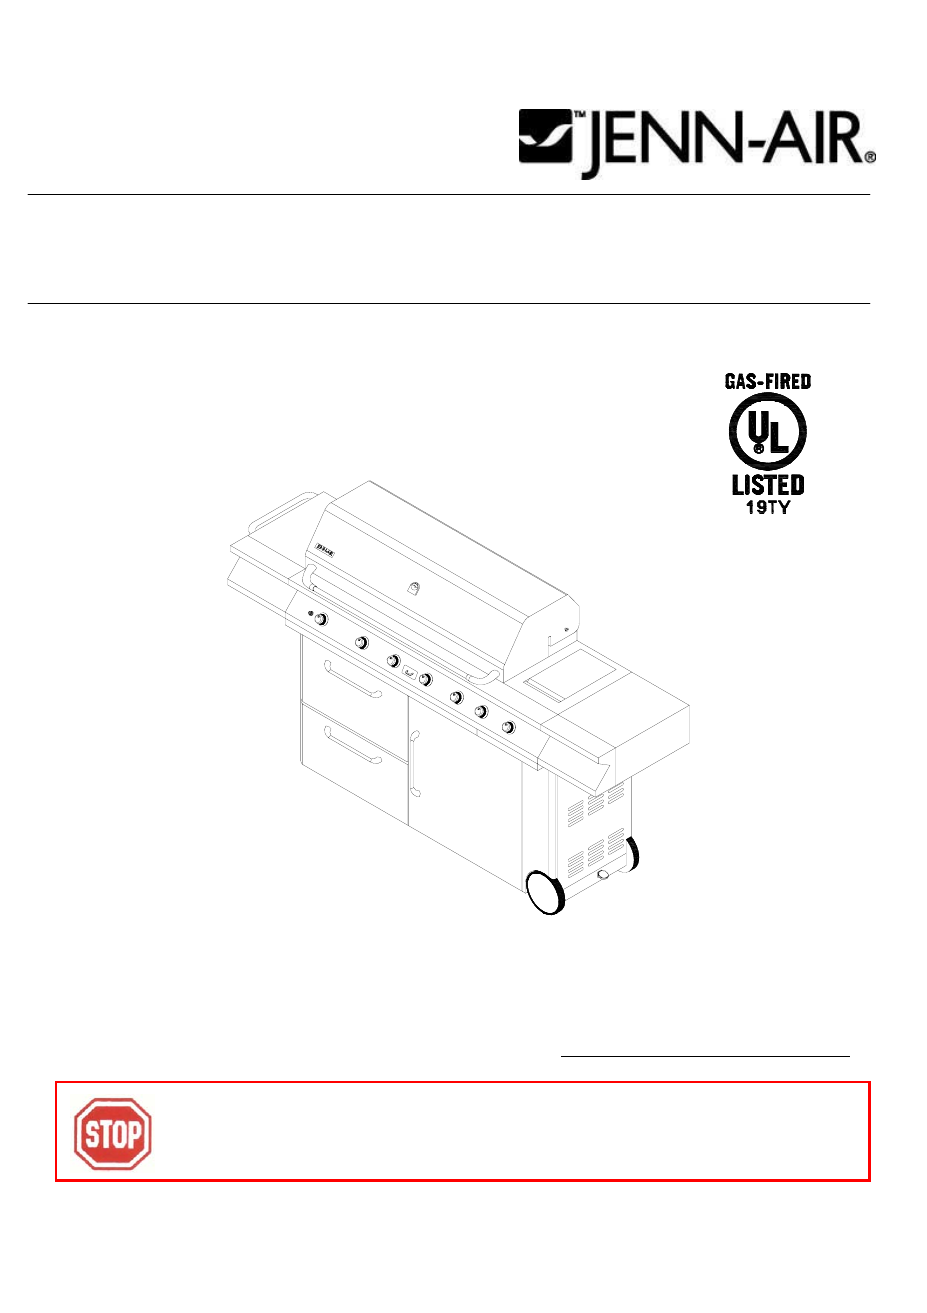
Table of contents
Document Outline
- COVER PAGE UL.doc
- TABLE OF CONTENT.doc
- PAGE 1-2.doc
- PAGE 3.doc
- PAGE 4.doc
- PAGE 5.doc
- PAGE 6.doc
- PAGE 7.doc
- PAGE 8.doc
- PAGE 9.doc
- PAGE 10-12.doc
- LIQUID PROPANE CYLINDER REQUIREMENTS
- (20 lb. Cylinder)
- GENERAL
- Always check for leaks after every liquid propane cylinder change.
- It is handy to keep a spray bottle of soapy water near the shut-off valve of the gas supply line. Spray all the fittings. Bubbles indicate leaks.
- Disconnected liquid propane cylinders must have threaded valve plugs tightly installed, and must not be stored in a building, garage or any other enclosed area.
- The gas must be turned off at the supply cylinder when the unit is not in use.
- If the appliance is stored indoors, the cylinder must be disconnected and removed from the appliance. Cylinders must be stored outdoors in a well-ventilated area out of the reach of children.
- Always check for leaks after every liquid propane cylinder change.
- PAGE 13-14.doc
- WARNING
- The rotisserie motor is equipped with a plug and should be plugged directly into a properly grounded receptacle. Do not cut or remove the grounding prong from this plug.
- Keep the rotisserie motor cord away from the heated surfaces of the grill. When not in use remove and store the motor in a dry location.
- PAGE 15.doc
- PAGE 16.doc
- PAGE 17-18.doc
- LIGHTING INSTRUCTIONS
- MATCH LIGHTING
- STAINLESS STEEL
- GRILL RACK
- GRILL BURNERS
- WARNING
- Failure to properly place the burner over the orifice could cause a fire to occur behind and beneath the valve panel, thereby damaging the grill and making it unsafe to operate.
- GRILL BURNER REMOVAL/INSTALLATION
- The grill burners are factory installed.
- To remove the main burners for cleaning:
- 1. Locate the cotter pin at the rear of the burner on the bottom side.
- 2. Remove the cotter pin and lift the burner out of the fire box.
- To reinstall the main burners:
- 3. Insert the burner over the valve assembly (Item# 11 on Page 20).
- 4. Insert the back of the burner into the hole at the rear of the fire box and reinsert the cotter pin.
- PAGE 19.doc
- PAGE 20.doc
- PAGE 21.doc
- PAGE 22-24.doc
- PAGE 25-26.doc
- PAGE 27.doc