Recording on a cassette – JVC LVT1000-004A User Manual
Page 41
15
English
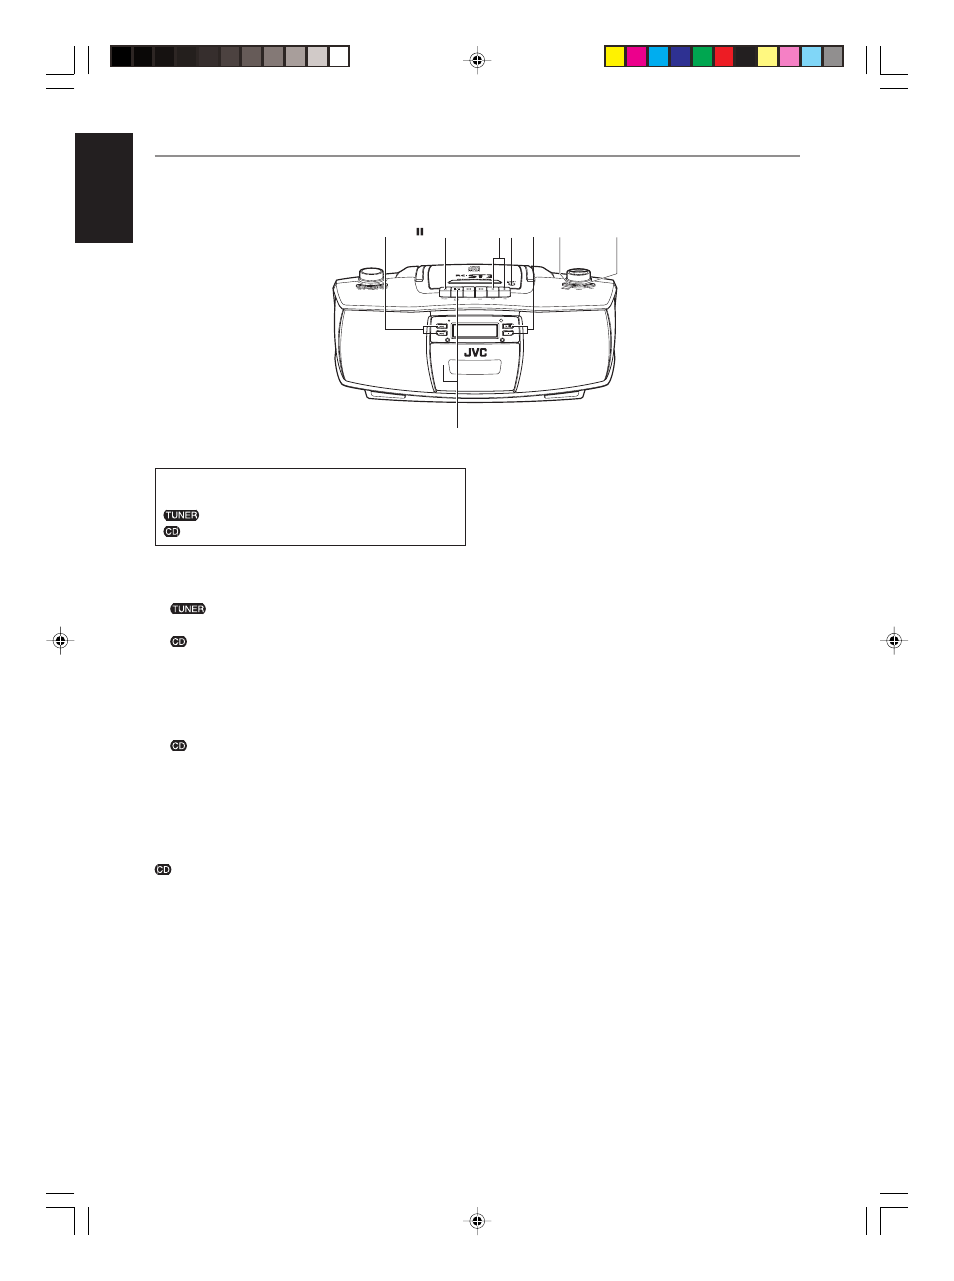
Recording on a cassette
The following marks are used to distinguish the two
recording sources in the procedure below.
: When recording from the radio
: When recording from a CD
1 Load a cassette.
2 Prepare the recording source.
: Set to the tuner mode and tune to a desired
station (see pages 12 and 13).
: Load a CD and set to the CD stop mode (see page
9). You can specify a desired track to start recording
by pressing
4 or ¢.
3 Press
¶ REC to start recording.
The
2 PLAY button is also depressed with the ¶ REC
button.
: The CD player starts playback when the cassette
deck enters the recording mode (synchronized
recording).
To stop recording
Press
§ STOP/EJECT.
Recording also stops when the tape reaches the end.
: The CD player stops playback when the tape stops
running at its end or by your pressing
§ STOP/
EJECT.
When the CD player reaches the end of the disc and
stops playback earlier, the tape continues running. In
this case, press
§ STOP/EJECT to stop the tape.
To start recording at the exact moment
1 In step 3 above, press
8 PAUSE before
pressing
¶ REC.
2 Press
8 PAUSE again to release the tape at
the exact moment you want to start recording.
To remove beats during AM broadcast
recording
Press FM MODE/BEAT CUT repeatedly to
select the better beat-cut reception mode.
To erase the recording
You can erase the recording on a tape without
overwriting the tape with a new recording.
1 Set to the CD stop mode with no disc loaded
in the unit.
2 Press
¶ REC to start erasing.
The
2 PLAY button is also depressed with the ¶ REC
button.
STANDBY
SEARCH UP
SEARCH DOWN
REMOTE
SENSOR
PLAY/PAUSE
STOP
RANDOM
INTRO
RC-ST3
CD PORTABLE SYSTEM
2
2
2
3
1
PAUSE
FM MODE/
BEAT CUT
4/¢
02_01-18_RCST3SL_E_En.p65
2/20/03, 6:50 PM
15