JVC GV-PT2U User Manual
Page 49
49
4
CHOOSE EDITING INDEX
Press cursor buttons
/
and place the
pointer
੬ on EDITING INDEX.
5
PRESS OK
•MODE SELECT MENU disappears and
EDITING INDEX appears.
•16 image sections are displayed regardless of
the number of scenes set on the PRINTER
MENU.
6
PRESS THE CAMCORDER’S EDIT
START BUTTON OR THE VCR’S
START BUTTON
•Edit indexing begins and the Edit-In and Edit-
Out points are automatically stored in the
printer’s memory.
•Once all 16 scenes are stored, they appear
on display.
•If you do not want to store all the 16 scenes,
press OK. The MEMORY display is appears
and the rest of the scenes turn white.
•Title Impose or masking is not available.
7
PRESS PRINT
•Print Lamp blinks, indicating that printing
has started.
•“Now printing!!” appears on screen during
printing.
•When the printed sheets are delivered to the
output tray and “Now printing!!” disappears,
printing is complete. Do not leave more
than 25 printed sheets stacked on the tray.
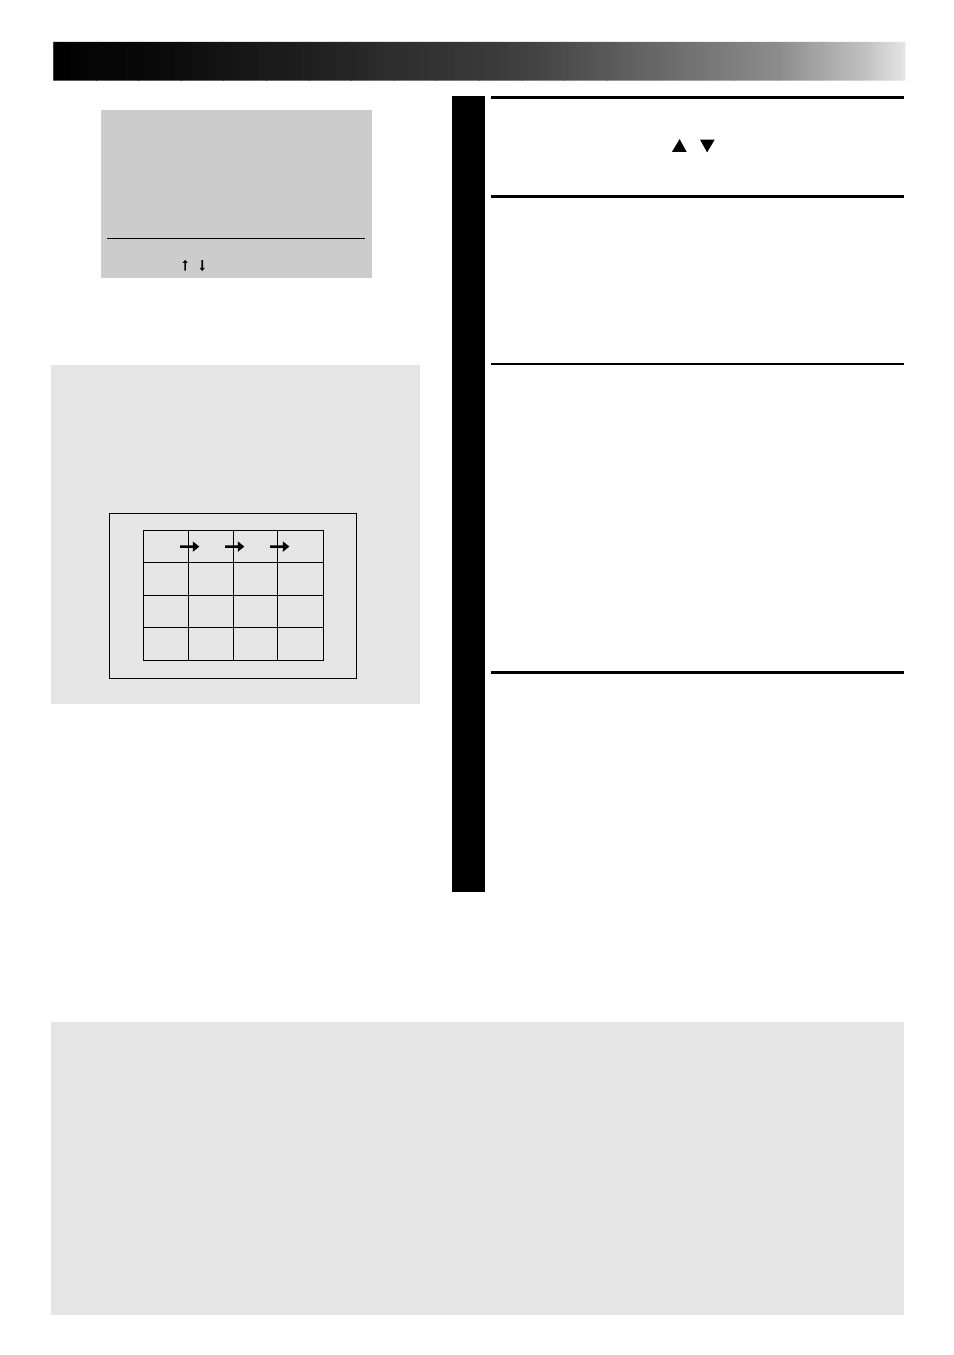
Sequence for memory
A: 1st Edit-in of the Editing program,
B: 1st Edit-out of the program, C: 2nd
Edit-in .... P: 8th Edit-out to be stored
in this sequence
B
A
C
D
F
E
G
H
J
I
K
L
N
M
O
P
MODE SELECT MENU
CAPTURE
SNAP SHOT PRINTING
੬
EDITING INDEX
ENTER THE MODE [OK]
SELECT [ / ]
QUIT [MODE]
To exit Editing Index mode...,
press MODE after printing, and the EDITING INDEX disappears.
If you use a camcorder (such as GR-DV1) with FADE or WIPE function available at the
edit-in and edit-out points of assemble editing...,
you can store the faded or wiped image by engaing the FADE or WIPE mode at the edit-in or
edit-out points. (eg. a black image is stored using the fader.) In this case, store the edit-in
and edit-out points in sequence with MULTI set to 4 or 16 and CONTENT set to SELECTED
PIX (page 26).
FRAME STABILIZER
Switching between ON/OFF of FRAME STABILIZER is not available in the Editing Index
mode.