Using the timer, Setting the clock, Display – JVC CA-MXJ10 User Manual
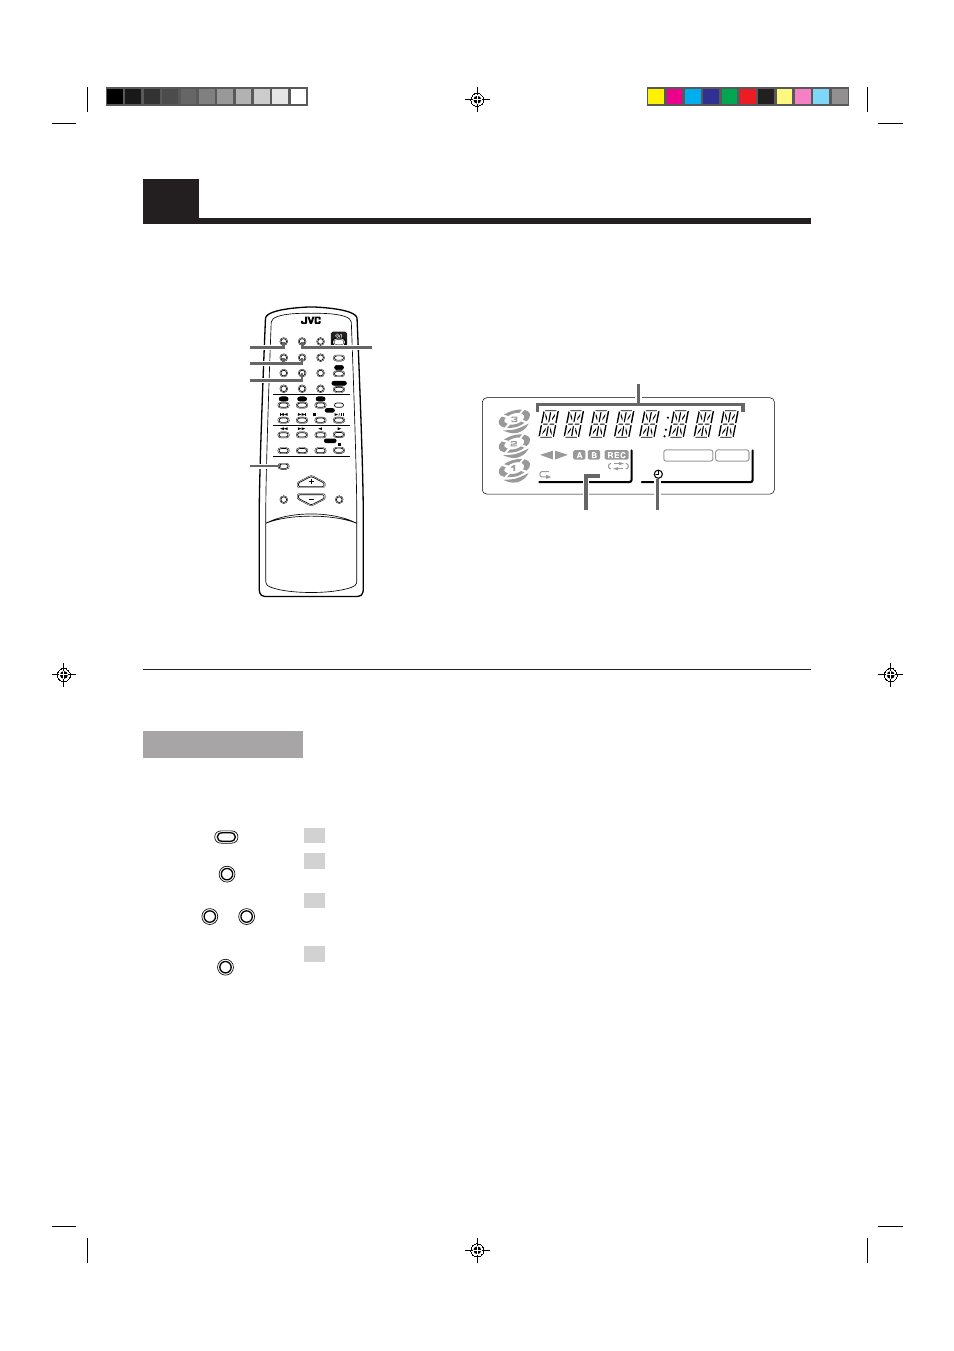
Page 26: Press the select + or – button to set the time, Press the set button, Clock time, timer-on time, etc, Shift set – select + clock timer, Clock indicator
23
Using the Timer
When the System is being used, the display shows other items as well.
However, we have only shown the items described in this section.
kHz
MHz
CONT.
ALL PRGM
REC
A.BASS EX
S.MODE
SLEEP
MONO
ST
CLOCK
RANDOM
Clock time, timer-on time, etc.
Display
1
/CLEAR
C D
TAPE
CLOCK
TIMER
SLEEP
SELECT
–
+
RM-SMXJ10E REMOTE CONTROL
2
3
4
5
6
AUX
FM/AM
FM MODE
PLAY MODE
CD3
CD2
CD1
A – TAPE - B
REC PAUSE
SOUND
MODE
VOLUME
ACTIVE
BASS EX.
SHIFT
7
8
9
10
+
10
SET
SHIFT
SET
– SELECT +
CLOCK
TIMER
1
CLOCK
SHIFT
SELECT
–
+
4
5
8
SET
Timer indicator
The timers let you control listening and recording functions automatically.
Use the Remote Control to set the clock and timers.
Setting the Clock
The timers depend on the clock: the clock must be right for the timers to work as you expect.
You can set the clock whether the Unit is on or off.
Note that the clock must be set, otherwise the timers cannot be set.
1. Press the SHIFT button.
2. Press the CLOCK button.
The “CLOCK” indicator on the display lights up and the clock time blinks.
3. Press the SELECT + or – button to set the time.
Pressing the SELECT + button increases the time and pressing SELECT – decreases the time.
Pressing the button continuously advances or delays the time in 10 minute intervals.
4. Press the SET button.
The blinking time display changes from a blinking display to a steady display and the clock timer
starts from 0 seconds.
CAUTION: If there is a power failure, the clock loses its setting. The
display shows “0:00”, and the clock must be reset.
CLOCK indicator
EN01-28 MX-J10[B]
99.7.6, 10:38 AM
23