Select item, Select new position, Close confirmation screen – JVC HR-J250E User Manual
Page 25: Delete channel, Select channel to fine-tune, Access manual channel set screen, Perform tuning, Change station channel position, Delete a channel, Fine-tuning channels already stored
EN
25
Perform steps 1 and 2 of "Storing Channels Manually" on
page 24 to access the Confirmation screen before continuing.
Change Station Channel
Position
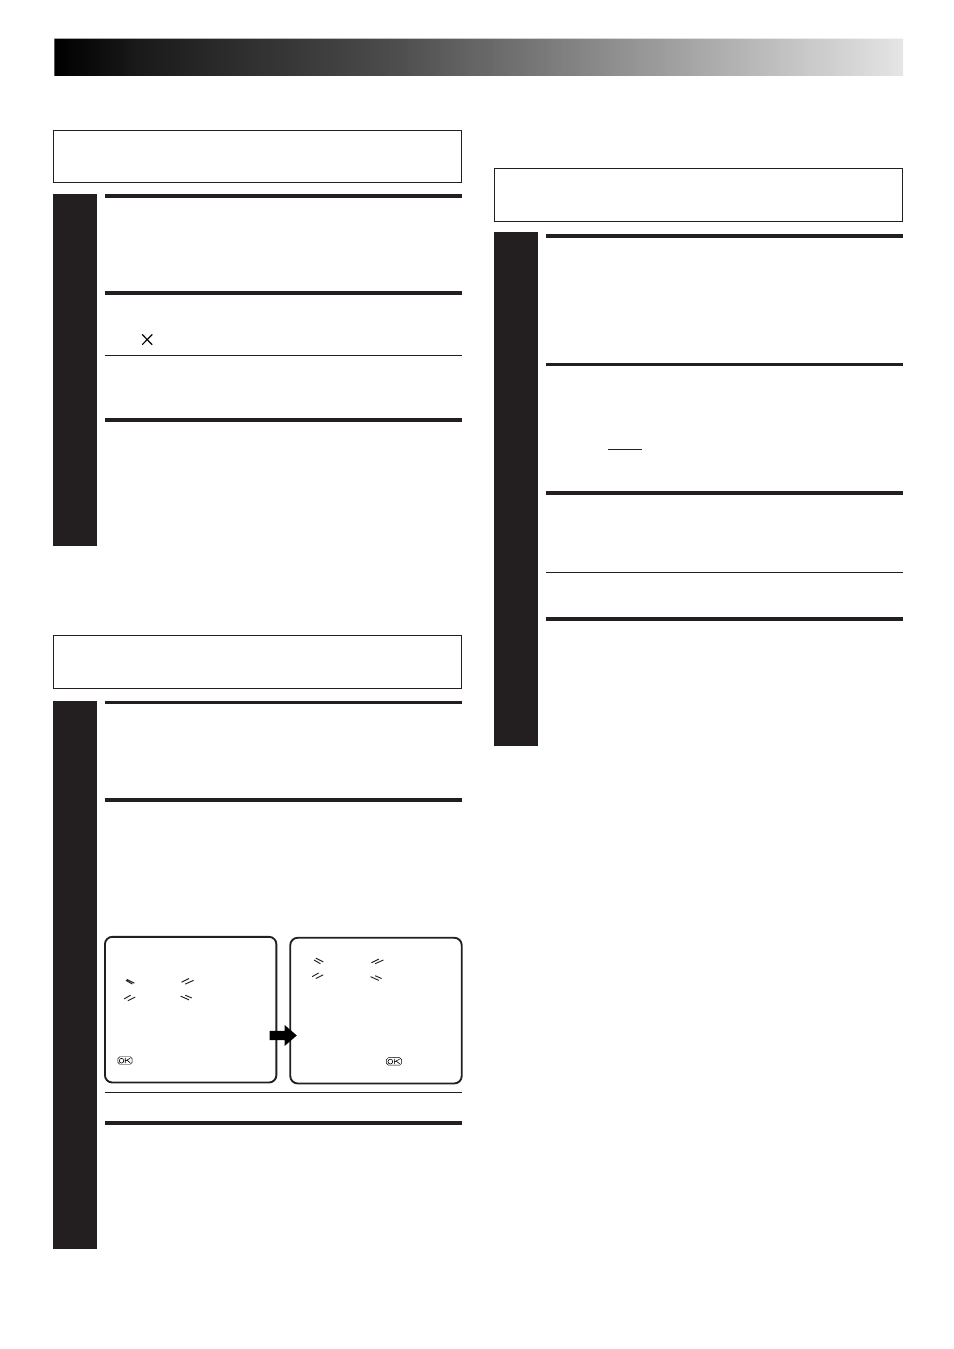
SELECT ITEM
1
Press
%fi until the item you want to move begins
blinking. Then press OK and the station name (ID) and
its channel (CH) number begin blinking.
SELECT NEW POSITION
2
Press
%fi to move the station to the new channel
position, then press OK.
Example: If you moved the station in position 4 to
position 2, the stations originally in positions
2 and 3 each move down one space.
● Repeat steps 1 and 2 as necessary.
CLOSE CONFIRMATION
SCREEN
3
Press MENU.
SELECT ITEM
1
Press
%fi until the item you want to delete begins
blinking.
DELETE CHANNEL
2
Press .
● The item directly beneath the cancelled one moves
up one line.
● Repeat steps 1 and 2 as necessary.
CLOSE CONFIRMATION
SCREEN
3
Press MENU.
Delete A Channel
Perform steps 1 and 2 of "Storing Channels Manually" on
page 24 to access the Confirmation screen before continuing.
PR
CH
ID
PR
CH
ID
01
25
– – – –
07
C33 – – – –
02 C08 – – – –
08
C26 – – – –
03
10
– – – –
09
55 – – – –
04 C65 – – – –
10
C24 – – – –
05 C31 – – – –
11
C23 – – – –
06 C32 – – – –
12
C25 – – – –
[
5∞] : MOVE
: MANUAL CH SET
[MENU] : EXIT
PR
CH
ID
PR
CH
ID
01
25
– – – –
07
C33 – – – –
02 C65
– – – –
08
C26 – – – –
03 C08
– – – –
09
55 – – – –
04
10
– – – –
10
C24 – – – –
05 C31
– – – –
11
C23 – – – –
06 C32
– – – –
12
C25 – – – –
[
5∞] : MOVE =
[MENU] : EXIT
Perform steps 1 and 2 of "Storing Channels Manually" on
page 24 to access the Confirmation screen before continuing.
SELECT CHANNEL TO
FINE-TUNE
1
Press
%fi until the channel you want to tune begins
blinking.
ACCESS MANUAL
CHANNEL SET SCREEN
2
Press OK twice. The Manual Channel Set screen
appears.
PERFORM TUNING
3
Press until "+/–" begins blinking, then press
%fi until
the picture is its clearest. Then press OK.
● The Confirmation screen appears.
● Repeat steps 1 through 3 as necessary.
CLOSE CONFIRMATION
SCREEN
4
Press MENU.
Fine-Tuning Channels
Already Stored
%