What to do next – IBM ATA-3 User Manual
Page 65
For information on jumper positions for your drive, see the Deskstar
Enhanced IDE (ATA-3) Hard Disk Drive User’s Guide Supplement.
What to Do Next
If you are installing the drive in a 3.5-inch bay, go to “Step 5.
Mounting the Drive in the Bay.”
If you are installing the drive in a 5.25-inch bay, continue with “Step
4. Preparing the Drive for a 5.25-inch Bay.”
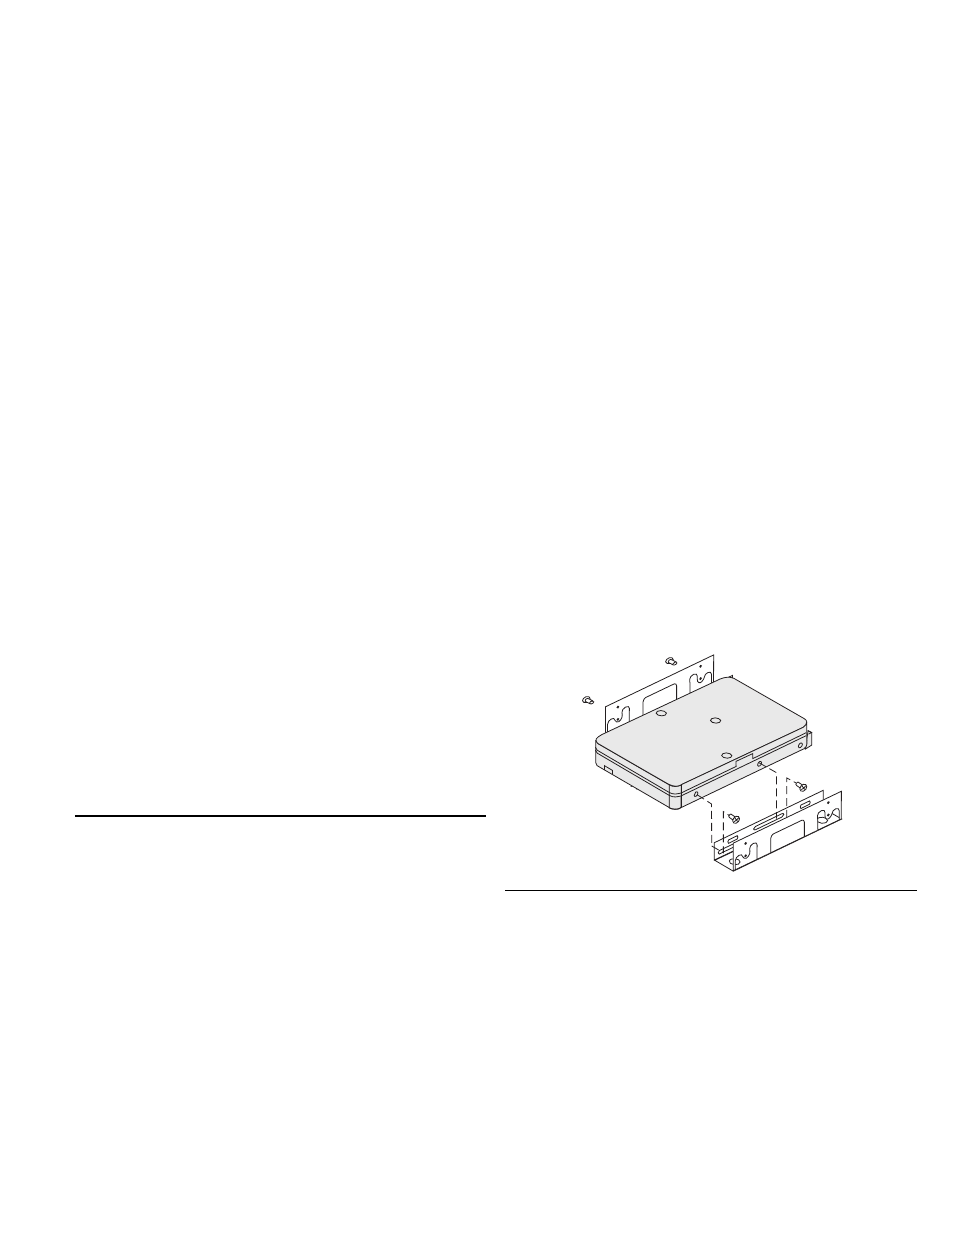
Step 4. Preparing the Drive for a 5.25-inch Bay
To install the drive in a 5.25-inch bay:
1. Attach a pair of 3.5-inch to 5.25-inch expansion brackets, as
shown in the illustration.
Some computers require that you attach special hard-disk-drive
mounting hardware to ensure that the drive mounts securely into
the bay.
2. Some computers require that you attach special hard-disk-drive
mounting hardware to ensure that the drive mounts securely into
the bay. Contact your computer dealer or refer to the
documentation that comes with your computer if you need
specialized mounting hardware or more information.
Step 5. Mounting the Drive in the Bay
The drive can be mounted in either the horizontal or the vertical
position. To mount the drive in the bay:
1. Slide the drive into the bay.
2. Align the drive-bay screw holes with the threaded holes in the
drive housing or expansion brackets.
3. Hand thread the screws to lightly secure the drive in the bay. For
some installations, you might have to use the screw holes on the
bottom (circuit board side) of the drive.
4. Check the drive alignment and tighten the screws.
Do not overtighten.
Part 2: Installation Guide 2-9