Cat5 video connection, When mdt521s is installed in portrait position, Mdt521s – MITSUBISHI ELECTRIC MDT521S User Manual
Page 13: Landscape, Connection of the cat5 video connec- tion function
English-12
13. When MDT521S is installed in portrait
position
Conditions
MDT521S can be installed in portrait position, under the fol-
lowing conditions:
Caution:
Portrait position is effective only when wall-mounted or
ceiling-mounted.
The stands(legs) can not be fi tted to the monitor in portrait
position.
Placing the monitor in portrait position, will shorten the aver-
age life of the LCD backlight.
Operational Environment (Temperature) shall be limited, as
shown below:
Operational Environment:
Temperature 5 - 35 °C / 41 - 95 °F
Humidity
20 - 80 % (without condensation)
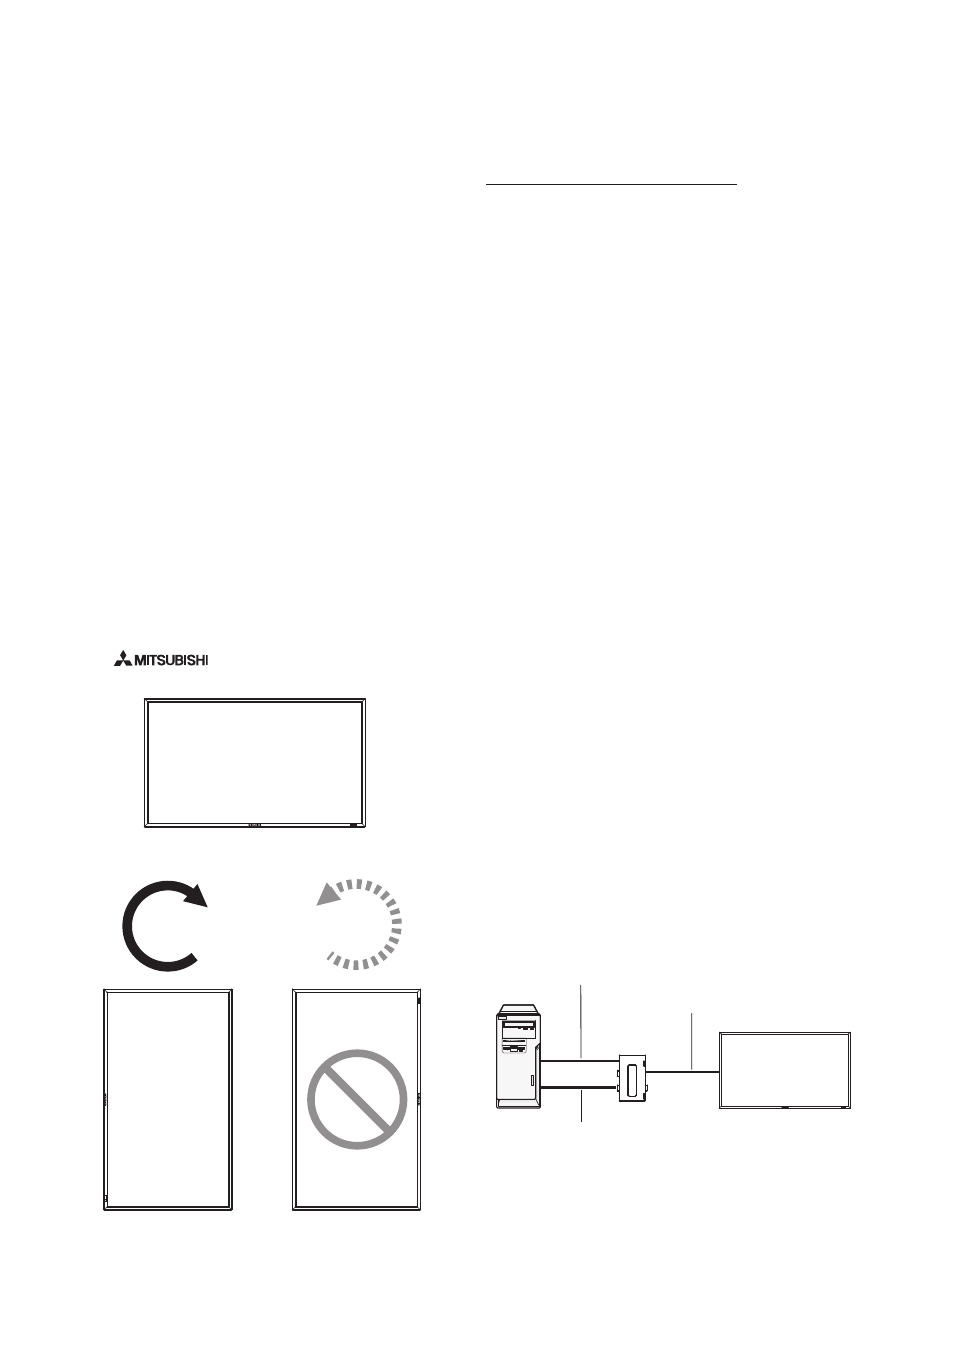
Please orientate the monitor in the direction shown below:
Do not place monitor in landscape in any other manner.
Optional speakers (SP-521S) can not be attached when this
LCD monitor is installed in portrait position.
How to set-up
The “
” logo should be on the LEFT side when
facing the monitor.
MDT521S
MDT521S
90°
90°
Landscape
Counterclockwise
Clockwise
CAT5 video connection
The CAT5 video connection function is for transmitting the
analog RGB video signal of the computer and the control
signal of the monitor over a long distance using CAT5 cables.
The computer can control the monitor via the supplied CAT5
Tx BOX.
Caution:
Never connect network devices (such as a hub and a comput-
er for LAN) to the CAT5 Tx BOX and the IN and OUT connec-
tors of the monitor. If they are connected, the network devices
themselves, CAT5 Tx BOX, and monitor may be damaged.
1. Installation of the USB driver for CAT5
serial communication control
To connect the computer and the CAT5 Tx BOX via USB inter-
face, it is necessary to install the USB driver to the computer
from the CD-ROM supplied with the monitor.
(When connecting the computer and the CAT5 Tx BOX via
RS-232C interface, you don’t have to install the USB driver.)
OS supported: Windows XP, Windows Vista
®
How to install:
1) Installation to Windows XP
Start the “PL2303-Driver_XP2K_v
******
.exe” fi le in the
Windows XP folder on the CD-ROM supplied with the monitor
and install the driver according to the instructions displayed
on the screen.
2) Installation to Windows Vista
®
Start the “PL2303_Prolifi c_Vista_
******
.exe” fi le in the
Windows VISTA folder on the CD-ROM supplied with the
monitor and install the driver according to the instructions
displayed on the screen.
2. Connection of the CAT5 video connec-
tion function
There are two cases of connection.
1) Connection to one monitor
1. Connect the USB connector of the supplied CAT5 Tx BOX
and that of the computer using a commercially available
USB cable. (When the USB driver isn’t available, connect
an RS-232C cable in addition to the USB cable. In this
case, the RS-232C cable serves for supplying the power
to the CAT5 Tx BOX.) See page 35.
Monitor
Computer
USB cable
CAT5 cable
VGA (mini D-SUB 15-pin) cable (supplied)
CAT5 Tx BOX
(supplied)