Milwaukee 1670-1 User Manual
Page 6
page 6
TOOL ASSEMBLY
Pipe Handle
The pipe handle may be used on either side of the tool. Thread pipe
handle into one of the threaded holes in the motor housing.
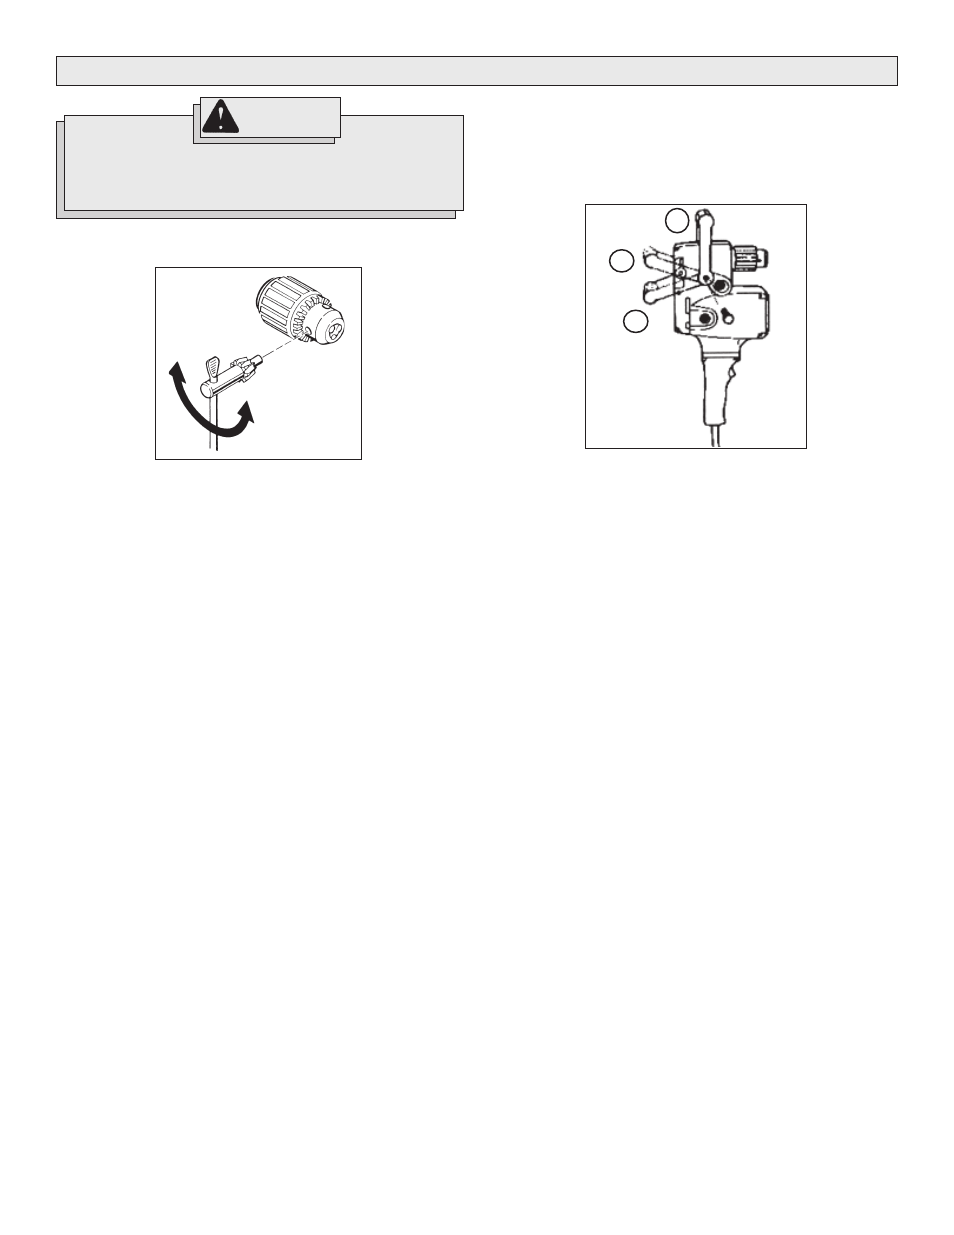
Spade Handle (Fig. 2)
A
B
Installing Bits into Keyed Chucks (Fig.1)
1. Unplug tool.
2. Open the chuck jaws wide enough to insert the bit. Be sure the bit
shank and chuck jaws are clean. Dirt particles may prevent the bit
from lining up properly.
3. Insert the bit into the chuck. Center the bit in the chuck jaws and lift
it about 1/16" off of the bottom. Then, tighten the chuck jaws by
hand to align the bit.
4. Place the chuck key in each of the three holes in the chuck, turning
it clockwise. Tighten securely.
5. To remove the bit, insert the chuck key into one of the holes in the
chuck and turn it counterclockwise.
Bit Selection
Use sharp bits. Sharp bits are less likely to bind when drilling.
Use the proper bit for the job. There are many types of bits designed
for specific purposes. Check the information on the bit's packaging
for proper usage.
Do not use bits larger than the rated capacity of the drill. Gear
damage or motor overload may result.
The spade handle can be attached to the tool in three positions (Fig. 2).
Remove the hex head screws which secure the handle. Remove the
handle and move it to the desired position. To mount the handle in position
C, it is necessary to reverse the mounting holes by turning the handle
around.
C
Fig. 2
Fig. 1
WARNING!
To reduce the risk of injury, always unplug tool before
attaching or removing accessories or making adjustments.
Use only specifically recommended accessories. Others
may be hazardous.