22 medidas de café sugeridas, Para obtener sólo agua caliente – Mr. Coffee SB User Manual
Page 7
IMPORT
ANT
Before Using Y
our SPEEDBREW
®
Coffeemaker for the First T
ime
W
ash decanter
, decanter lid and removable brew basket in mild detergent
and
water
. Rinse each thoroughly
.
Prepare Y
our SPEEDBREW
®
Coffeemaker Before First Use
NOTE:
To
avoid damage to coffeemaker
, do not plug your SPEEDBREW
®
Coffeemaker
into the wall outlet until you complete these steps. This procedure is only
necessary the first time the SPEEDBREW®
Coffeemaker is used or after the water reservoir
has been drained for moving or long-term
storage.
Prior to first use, the water reservoir must be filled with
water and the water given time to heat to proper
brewing temperature.
1.
Make sure your coffeemaker is unplugged.
2.
Set the Brew Control Dial to “Brew Regular
.”
3.
Make sure the brew basket and decanter are in
place on the coffeemaker
. Raise the water reservoir
lid on the top of the coffeemaker
(see Figure 1)
. Use
a separate pitcher to slowly pour 1 gallon (3.8 liters)
of cool water into the water reservoir opening. If the
red Overfill Indicator floats up, please allow the
water to drain into the reservoir before continuing to pour
.
4.
When the water reservoir is full, water will flow into the decanter
. After the flow
of water into the decanter stops, empty the decanter and return it to the
coffeemaker
.
5.
Now you may plug your SPEEDBREW® Coffeemaker
into a working 120V
, AC outlet.
6.
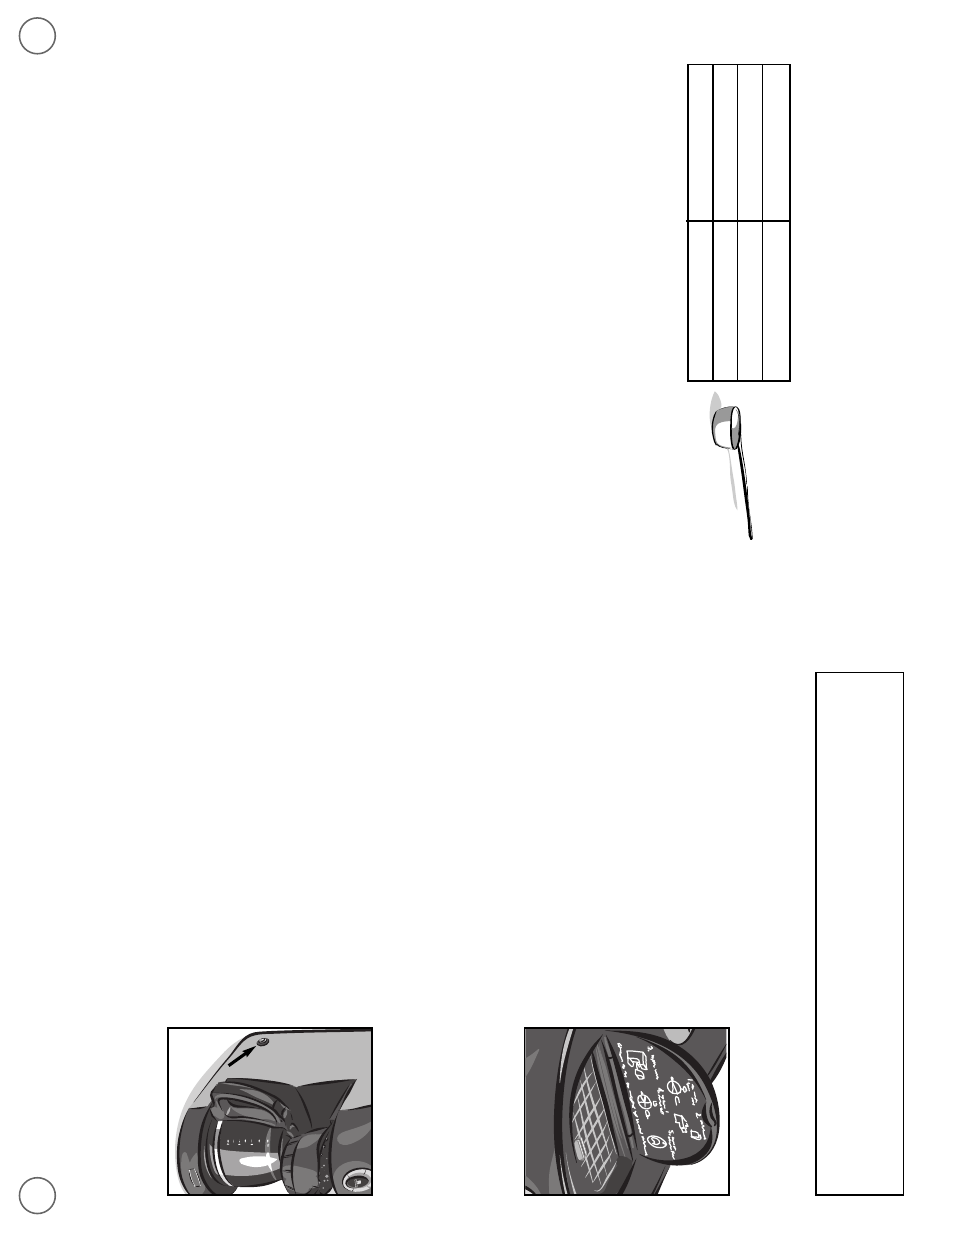
Press the Reservoir Power Switch located on the
lower left side of the coffeemaker to “On”
(see
Figure 2)
.
W
ait at least 20 minutes for the water in
the water reservoir to reach the ideal brewing
temperature.
To
brew coffee, follow the “Brewing
Coffee” instructions on page 8.
NOTE: The Reservoir Power Switch should remain “On” at all
times to keep the water in the water reservoir at the
ideal brewing temperature. The Reservoir Power Switch
should be turned “Off” when your plans take you away
from home for several days or when your coffeemaker
will not be in use for an extended period.
7.
Before brewing the first pot of coffee it is recommended that the system be
flushed clean. T
o
do this, simply follow the “Brewing Coffee” instructions on page
8, but do not add any coffee grounds to the filter
.
7
F
u
ll
F
IGURE
2
F
IGURE
1
22
Medidas de Café Sugeridas
Para obtener mejores resultados, use café molido para uso en cafeteras de goteo
automáticas. Las cantidades indicadas abajo son cantidades sugeridas.
Una taza = Cinco onzas de café preparado
Use más o menos café de acuerdo a su gusto.
POR F
A
VOR NOTE:
Puede que el café descafeinado requiera una cantidad
adicional de café.
Indicador de Control de Preparación – Café Descafeinado
Su Cafetera MR. COFFEE
®
SPEED
BREW
®
viene con un dispositivo especial que
le
permite preparar una jarra ideal de café descafeinado. Simplemente gire
el
Indicador de Control de Preparación a “Preparación de descafeinado.
”
Este
dispositivo toma en cuenta el tiempo adicional necesario para preparar
café
descafeinado. Por favor note que sólo se deberá usar café descafeinado
cuando el Indicador de Control de Preparación esté en esta posición.
PRECAUCIÓN:
para evitar desbordar la canasta de preparación, no use café
descafeinado a menos que el Indicador de Control de Preparación se encuentre
en la posición de “Preparación de descafeinado.
”
Para Obtener Sólo Agua Caliente
Los mismos pasos listados en la Pagina 21 bajo “Preparando Café” pueden ser
usados para obtener agua caliente. Mantenga la canasta de preparación en su
lugar y omita el filtro y el café.
NOT
A: Esta agua es más caliente que el agua
de
su grifo y
deberá ser manipulada con cuidado.
Número de T
azas
Cucharadas Soperas
10
7.5
86
6
4.5