Line inputs, Low cut, Trim – MACKIE 1402-VLZPRO User Manual
Page 11: Trim (channels 1–6), Line inputs (channels 1–6), Low cut (channels 1–6), Mono (ts) phone plug or standard instrument cable
11
it out makes the low stuff you
do want much
more crisp and tasty. Not only that, but
LOW
CUT can help reduce the possibility of feed-
back in live situations and it helps to conserve
the amplifier power.
Another way to consider
LOW CUT’s func-
tion is that it actually
adds flexibility during
live performances. With the addition of
LOW
CUT, you can safely use LOW equalization on
vocals
. Many times, bass shelving
EQ can
really benefit voices. Trouble is, adding
LOW
EQ also boosts stage rumble,
mic handling clunks and
breath pops.
LOW CUT re-
moves all those problems so
you can add low
EQ without
losing a woofer.
Here’s what the combina-
tion of
LOW EQ and LOW
CUT looks like in terms of
frequency curves.
TRIM (Channels 1–6)
If you haven’t already, please read the Level
Setting Procedure .
TRIM adjusts the input sensitivity of the mic
and line inputs connected to Channels 1
through 6. This allows signals from the outside
world to be adjusted to optimal internal oper-
ating levels.
If the signal originates through the XLR
jack, there will be 0dB of gain with the knob
fully down, ramping to 60dB of gain fully up.
Through the
1
⁄
4
" input, there is 15dB of at-
tenuation fully down and 45dB of gain fully up,
with a “U” (unity gain) mark at 10:00.
This 15dB of attenuation can be very handy
when you are inserting a signal that is very hot,
or when you want to add a lot of
EQ gain, or
both. Without this “virtual pad,” a scenario like
that might lead to channel clipping.
+4 / –10 (Channels 7–14)
This switch adjusts the input sensitivity of
the line inputs on channels 7–14. If the sound
source is a “–10” device, engage this switch. If
you are unsure, leave the switch up and per-
form the Level Setting Procedure ,
substituting this switch for the
TRIM knob and
then setting the switch to the appropriate gain
setting.
LINE INPUTS (Channels 1–6)
These six line inputs share circuitry (but
not phantom power) with the mic preamps,
and can be driven by balanced or unbalanced
sources at almost any level. You can use these
inputs for virtually any signal you’ll come
across, from instrument levels as low as –40dB
to operating levels of –10dBV to +4dBu, since
there is 40dB more gain available than on
Channels 7–14.
To learn how signals are
routed from these inputs: .
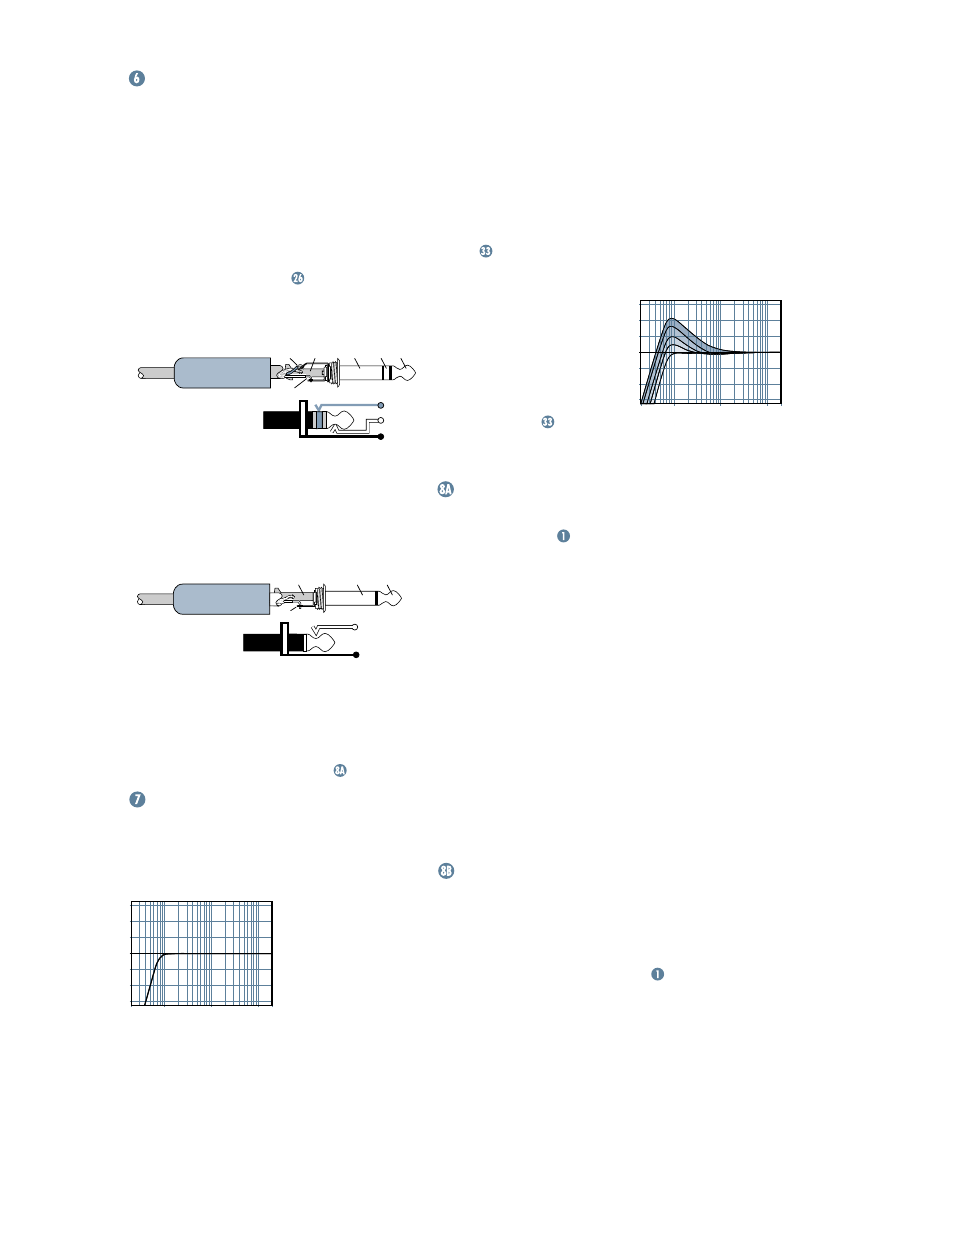
To connect balanced lines to these inputs,
use a
1
⁄
4
" Tip-Ring-Sleeve (TRS) plug, the type
found on stereo headphones:
Tip = Positive (+ or hot)
Ring = Negative (– or cold)
Sleeve = Shield or ground
To connect unbalanced lines to these in-
puts, use a
1
⁄
4
" mono (TS) phone plug or
standard instrument cable:
SLEEVE
TIP
TIP
SLEEVE
TIP
SLEEVE
SLEEVE
TIP
SLEEVE
TIP
RING
RING
TIP
SLEEVE
RING
Tip = Signal
Sleeve = Ground
Line inputs 1–6 are a good place to connect
older instruments that need more gain. You
can correct weak levels by adjusting the corre-
sponding channel’s
TRIM control .
LOW CUT (Channels 1–6)
The
LOW CUT switch, often referred to as a
High Pass Filter (all depends on how you look
at it), cuts bass frequencies below 75Hz at a
rate of 18dB per octave.
We recommend
that you use
LOW
CUT on every micro-
phone application
except kick drum,
bass guitar, bassy
synth patches, or re-
cordings of
earthquakes. These aside, there isn’t much
down there that you want to hear, and filtering
20
Hz
100
Hz
1k
Hz
10k
Hz
20k
Hz
–15
–10
–5
0
+5
+10
+15
Low Cut
20
Hz
100
Hz
1k
Hz
10k
Hz
20k
Hz
–15
–10
–5
0
+5
+10
+15
Low Cut with Low EQ