Installing lan master™ tx8 in 19-inch rack, Connecting power to lan master™ tx8 – Milan Technology HB-E-TX-8 User Manual
Page 9
LAN Master™ TX8
100BASE-TX 8-Port Hub
6
9
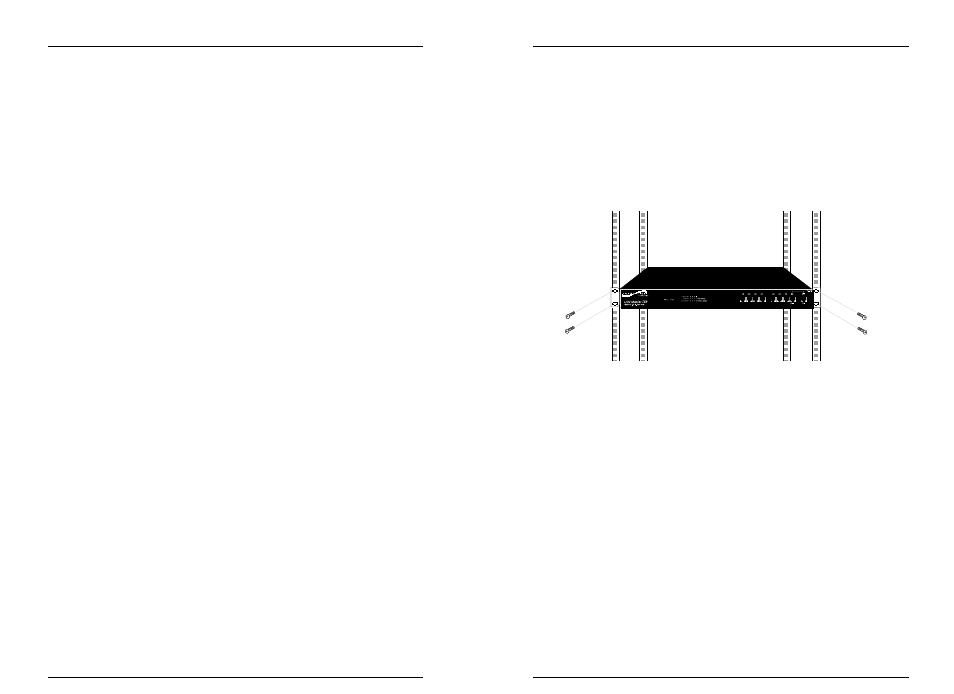
Installing LAN Master™ TX8 in 19-inch Rack
NOTE: Optionally, the LAN Master™ TX8 can be installed on a table or
other flat, stable surface.
NOTE: The LAN Master™ TX8 is shipped with attached brackets for
standard 19-inch rack installation. Rackmount screws and clip nuts are
NOT provided.
To install the LAN Master™ TX8 in 19-inch rack:
1. Locate four (4) screws (and clip nuts, if necessary) for each LAN
Master™ TX8 to be installed.
2. Carefully align the LAN Master™ TX8 between the 19-inch
rack mounting rails at the installation position.
3. Install two screws through right front bracket and two screws
through left front bracket, using clip nuts if necessary.
Connecting Power to LAN Master™ TX8
To power ON the LAN Master™ TX8:
1. Locate the power receptacle on the back of the LAN Master™
TX8.
2. Connect the LAN Master™ TX8 power connector end of the
power cord to the LAN Master™ TX8.
3. Connect the external power connector end of the power cord
to external AC power.
NOTE: After power is supplied to the LAN Master™ TX8, the green
Power LED is illuminated.