English, 3 installation of interface card – GIGABYTE GZ-FSCA1-AN User Manual
Page 10
10
English
Select proper “rear I/O panel” of the motherboard (typically supplied by motherboard
manufactures).
4-3
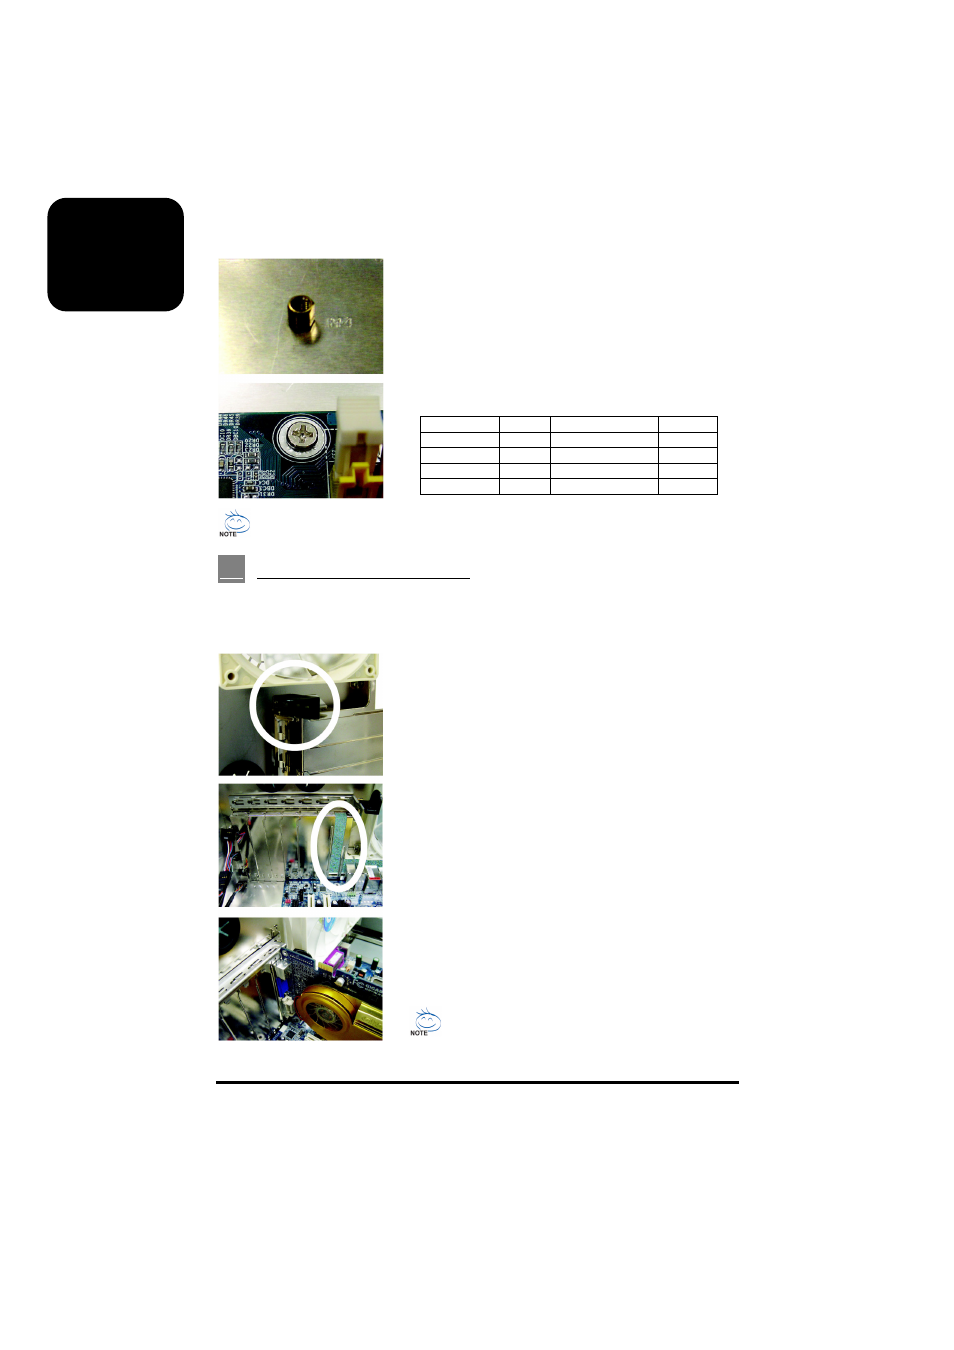
Installation of Interface Card
The 3D AURORA supports tool-free installation of interface cards, e.g. Graphic card and Network
Card, etc.
Required tool: None
4-2-1 According to motherboard specifications, select
proper screw holes, engage the standoffs into the
corresponding holes of the casing.
4-2-2 Secure the motherboard with securing screws.
Motherboard Code Securing
screw Standoffs
ATX A1-A9 9 9
MINI ATX
M1-M9
9
9
MICRO ATX
U1-U9
9
9
FLEX ATX
F1-F6
6
6
4-3-1 Open the PCI slot retention lock.
4-3-2 Remove the internally attached dust-proof PCI cover.
4-3-3 Insert the interface card into the expansion slot with
care.
Make sure all interface cards are fully seated in the
corresponding slots.