Global Machinery Company SYT210 User Manual
Page 13
13
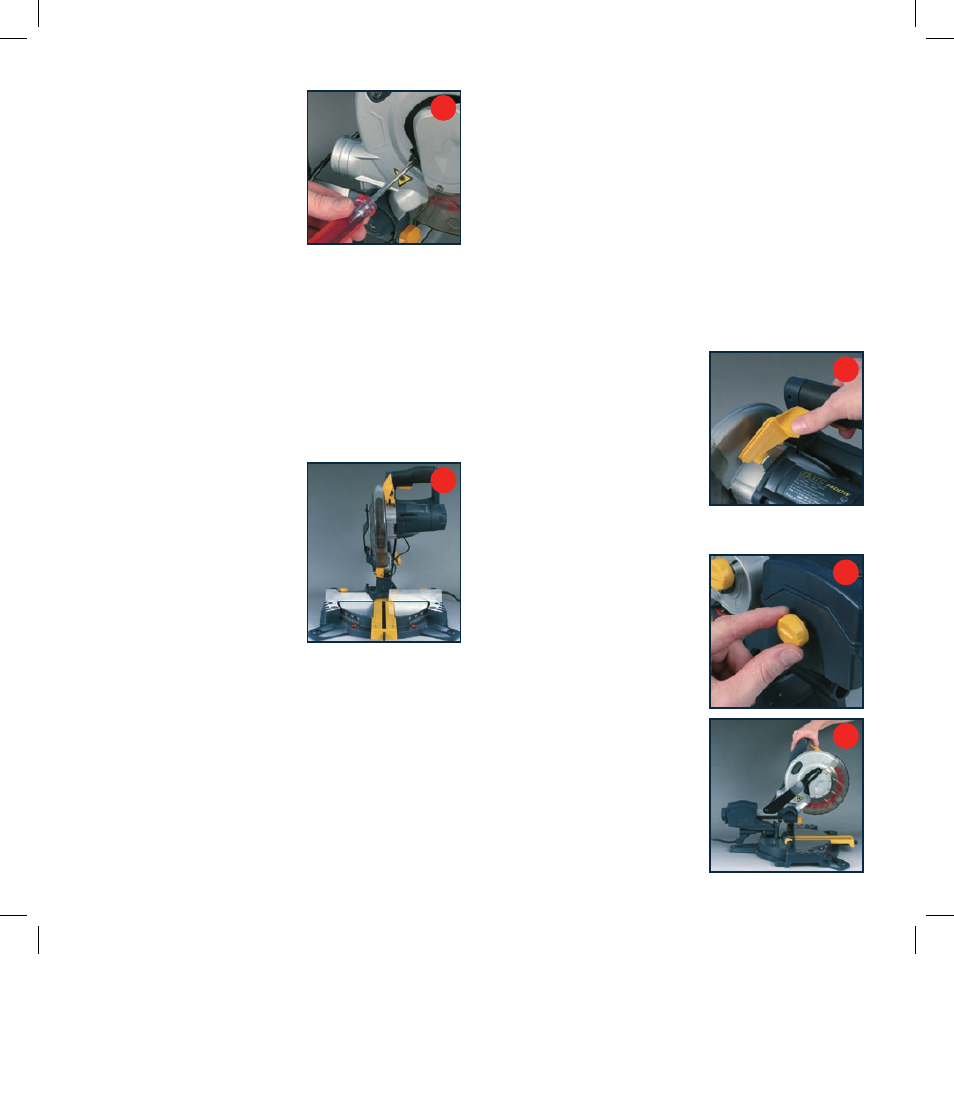
13. Depress the spindle lock
button (25) and replace the
the flat washer and blade bolt.
14. Use the hex key to tighten
the blade bolt securely
(tighten in an anti-clockwise
direction).
15. Lower the blade guard, hold
the rotating lower blade guard (9) and blade bolt cover
(11) in position and tighten the fixing screw (fig. f).
16. Replace the guard retraction arm and secure onto the
rotating blade guard.
17. Check that the blade guard operates correctly and
covers the blade as the saw arm is lowered.
18. Connect the saw to the power supply and run the blade
to make certain that it is operating correctly.
Cross-cutting (without slide action)
When cutting a narrow piece of
wood it is not necessary to use
the slide mechanism. In these
cases ensure that the saw head
is pushed back and the slide lock
(22) is screwed down to prevent
the saw arm from sliding (fig. g).
A crosscut is made by cutting
across the grain of the
workpiece. A 90º crosscut is
made with the mitre table set at 0º. Mitre crosscuts are
made with the table set at some angle other than zero.
1. Pull on the release knob (6) and lift the saw arm (5)
to its full height.
2. Loosen the mitre locks (18).
3. Rotate the mitre table (16) until the pointer aligns with
the desired angle.
4. Retighten the mitre locks (18).
WARNING.
Be sure to tighten the mitre locks before making
a cut. Failure to do so could result in the table moving
during the cut and cause serious personal injury.
5. Place the workpiece flat on the table with one edge
securely against the fence (19). If the board is warped,
place the convex side against the fence (19). If the
concave side is placed against the fence, the board could
break and jam the blade.
6. When cutting long pieces of timber, support the opposite
end of the timber with a roller stand or a work surface
that is level with the saw table.
7. Before turning on the saw, perform a dry run of the
cutting operation to check that there are no problems.
8. Hold the operating handle (7) firmly and squeeze the switch
trigger (23). Allow the blade to
reach maximum speed.
9. Press the release latch (24)
(fig. h) and slowly lower the blade
into and through the workpiece.
10. Release the switch trigger (23)
and allow the saw blade to
stop rotating before raising the
blade out of the workpiece.
Wait until the blade stops before removing the workpiece.
Cross-cutting
(with slide action)
When cutting wide workpieces,
first unscrew the slide lock (22)
(fig. i).
1. Pull on the release knob (6),
raise the saw arm (5) to its
highest position and slide it
towards you (fig. j).
2. Hold the handle firmly and
squeeze the switch trigger
(23). Allow the blade to reach
maximum speed.
f
g
h
i
j