Global Machinery Company RBS10 User Manual
Page 8
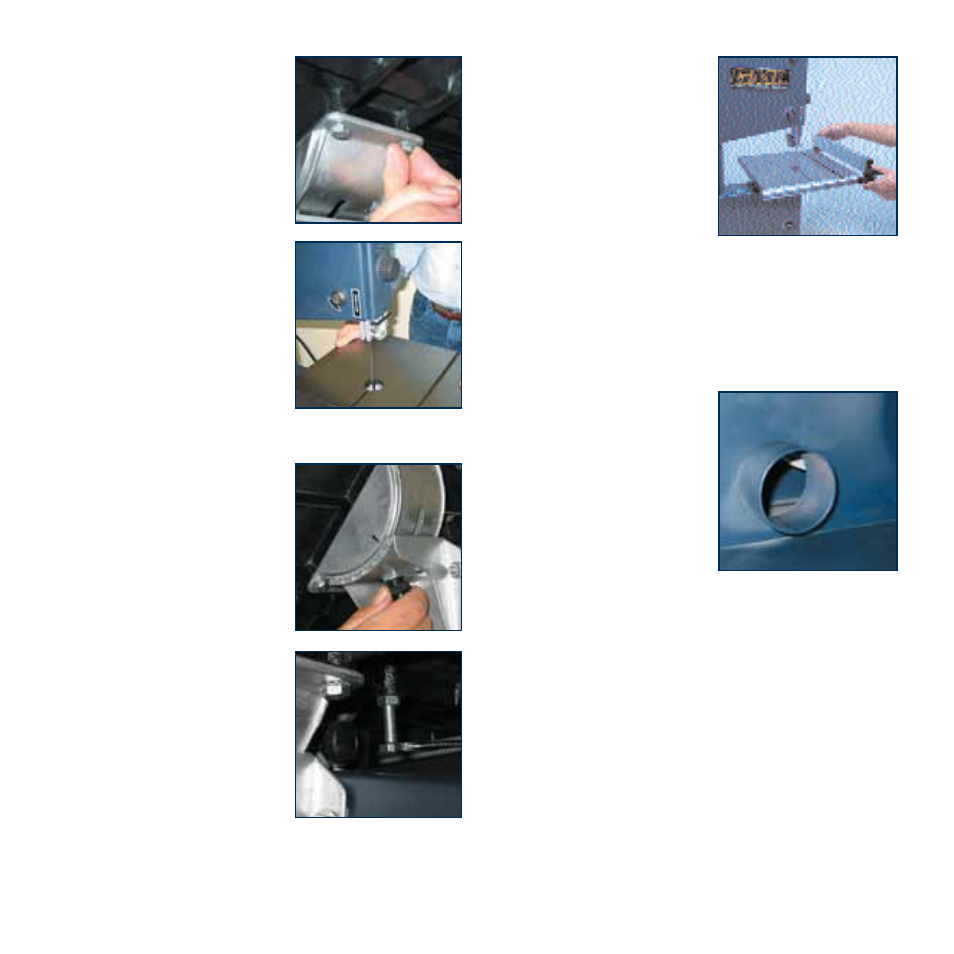
Setting up
Centring the table
1. Loosen the screws holding
the table trunnion bracket
2. Move the table until the saw
blade is positioned in the
centre of the table insert
3. Tighten the bracket screws
ensuring that the table does
not move.
Setting the table square with the saw blade
1. Loosen the table tilt-securing
knob.
2. Adjust the hex headed screw
stop on the underside of the
table so that the table is at
right angles to the saw blade
when the screw rests on the
lower wheel housing.
Fixing
1. The Band saw should be
stable.
2. Either secure it to the support
stand provided or to the floor
or to a bench or table.
Note: Do not use the saw unless
is is firmly fixed and stable.
3. There are four 9 mm fixing
holes in the base of the saw.
Rip fence
The rip fence can be used
either side of the blade.
1. Raise the rip fence guide
handle to unlock it and
turn the handle to increase
the distance between the
guides so that it can be
lifted clear of the table.
2. Position the fence on the other side of the blade with
the guides located in the channels either side of the
table.
3. Slide the fence to the desired location and push the rip
fence guide handle down to lock the fence in position.
Dust collection
1. Connect dust extraction
equipment to the 60 mm
diam. dust extraction port.
2. The dust extraction
equipment must provide for
an airflow rate of at least
20 m/s.
Caution.
Wood dust and chips
in a confined area can give rise to fire or an explosion.
Guard against possible ignition sources.
8