Global Machinery Company RT300 User Manual
Page 12
12
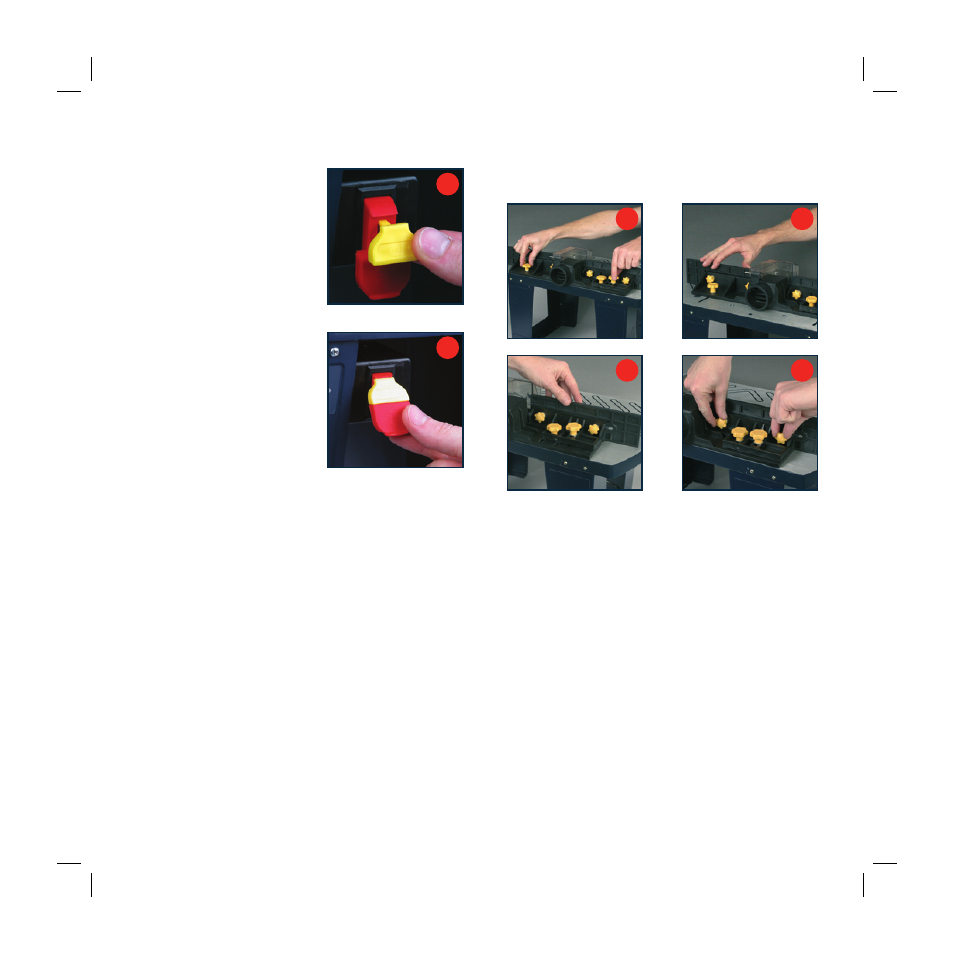
Operation
Once the router is properly
installed and connected to the
router table you can use the
safety switch on the router table
to turn the router on.
1. Insert the switch disabling
insert (6) and ensure the
switch is in the OFF position
(fig. R).
2 Make sure the switch on the
router is in the OFF position.
3. Make sure the router is
plugged into the outlet on the
router table switch box.
4. Plug the router table cord into
a power socket.
5. Turn the router switch to the
ON position and lock the
switch on.
6. Flip the router table switch to the ON position to turn on
and operate the router (fig. S).
7. Push the switch to the OFF position to turn off the router.
Adjusting the depth of cut
The depth of cut affects the rate and quality of cut. The
plunge lock lever on the router holds the router at the
desired height and depth of cut.
Refer to instruction manual that came supplied with your
router for details on how to adjust the depth of cut.
Using the starting pin
The starting pin (17) is used to pivot a small workpiece.
The starting pin fits into the threaded opening on the top
of the table near the table insert. Turn the pin clockwise
to insert it into the table. Turn the pin anti-clockwise to
remove it from the table.
Adjusting the fence
The fence can be adjusted in various ways to accommodate
the size and shape of a particular workpiece.
1. To slide the fence backwards and forwards loosen the
two fence locking knobs (fig. T). This will set the infeed
fence (9) to support the workpiece (fig. U).
2. Loosen the outfeed fence locking knob (12) to move the
outfeed fence forward or backward (fig. V). This will help
support the workpiece after it has been cut.
3. Loosen the 4 lock knobs on the infeed and outfeed fence
panels to slide the panels left and right (fig. W).
Direction of feed
1. Feed the workpiece from right to left.
2. The material must be fed against the cutting edge of the
router bit.
3. Ensure that the workpiece is tight against the fence.
4. Adjust the infeed fence so that it supports the uncut
material and adjust the outfeed fence so that it supports
the cut material, compensating for the removed stock.
R
S
U
W
T
V