Installation, Adapter plug electrical requirements grounding, Preparation – GE Monogram ZIS36N User Manual
Page 17: Clearances leveling location, Read, Refrigerator location clearances, Leveling
INSTALLATION
Read
How to connect electricity
For personal safety, this appliance must be properly grounded.
The power cord of this appliance is equipped with
a three-prong (grounding) plug which mates with a
standard three-prong (grounding) wall outlet (Fig. 1)
to minimize the possibility of electric shock hazard
from this appliance.
Fig. 1
INSURE PROPER GROUND
EXISTS BEFORE USE
Have wall outlet and circuit checked by a qualified
electrician to make sure outlet is properly grounded.
Where a standard two-prong wall outlet is
encountered, it is your personal responsibility and
obligation to have it replaced with a properly
grounded three-prong wall outlet.
NOT, UNDER ANY CIRCUMSTANCES,
CUT OR REMOVE THE
(GROUND)
PRONG FROM THE POWER
DO NOT USE AN ADAPTER PLUG TO
CONNECT THE REFRIGERATOR TO A
TWO-PRONG OUTLET.
DO NOT USE AN EXTENSION CORD WITH
THIS APPLIANCE.
The refrigerator should always be plugged into
its own individual electrical outlet—(] 15 volt, 60
Hertz, single phase AC—protected by a 20-amp time
delay fuse or circuit breaker). This is recommended
for best performance and to prevent overloading
house wiring circuits, which could cause a fire
hazard from overheating wires.
IMPORTANT: The water line and the electrical
outlet must be installed in the exact location described
in the Installation Instructions (Pub. No. 49-6445).
Refrigerator Location
Clearances
Install the refrigerator on a floor strong enough to
If the refrigerator is to be installed in a corner, allow
support it when it is fully loaded.
2“ between the hinges of the refrigerator and the wall
Do not install refrigerator where temperature will
to assure a 90° door opening capability.
go below
because it will not run often enough
No other clearances at top, sides or back are required.
to maintain proper temperatures.
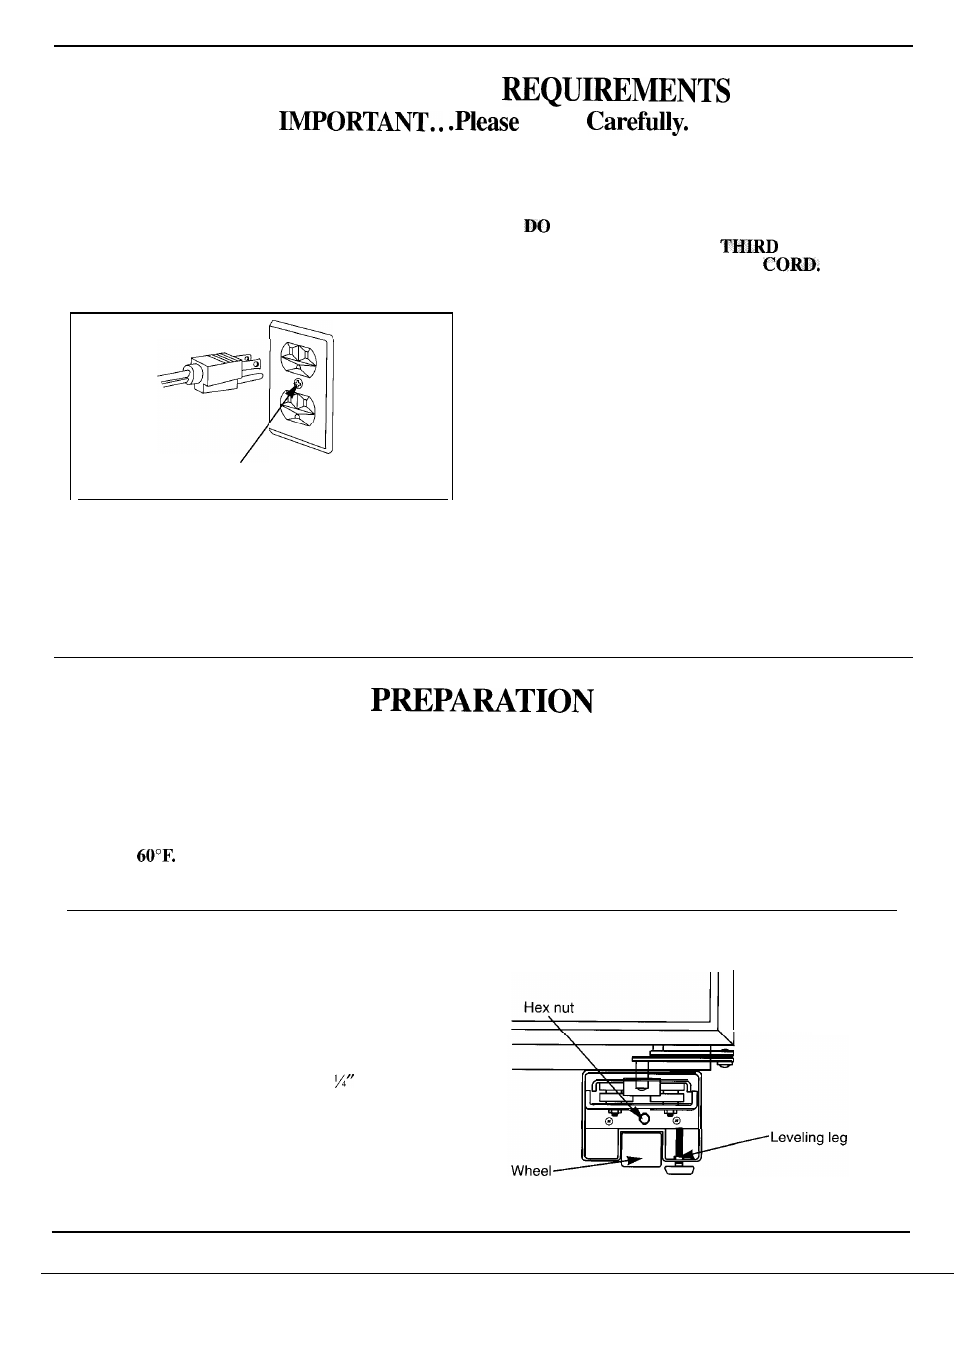
Leveling
This model has 4-point leveling. All four corners are
supported by leveling legs. The front wheels are non-
adjustable; they are only used for positioning the unit.
●
To level the back of the unit, turn hex nut located
above the front wheels.
●
To level the front of the unit, use a 1
open end
wrench and adjust the leveling legs.
●
Turn hex nut or front leveling leg clockwise to raise
the unit, counter-clockwise to lower the unit.
See the Installation Instructions (Pub. No. 49-6445)
for complete directions.
17