Operating the self-cleaning oven, How to set the oven for cleaning, After a clean cycle – GE 49-8549 User Manual
Page 26
OPERATING THE SELF-CLEANING OVEN
(continued)
How to Set the Oven for Cleaning
Quick Reminder:
1.
the door.
2. Turn
knob to
AUTO SELF CLEAN.
(he oven too hot and you start to set
you will not be able to s] ide the latch.
Allow
time for cooling
try to set
1. Follow directions to prepare the oven
cleaning.
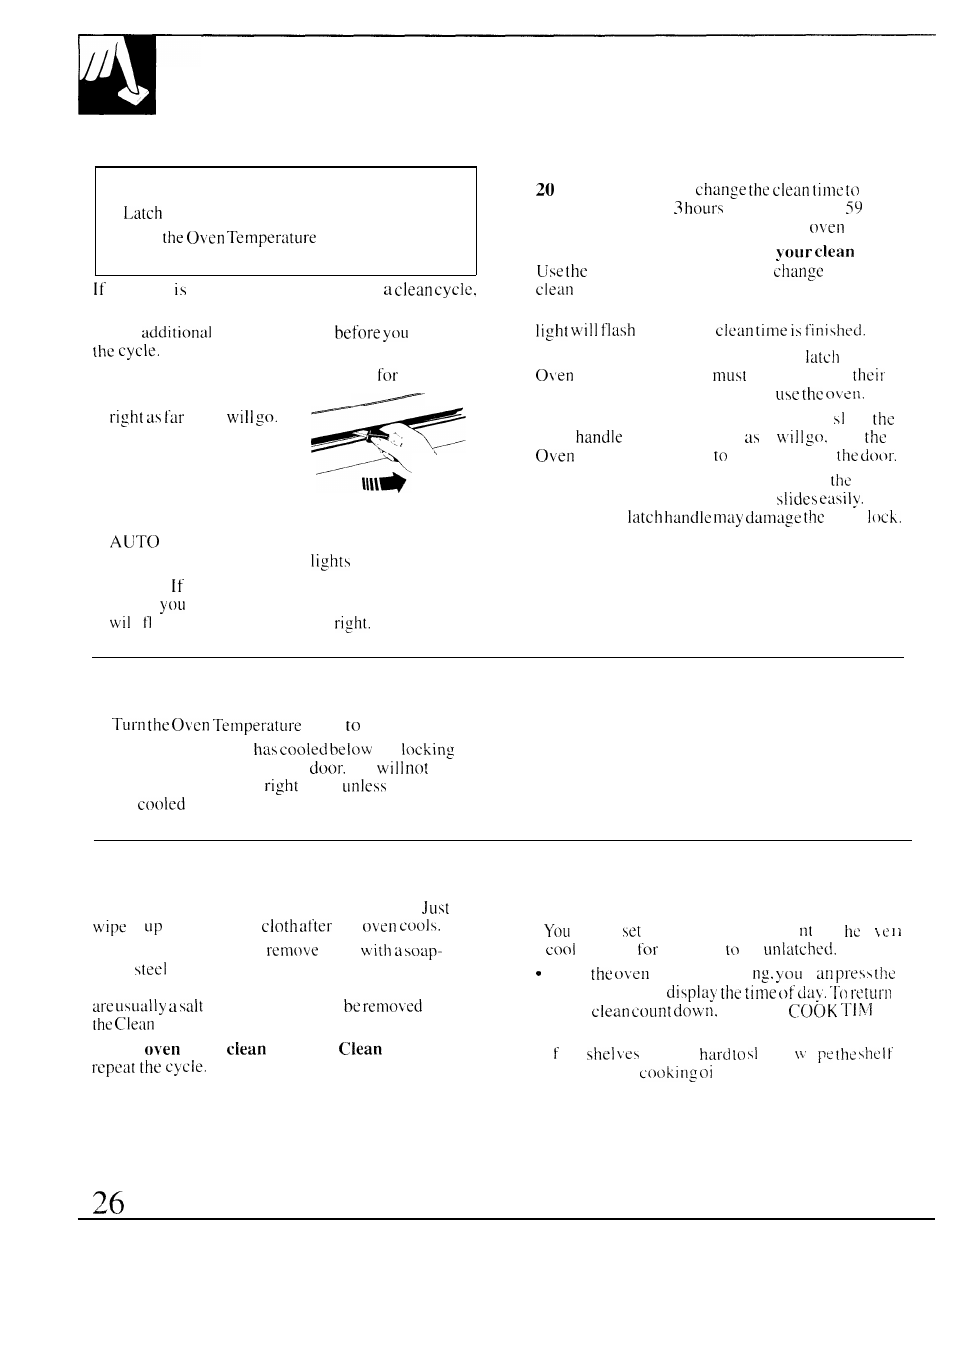
2. Slide the latch handle to the
as it
Never force the latch
handle. Forcing the
handle will damage the
door lock mechanism.
3. Turn the Oven Temperature knob to
SELF CLEAN. Both the AUTO SELF
CLEAN and the OVEN ON
will glow.
NOTE:
y
OLI
turn the Oven Temperature knob
before
slide the latch, the LATCH DOOR light
I ash. S1 ide the latch to the
Clean cycle time is normally 4 hours and
minutes. You can
anywhere between
and 5 hours and
minutes, depending on how dirty your
is.
You have one minute to change
time.
HOUR and MIN. pads to
the total
time.
Both the OVEN ON light and the LATCH DOOR
when the
After using the clean cycle, the door
and the
Temperature knob
be returned to
original positions before you can
When the LATCH DOOR light flashes, ide
latch
to the left as far it
turn
Temperature knob OFF and open
Never force the latch handle. Wait until
LATCH
DOOR light flashes and the latch
Forcing the
door
To Stop A Clean Cycle
1.
knob OFF.
2. Wait until the oven
the
temperature to unlatch the
Y
OLI
be
able to open the door
away
the oven
has
below the locking temperature.
After a Clean Cycle
You may notice some white ash in the oven.
it
with a damp
the
If’ white spots remain,
them
filled
wool pad. Be sure to rinse thoroughly
with a vinegar and water mixture. These deposits
residue that cannot
by
Cycle.
If” the
is not
after one
Cycle,
NOTE:
●
cannot
the oven for cooking u i 1 t o is
enough
the door be
While
is ~elf-clean i
c
CLOCK pad to
to the
press the
E
ON/OFF pad.
●
I the
become
i de. i
supports
with
1.