Dc in 12v – Fostex X-12 User Manual
Page 7
7
Model X-12 Owner's Manual
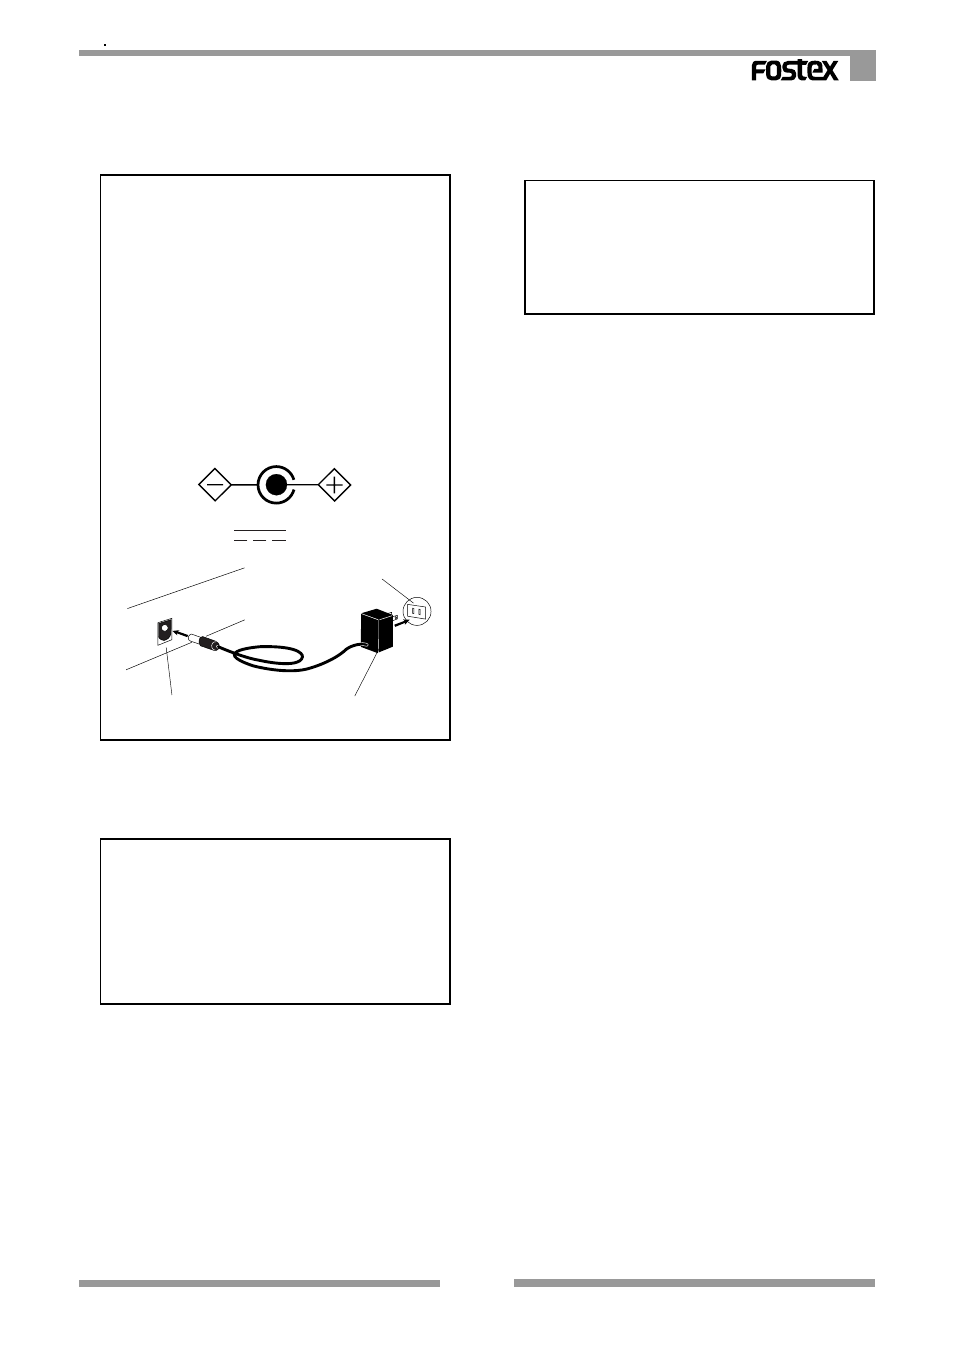
1. AC adaptor connector [DC IN]
Connect the AC adaptor included in the
package.
When the AC adaptor is plugged into an
AC outlet, a very small current flows in the
unit even if you turn off (STANDBY) the
power switch. If you are not going to use
the X-12 for a long period of time, remove
the AC adaptor plugged into the AC.
5. Record track selector [REC TRACK]
The recording track can be selected.
Only one track can be selected at a time.
3. Line output jack [LINE OUT L, R]
This jack outputs a signal adjusted by the
[LINE
OUT/PHONES]
knob. Connect this jack to the
input jack of a master recorder for mixdown.
4. Record track select indicator
The recording track selected by the
[REC TRACK]
selector will be indicated in red.
Be sure to use the included AC adaptor or
an equivalent model. Using an AC adaptor
with a different rated voltage or a different
plug polarity may cause a fire or damage
to the product.
The following figure indicates that the
output voltage of the AC adaptor is DC
(direct current) 12V (volt), that the plug
polarity is + (positive) in the center and -
(negative) outside. Be sure to use an AC
adaptor that complies with this indication.
DC IN
12V
AC adaptor
DC IN connector
AC outlet
2. Power switch [POWER]
Use this switch to turn the power on/off
(STANDBY) to the X-12.
6. Counter / Reset button [RESET]
The counter indicates the tape count.
Pressing the
[RESET]
button will reset the
counter to "000."
7. Line out / Headphone level knob
[LINE OUT/PHONES]
This knob enables you to adjust the output
level at the
[LINE OUT L, R]
jacks and the
[PHONES]
jack.
8. Cassette lid / Cassette tray
Insert a cassette tape here.
9. Level meter
This meter indicates the input level.
10. Transport control buttons
Record button [REC]
Press the button after you select a track using
the
[REC TRACK]
selector.
The
[PLAY]
button will be automatically
pressed, and the unit will enter the recording
mode. This button is disabled if the cassette
tape in the tray has a broken or removed write-
protection tab.
Pause button [PAUSE]
To resume playback or recording, press this
button again.
Stop button [STOP]
Press this button to stop tape transport.
Fast Forward button [F F]
Press this button to fast forward the tape.
Rewind button [REW]
Press this button to rewind the tape.
Play button [PLAY]
Press this button to playback the tape.
When you press the
[REC]
button, this button
will be automatically engaged and the unit will
enter recording mode.
[REC TRACK]
selector does not switch "OFF"
the recording track. Since the track to be
recorded is always in the selected state, be
careful not to accidentally erase a
prerecorded sound.