Fostex X-12 User Manual
Page 10
10
Model X-12 Owner's Manual
When the leader part is forwarded, press
the [RESET] button to set the counter to
"000."
Select the track to be recorded with the [REC
TRACK] selector.
Select track 1 (the indicator will change to
red) or whatever track you prefer to record
on.
Try speaking into the mic.
The level meter LED will blink.
Put X-12 in the record standby mode.
First, press the
[PAUSE]
button, then the
[RECORD]
button. The
[PLAY]
button will be
engaged automatically at the same time.
The tape will remain paused in the record
mode.
When the [LINE OUT/PHONES] knob is
slowly advanced, the input monitor sound
will be heard in the headphone.
W h i l e m o n i t o r i n g t h e s o u n d i n t h e
headphone, watch the level meter and adjust
the recording to a suitable level.
Because the recording level cannot be
adjusted with a fader, optimum recording
levels must be determined by the sound
volume applied to the mic or by adjusting
the distance to the mic.
If you must monitor for a long time, be
careful not to raise the
[LINE OUT/PHONES]
knob too high. If you monitor for long
hours at high volumes, it could impair
your hearing.
After confirming the level, release the
[PAUSE] button (The [PAUSE] button is
pressed again) to start recording.
If recording is to be momentarily stopped,
press the [PAUSE] button. If recording is to
be ended, press the [STOP] button.
Following the procedures up to this point,
the sound applied to the microphone has
been recorded on track 1 as shown in
schematic below.
Now, let's try recording another sound source
to another track with the same procedures.
Also, lets playback the recorded sound on
each track as described below.
Be careful not to continue recording, if
the level meter
"+6"
LED lights up
frequently, as this will indicate the sound
can be distorted.
For optimum gain, adjust the [LINE-MIC]
knob CW (toward "MIC").
Adjust the
[LINE-MIC]
knob such that the level
meter
"+3"
LED is illuminated at maximum
sound volume.
When recording line level sound sources such
as a keyboard and electric guitar, the
optimum gain is obtained by rotating the
[LINE-MIC]
knob CCW (toward
"LINE"
).
6
7
8
9
10
11
12
13
This will change to red light and track 1 can
be recorded.
-10
-10
-5
-5
0
0
+3
+3
+6
+6
METER
Set the gain so that LED's
within this range remain lit.
If this LED blinks frequently,
it indicates that input level is
too high.
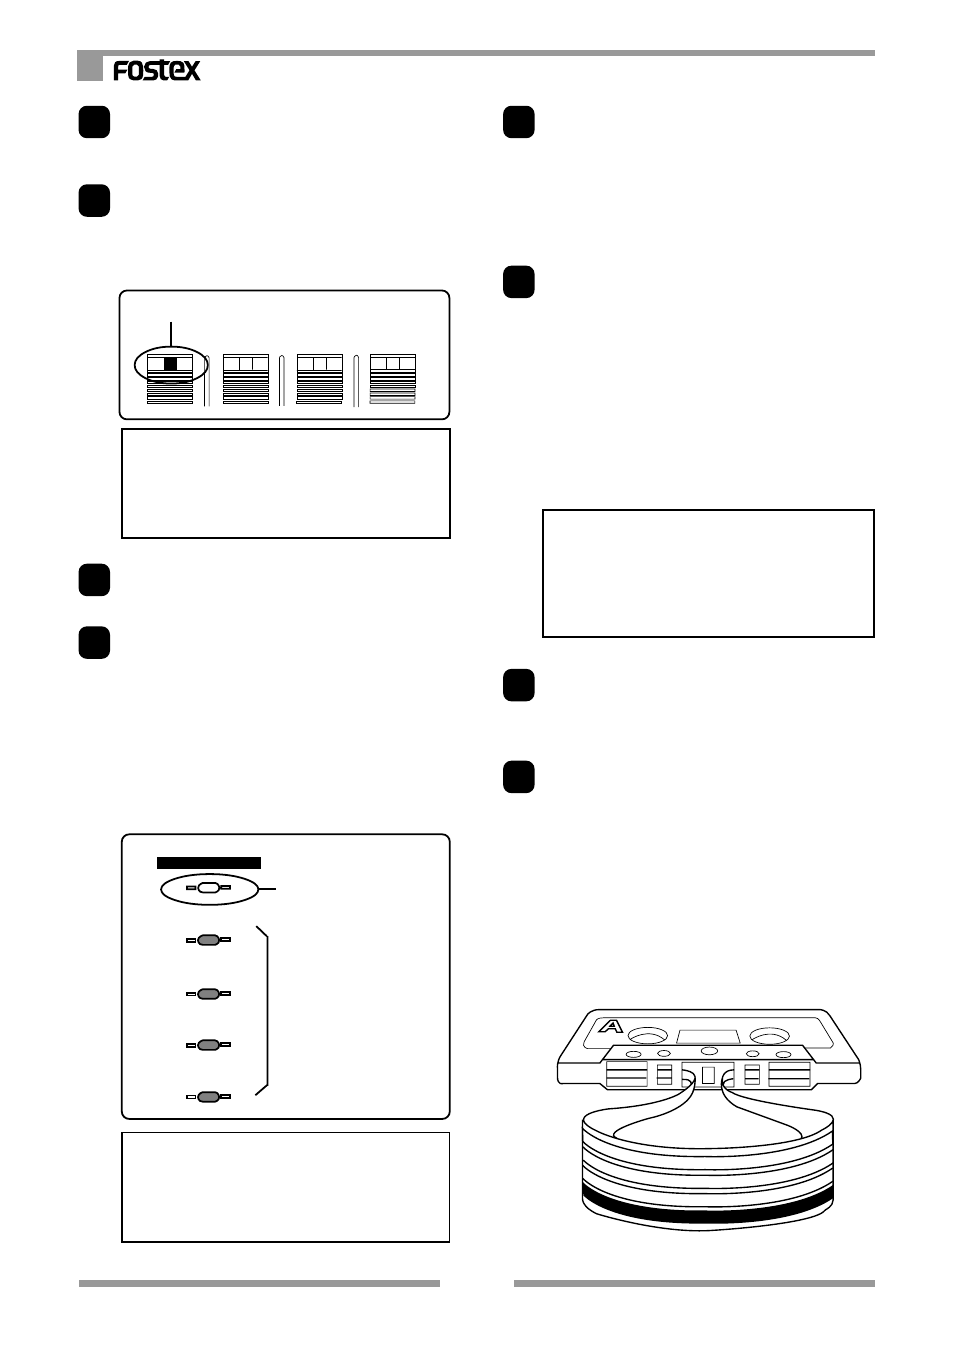
Track 4
Track 3
Track 2
Track 1
Microphone
1
Do not move the
[REC TRACK]
selector
during recording. If this is moved
accidentally during recording, the
recording track will switch.