Only with, Paintshop pro, Photoshop – FujiFilm E500 User Manual
Page 3: Tool time, Touching
Only With...
At the core of every digital scrapbook
page is some form of photo editing
software. From the simplest red-eye
removal tool to the most sophisticated
image editor, scrapbookers rely on these
programs to assemble photos, text and
artistic effects into unified layouts.
Photo editing programs’ prices and
capabilities range widely, as do their
intended audiences. If you’re new to
digital scrapbooking, you may prefer a
package with templates and project
instructions included; if you’re already
familiar with the basics of photo
PaintShop Pro
1. Use Paint Shop Pro’s included texture effects like the
Sculpture Texture shown here to create complex,
dimensional backgrounds.
2. Magnifying Lens effect makes creating shaker box
elements easy.
3. Automatically add any of thousands of elements in all
themes and styles with the Picture Tubes tool.
Colorize them, as Michelle did with the buttons and
eyelets here, to match your project perfectly.
4. Built-in brush tools and fur texture effect create
realistic-looking fibers.
5. Apply artistic photo edges and frames for an instant
touch of style.
N OT E :
Check out Michelle’s book Scrapbooking the
Digital Way
for more step-by-step instructions just for
Paint Shop Pro users.
24
digital scr apbooking 3
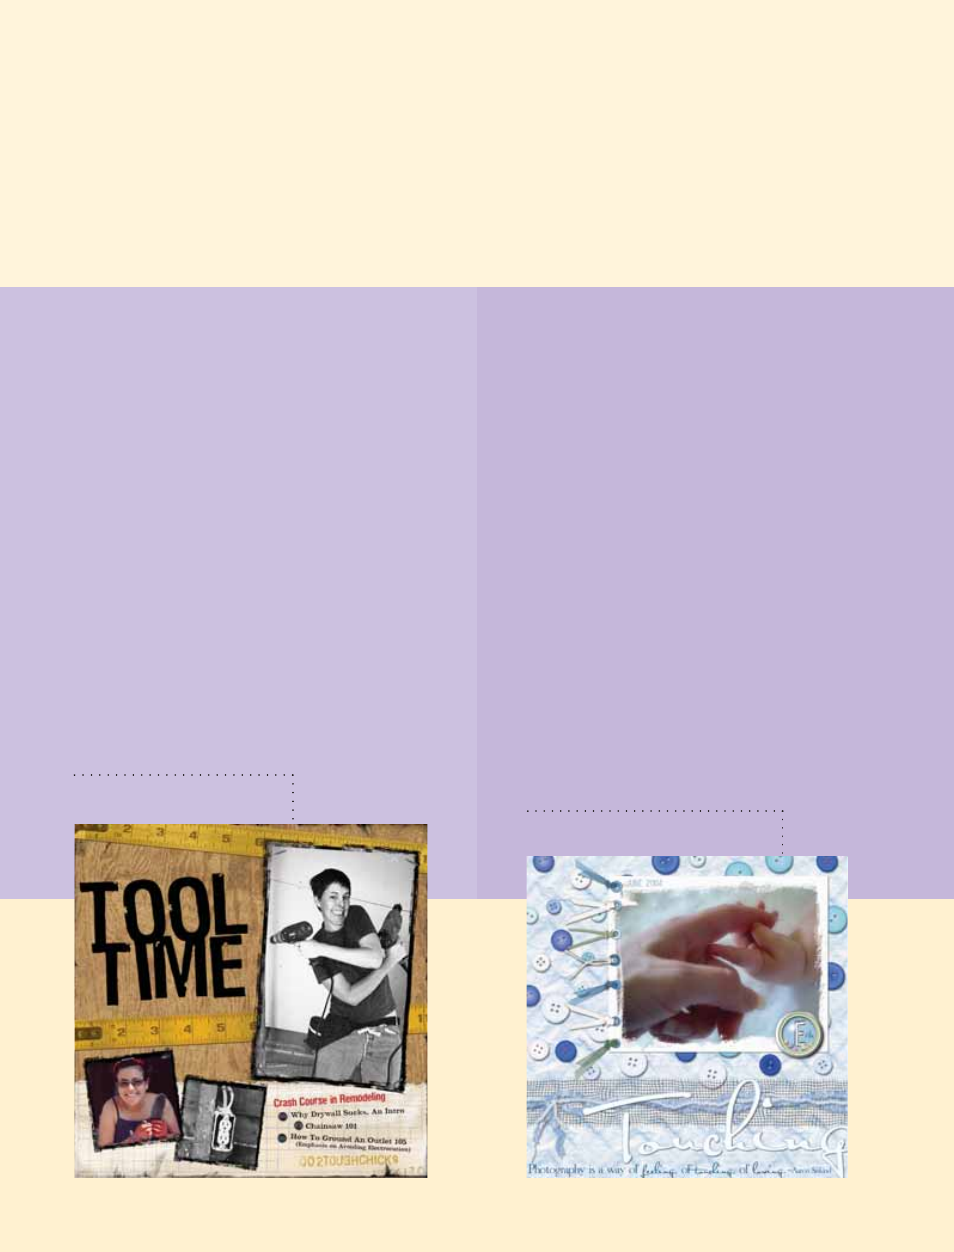
tool time
Chris Ford
touching
Michelle Shefveland
Photoshop
1. Create your own brushes from scanned, freehand-
drawn or clip-art objects. Here, Chris used custom-
made brushes for the grungy inked effect around her
page’s margins.
2. Apply drop shadow effects at the angle and intensity
of your choice, as Chris did with the tape measure
element.
3. Use built-in tools or separate plug-ins to apply artistic
edges or frames to your photos.
4. Optimize your work for sharing online with the one-
step Save to Web command.
5. Take advantage of other artists’ expertise with the
thousands of free brushes, actions and plug-ins
available online (see studio.adobe.com for a great
place to start).