Gusing an optional sd card, Euso de una tarjeta sd opcional – Fisher-Price Camera User Manual
Page 25
G Add an optional SD card (not included and sold separately)
to store more pictures on your camera.
E Añade una tarjeta SD opcional (no incluida; se vende por
separado) para guardar más fotos en la cámara.
G
Using an Optional SD Card
E
Uso de una tarjeta SD opcional
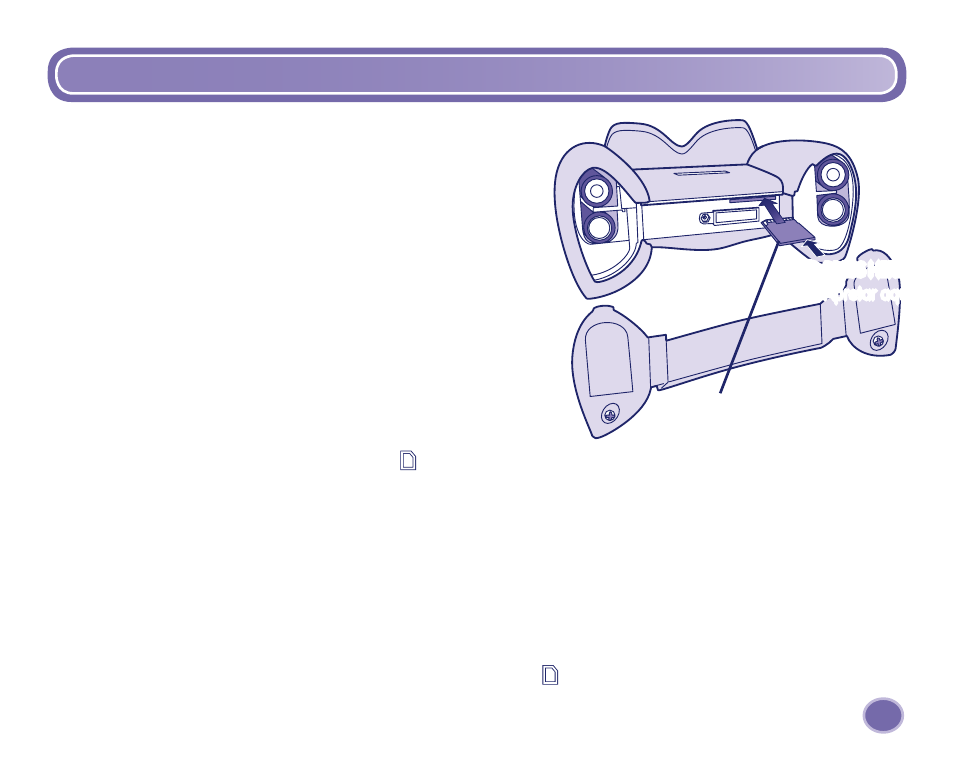
G PRESS HERE
E Apretar aquí
G SD Card not included)
E Tarjeta SD (no incluida)
G • Make sure the camera is turned off.
• Loosen the screws in the battery compartment door 1/4 turn.
Remove the battery compartment door.
• Gently insert an SD card into the slot in the camera bottom, as shown.
Gently press the SD card.
You will feel a click when the SD card is
in place.
Note: The card will fit in the slot only one way. Please insert the
card carefully.
• Replace the battery compartment door and tighten the screws 1/4 turn.
• When you turn the camera back on, the card will appear on the LCD screen.
• To remove the SD card, gently press the end of the card and it will “pop“ out.
E • La cámara debe estar apagada.
• Desatornillar los tornillos de la tapa del compartimento de las pilas (girarlos 1/4 de vuelta) y retirarla.
• Introducir cuidadosamente una tarjeta SD en la ranura en la parte de abajo de la cámara, como se muestra y apretarla
suavemente.
Se oirá un clic cuando la tarjeta SD encaje en su lugar.
Atención: la tarjeta solo encaja de un lado. Si al introducirla no encaja bien, no debe forzarse. Recomendamos darle
la vuelta e insertarla nuevamente en la ranura.
• Volver a tapar el compartimento y atornillar la tapa.
• Al volver a encender la cámara, aparecerá el símbolo de la tarjeta en la pantalla.
• Para sacar la tarjeta SD, apretar cuidadosamente el extremo de la tarjeta y esta saldrá expulsada de la ranura.