Operation, 7 weight defrost function, 8 time defrost function – Beko 2.2 cu. ft. Countertop Microwave Oven Owners Guide User Manual
Page 14: 9 auto menu, 10 sensor cook
14 / EN
Microwave Oven / User Manual
C
During microwave cooking
and time defrost , time can be
added by pressing “Start/+30
Sec” button.
4.7 Weight defrost function
1. Press “Weight Defrost“ once, screen
will display “0.0 lb”
2. Press number keys to input the weight
to be defrosted. If the weight input is
not within 0.3~6.3(lb), the input will be
invalid.
3. Press “Start/+30 Sec” to start defrost-
ing and the cooking time remained will
be displayed.
4.8 Time defrost function
1. Press “Time Defrost“ once, screen will
display “00:00”.
2. Press number keys to input defrosting
time. The maximum value is 99:99.
3. Press “Start/+30 Sec” to start defrost-
ing. The remained cooking time will be-
displayed.
4.9 Auto menu
1. In waiting state, press “Popcorn, Potato,
Pizza Reheat, Frozen Entree, Beverage
or Soup” to choose the desired menu.
2. Press the chosen menu key repeatedly
to choose the weight of the food.
3. Press “Start/+30 Sec” to start cooking.
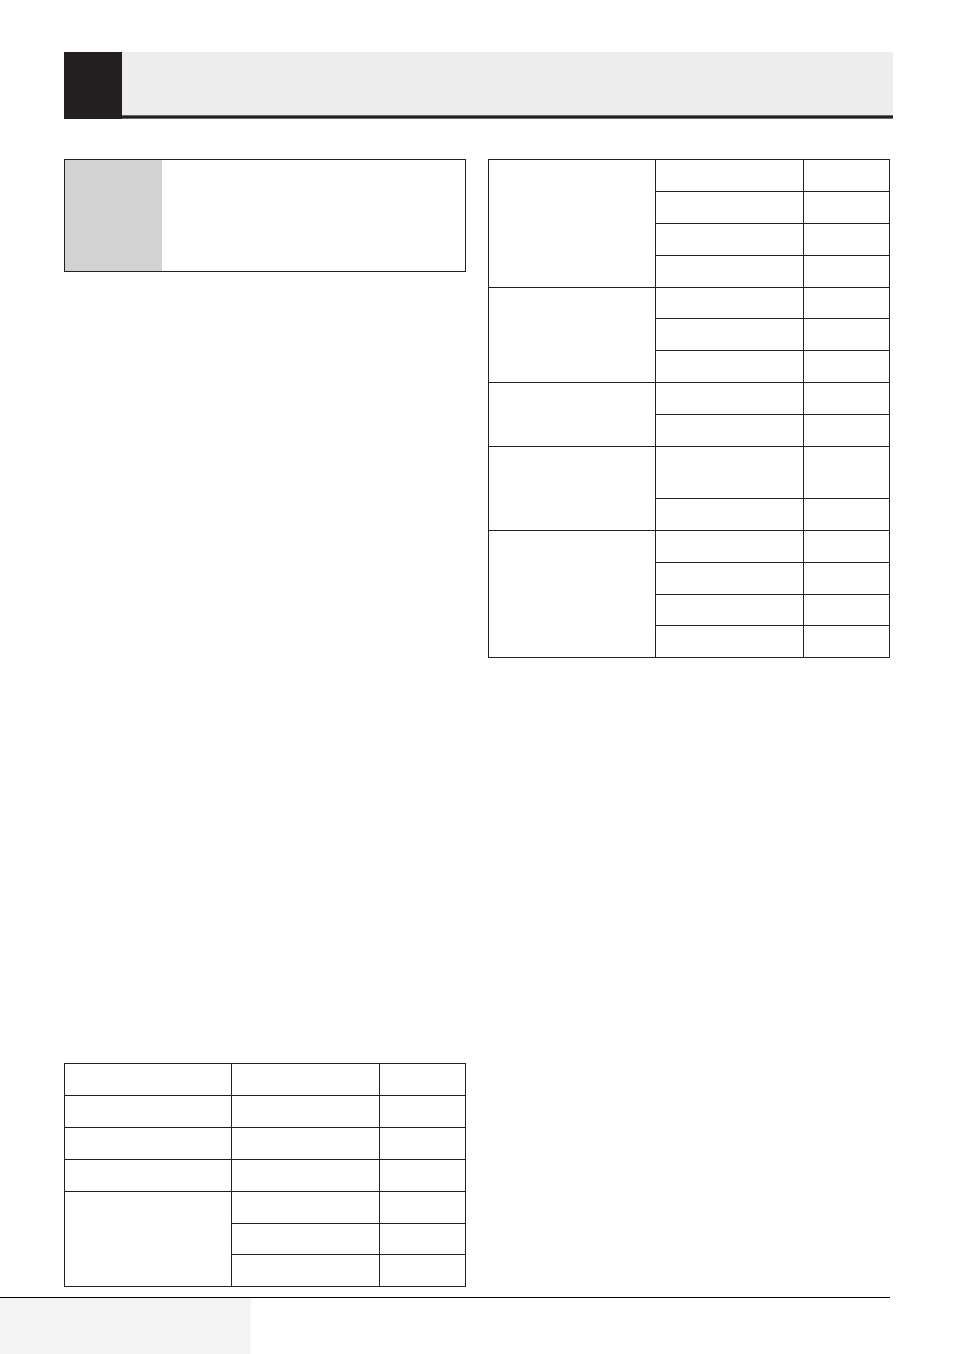
Menu chart
Menu
Weight
Display
Dinner Plate
8-16 OZ
SC
Fresh Vegetable
4-16 OZ
SC
Frozen Vegetable
4-16 OZ
SC
Popcorn
1.75 OZ
1.75 OZ
3.00 OZ
3.0 OZ
3.30 OZ
3.3 OZ
4
Operation
Potato
1 (8.00 OZ)
1
2
2
3
3
4
4
Pizza Reheat
1 (slice)
1
2
2
3
3
Frozen Entrée
10.00 OZ
10.0 OZ
20.00 OZ
20.0 OZ
Beverage
1 cup
(about8.8 OZ)
1
2 cups
2
Soup
1 bowl
1
2 bowls
2
3 bowls
3
4 bowls
4
4.10 Sensor cook
1. In waiting state, press “Dinner Plate,
Fresh Vegetable or Frozen Vegetable”,
the screen will display “SC”.
2. Press “Start/+30 Sec” to start sensor
cooking. “SC” will flash in the display.
3. The buzzer will sound once when the
sensor has finished, the surplus cook-
ing time will count down.
4.11 Memory function
1. Press “Memory” to choose memory
1-3 procedure. The screen will display
1,2,3.
2. If the procedure has been set, press
“Start/+30 Sec” to use it. If not, con-
tinue to set the procedure. Only one or
two stages can be set.
3. If the procedure has not been set, after
finishing the setting, press “Memory”
once to save the procedure and turn
back to the waiting states. If press
“Start/+30 Sec” it will save the proce-