Godox VING V860IIS TTL Li-Ion Flash Kit for Cameras User Manual
Page 9
- 41 -
- 42 -
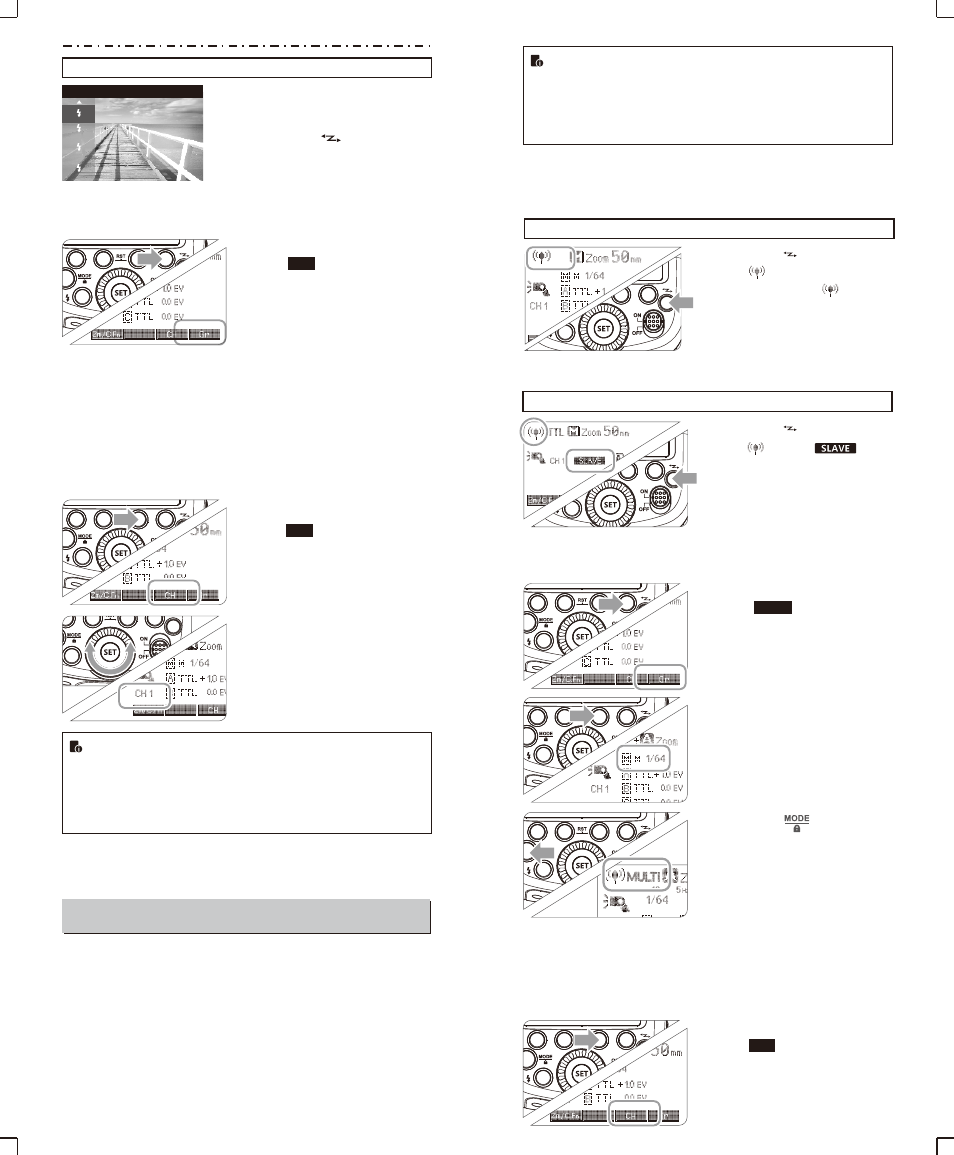
3. Setting the Communication Channel
If there are other wireless flash systems nearby, you can change the
channel IDs to prevent signal interference. The channel IDs of the
master unit and the slave unit(s) must be set to the same.
Press Function Button 3
1
< > and turn the Select
Dial to choose a channel ID
from 1 to 4.
Press the <
SET
> button to
2
confirm.
CH
●
Note: As optical lighting system (
WL
) is restrained to Sony’s
wireless protocol, there is no much room for TT685S to
improve its optical transmission mode. Therefore, radio
transmission (2.4G) is recommended for its easier operation,
creative lighting effects, stable signals, etc.
Wireless Flash Shooting: Radio (2.4G) Transmission
●
You can set up three slave groups for TTL autoflash shooting.
With TTL autoflash, you can easily create various lighting effects.
●
Any flash settings for the slave units on the master flash in TTL
mode will be automatically sent to the slave units. So the only
thing you need to do is to set the master unit for each slave group
without any operation for the slave units at all during the shooting.
●
This flash can work in TTL /M /Multi / OFF flash modes when set
as a master unit.
Master Unit Setting
1
.
Wireless Settings
You can switch between normal flash and wireless flash. For normal
flash shooting, be sure to set the wireless setting to OFF.
Press < > button so that
1
< > is displayed on the
LCD panel. If <
MULTI
>
is displayed, it means Multi
mode is ON.
The backlight turns green
2
now.
●
Even with multiple slave units, the master unit can control
all of them via wireless.
●
In this user manual, “master unit” refers to the camera flash
on a camera and “slave unit” will be controlled by the
master unit.
Press Function Button 4
1
< > to choose the
group from M/A/B/C. Then,
press Function Button 3
<
MODE
> so that the
master unit can work in
OFF
/ TTL
flash mode. Choose
one of them as the flash
mode of master unit..
Exit Optical Wireless Lighting Mode
2. Setting Master Unit's Flash Mode
Flash
Mode
SLOW
REAR
WL
Fill
-
flash
Fill
-
flash
Set the camera to NON
1
wireless lighting mode.
Press < > Wireless
2
Selection Button to switch to
other modes.
Gr
Slave Unit Setting
Press <
> button so that
1
<
>
and
< >
are
displayed on the LCD panel.
The backlight turns orange
2
now.
Press Function Button 4
1
< > to choose the
group from M/A/B/C. Then,
press Function Button 3
<
MODE
> so that the master
unit can work in
OFF/TTL/M
flash mode. Choose one of
them as the flash mode of
master unit.
2. Setting Master Unit’s Flash Mode
Gr
Press < > button to
2
switch to Multi mode.
3. Setting the Communication Channel
If there are other wireless flash systems nearby, you can change the
channel IDs to prevent signal interference. The channel IDs of the
master unit and the slave unit(s) must be set to the same.
Press Function Button 3
1
< > and turn the
Select Dial to choose a
channel ID from 1 to 32.
CH