Step #5, Step #6, Step #7 – Mirror Image Teleprompters SF-160 User Manual
Page 4
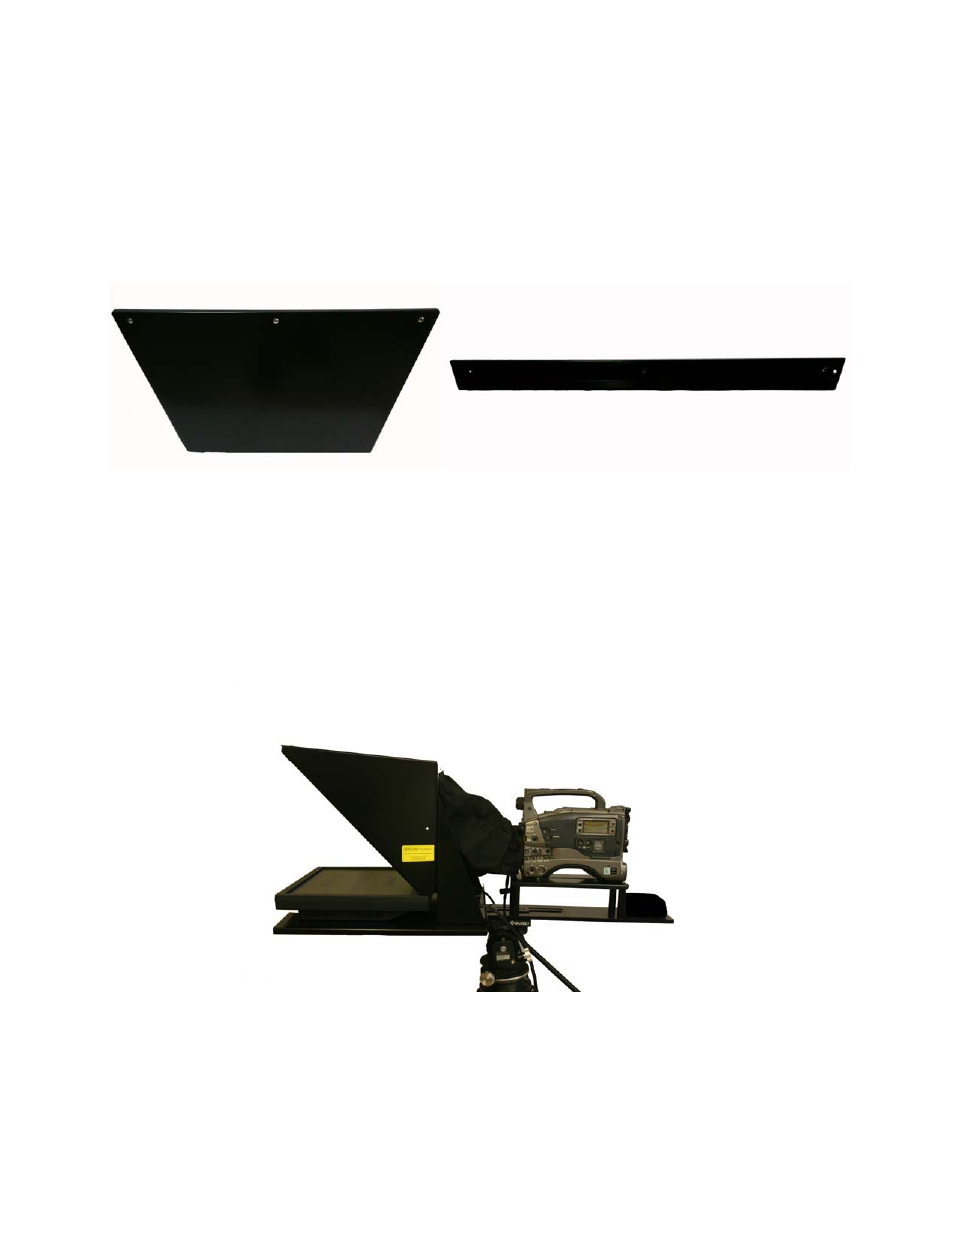
Step #5
Remove the 3 phillips screws on the top front of hood. Pull the mirror brace/fin out of hood.
Slide mirror into hood (with “To Monitor” sticker facing out) so that it rests on the rubber pads
wrapped around the rim of the hood. Replace the mirror brace. *Now may be a good time to
move the hood/mirror assembly up or down if you need to (for viewing purposes).*
Step #6
Attach your camera plate to the top of the riser using our provided camera knob. Click camera
onto camera plate. Adjust camera & arm forward or back to balance the prompter assembly on
the tripod. *Camera should always be as far back as possible.* The weight of the monitor/hood
& camera should balance the prompter on your tripod. If you have troubles, Mirror Image has
counterweights available.
Step #7
Plug in LCD, connect to computer, and get ready to prompt your script.