Canon 320 User Manual
Page 20
17
Printing from a Memory Card
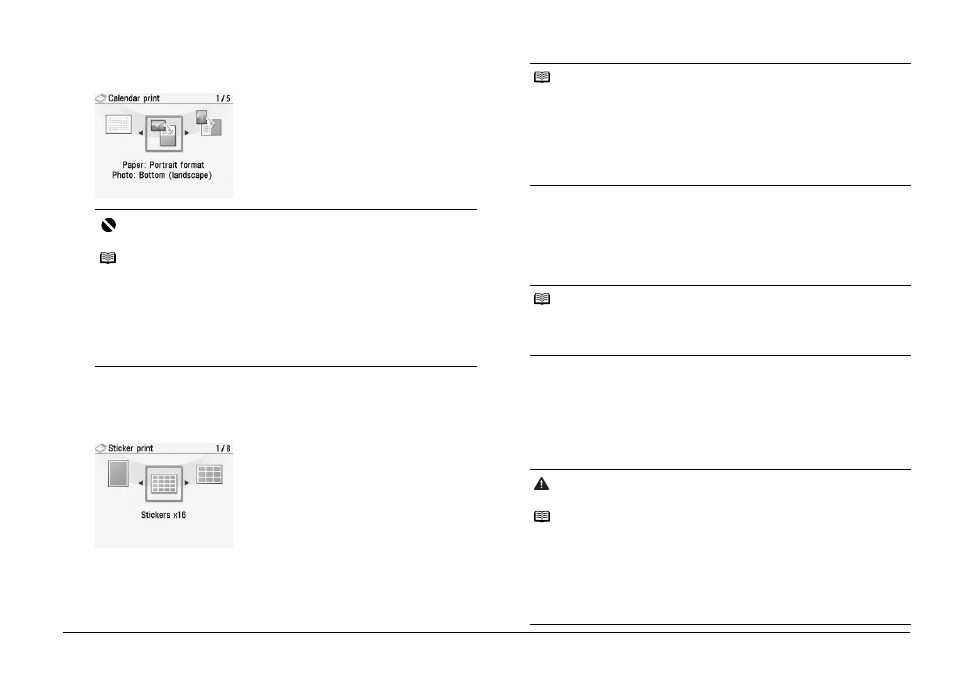
Creating a Calendar—Calendar print
You can create your own original calendar with your favorite photo printed on it.
Printing Stickers with a Photo Saved on a Memory Card—
Sticker print
You can print your favorite photo with a frame on the Canon genuine Photo
Stickers.
Printing Photographs with a Frame—Framed photo print
You can print your favorite photo with a frame.
1
Select Framed photo print on the Create item screen.
2
Select the frame and the photo to print, then press the Print button.
Printing ID Photo—ID photo size print
You can print ID size photos.
1
Select ID photo size print on the Special photo print screen.
2
Select the photo size and the photo to print, then press the Print
button.
Important
Always load paper in portrait orientation.
Note
z
Select the landscape format for a landscape-oriented photo or the portrait
format for a portrait-oriented photo.
If the photo is upside-down, you can use the { or } button to rotate the photo
180 degrees.
z
To change the start of the week on the printed calendar, press the left Function
button on the screen where Advanced is displayed.
z
Even if both Date ON and File no. ON are set, only the shooting date will be
printed. If you want to print the file no., select Date OFF. It is not possible to print
both the shooting date and the file no.
1
Select Calendar print on the
Create item screen.
2
Select the format, the photo to
print, the background color,
etc., then press the Print
button.
1
Select Sticker print on the
Create item screen.
2
Select Stickers x16 layout,
the photo to print, the frame,
and the number of copies,
then press the Print button.
Note
z
Load a single sheet at a time.
z
To print without a frame, press the left Function button in the frame selection
screen.
z
If the photo is upside-down, you can use the { or } button to rotate the frame
180 degrees.
z
If you want to rotate a photo 90 degrees to match a frame, rotate the trimming
area. See “Printing a Specified Area—Trimming” on page 19.
z
When printing stickers, be sure to load the media so that it faces in the correct
direction. See “Loading Printing Paper” on page 8.
Note
z
If the photo is upside-down, you can use the { or } button to rotate the frame
180 degrees.
z
If you want to rotate a photo 90 degrees to match a frame, rotate the trimming
area. See “Printing a Specified Area—Trimming” on page 19.
Caution
Print the photo on the larger-sized paper than your selected photo size.
Note
Choose the area to print by using the following buttons.
z {
, }, [, and ] buttons: Position the printing area.
z
Easy-Scroll Wheel: Sets the printing area.
Turn the Easy-Scroll Wheel clockwise to enlarge the size of the printing area or
counterclockwise to reduce it.
z
Right Function button: Rotate the printing area.
To switch the printing area between portrait and landscape orientations, press
this button.
z
OK button: Finalizes your selection of printing area.