Sony TC-WE825S User Manual
Page 16
Attention! The text in this document has been recognized automatically. To view the original document, you can use the "Original mode".
Inserting a Blank Space During
Recording (Record Muting)
You can insert a blank space gf 4 seconds between each
track. The blank spaces allow you to locate the start of
specific tracks afterwards using the Multi-AMS
function (see page 8). You can also use this function to
erase unwanted portions on a tape.
PAUSE il
1
2
REC MUTING O
Start recording.
Press REC MUTING O where you want to insert a
blank space.
"REC" flashes in the display and a blank is
recorded on the tape.
After 4 seconds, II lights up and the tape deck
changes to recording pause.
3
Press PAUSE
|l
to resume recording.
If you want to insert a blank space longer than 4
seconds
Hold down REC MUTING O as long as you want.
After 4 seconds, "REC" flashes faster.
When you release REC MUTING
0,11
lights up and the
tape deck changes to recording pause.
Press PAUSE
I I
to resume recording.
Synchro-Recording With a CD
Player Through a Control A1
Cable
By pressing SYNCHRO, you can perform synchro
recording on your tape deck with a Sony CD player
connected to the CONTROL A1 connector through an
optional control A1 cable (see page 4). The control A1
cable supports advanced functions not possible with
the commander-based CD synchro-recording function
on previous models. Further information on the
various operations made possible by a control A1 cable
is provided in the pamphlet attached to this manual.
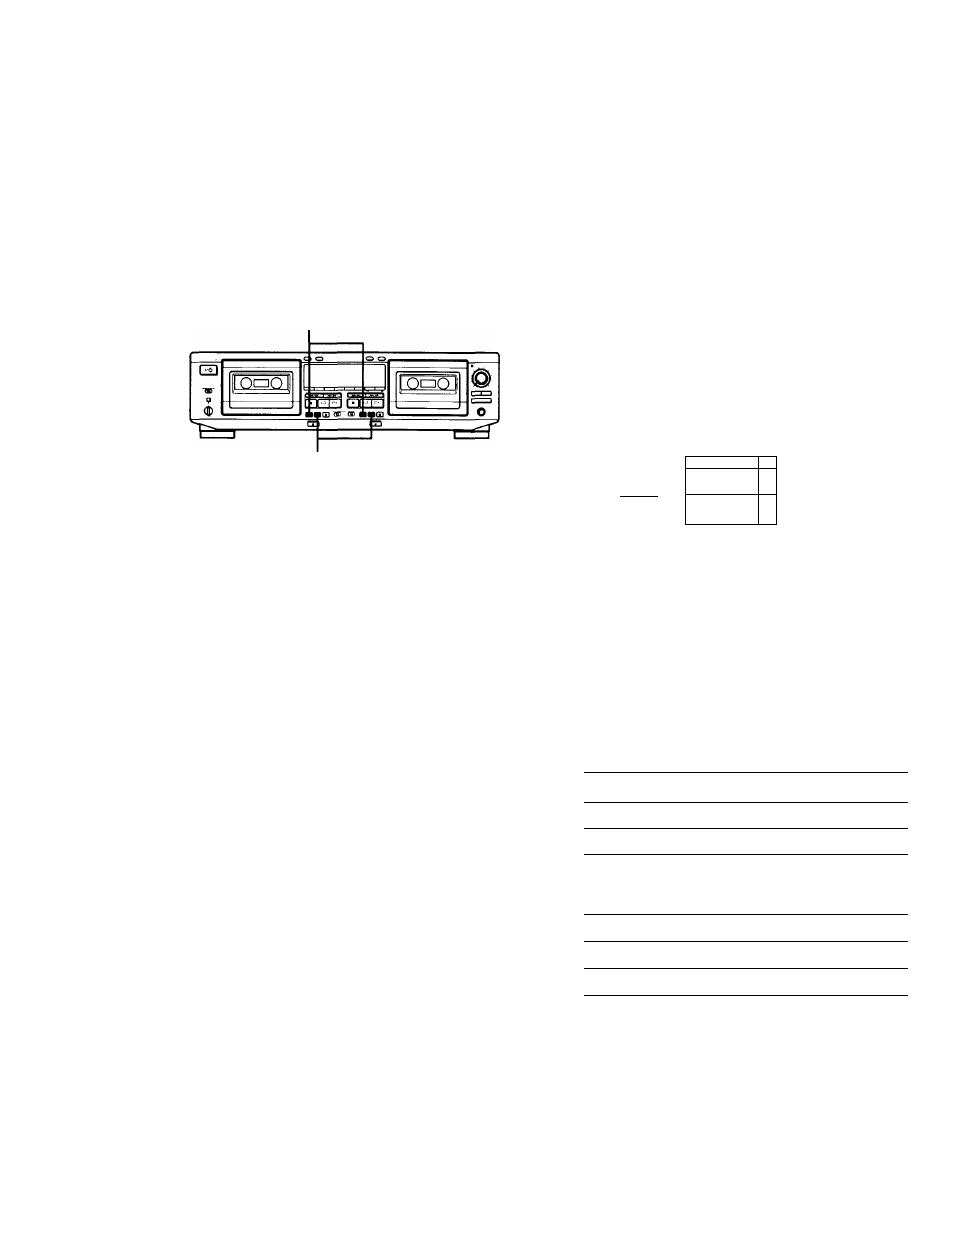
DIRECTION MODE
<
1/0
SYNCHRO
lOQOI
o o c
o
flC QPC
b
1
Set the source selector on the amplifier to CD
player.
2
Insert a CD into the CD player.
3
Select the play mode (CONTINUE, SHUFFLE, or
PROGRAM) of the CD player.
4
Insert a cassette into deck B.
5
Select the side(s) to be recorded on.
To record on
Set DIRECTION MODE to
Only one side
—
Both sides
CT3 or RELAY
Select the side you want to start recording from
on deck B.
To record from
Press
The front side
The reverse side
<1
16