Right angle drive installation – Wheatheart X13 Right Angle Drive Kit User Manual
Page 2
2
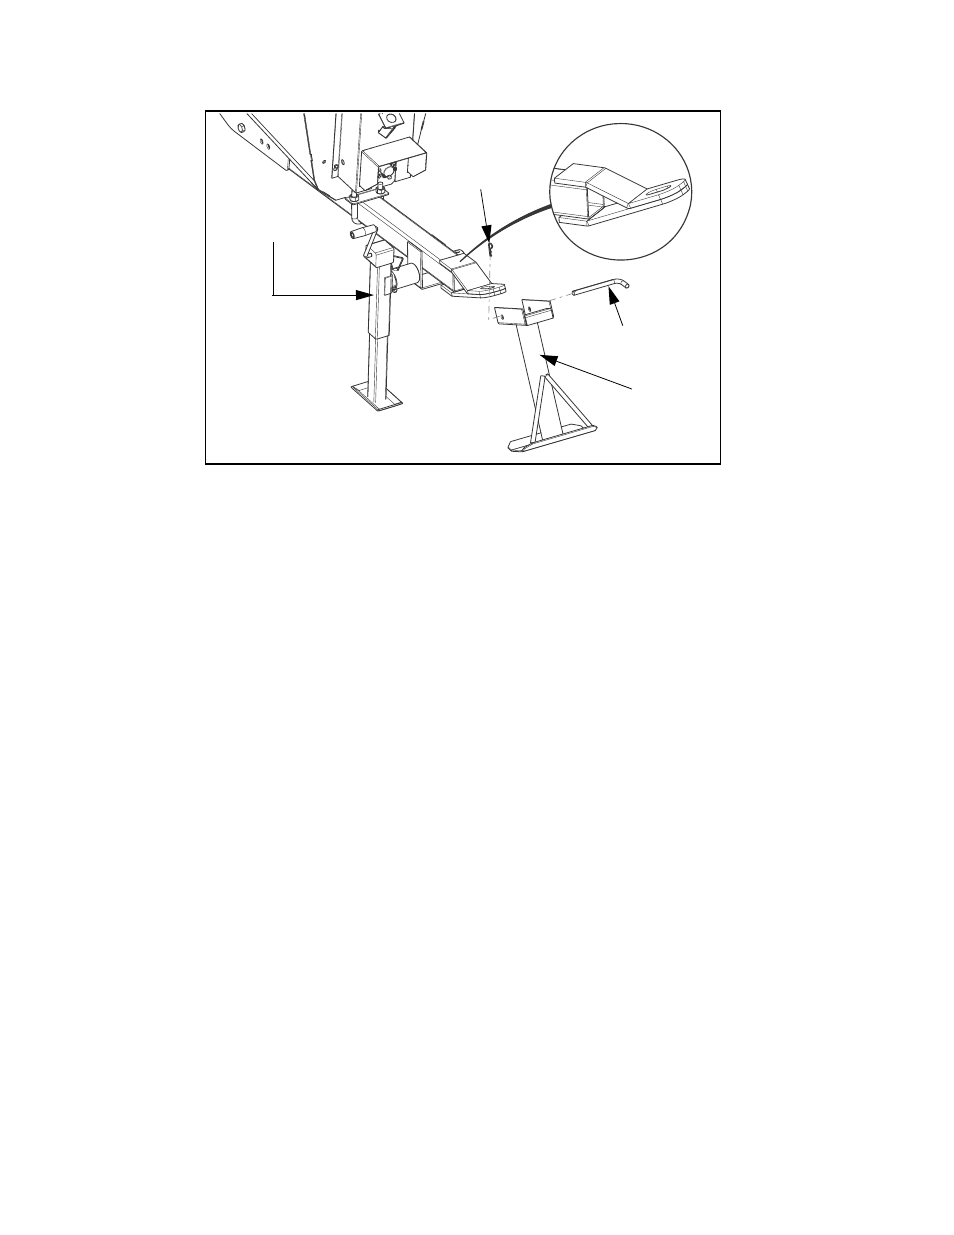
Figure 1 Installing Support Leg
RIGHT ANGLE DRIVE INSTALLATION
Note:
The gearbox is sent from the factory filled halfway with EP90 oil. Before further
assembly, check oil level to make certain the gearbox is half full. Add oil if
necessary. Do not use grease.
1. Remove coupler chain from coupler sprockets as shown in Figure 2.
2. Slide the unconnected coupler sprocket onto end of flight shaft. Place outside
face of sprocket flush with end of shaft, then tighten set screws as shown in
Figure 3.
3. Position the gearbox mount assembly over the hitch tube
as shown in
4. Position the jack mount below the hitch tube, as shown. Loosely fasten with
5/8” x 5-1/2” bolts and locknuts as shown in Figure 4. Do not tighten these
bolts until step 8.
5. Loosen the bolts securing gearbox to adjust plate.
6. Loosen the 5/8” adjust nuts.
7. Align the coupler sprockets by adjusting gearbox vertically and horizontally.
Leave about 3/8” clearance between sprockets as shown in Figure 5.
8. Tighten bolts and locknuts holding gearbox mount assembly to hitch tube.
9. Recheck the coupler sprocket alignment and make further adjustments if
needed.
10. Tighten all gearbox and adjust plate bolts and nuts; also tighten set screws
on the sprockets.
11. Install the coupler chain on the coupler sprockets (see Figure 5).
JACK [28930]
SUPPORT
LEG [20106]
HAIR PIN [19463]
PIN [18074]