Connecting the scanner to your pc – AGFA E20 User Manual
Page 18
Chapter 2: Installing the Scanner for PC
18
Connecting the Scanner to Your PC
Caution
: For your safety, use the adapter that comes with this product. Do not use any substitute.
Misuse of the power adapter can cause serious damage to the product and a safety hazard while
using it.
!
Note: Check if the AC Adapter complies with your local power supply.
!
Note: Make sure the scanner is unlocked (see
before connecting it to
the electric outlet.
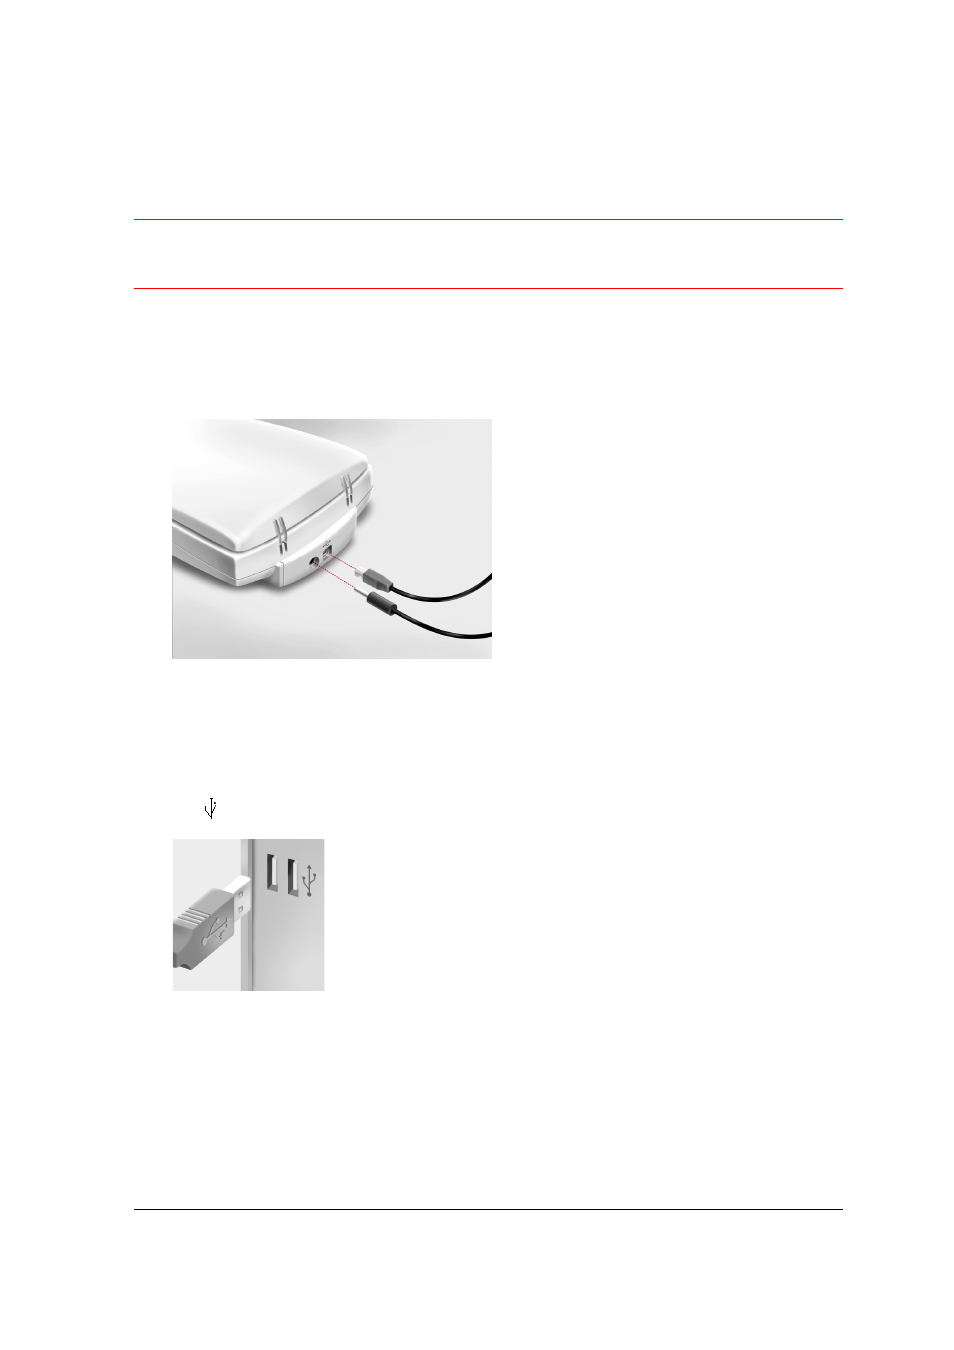
1
Connect the plug of the AC adapter to your scanner.
2
Connect one end of your USB cable to the USB port on your scanner. Make sure you connect
the correct plug as shown in the figure above.
3
Plug the adapter in the wall outlet.
4
Connect the other end of your USB cable to a USB port on your computer. Make sure you
connect it to the correct port as shown in the figure below. A USB port is labeled with the USB
icon .
Windows 98/2000 will now detect the scanner and will install the necessary files for the
scanner hardware driver.